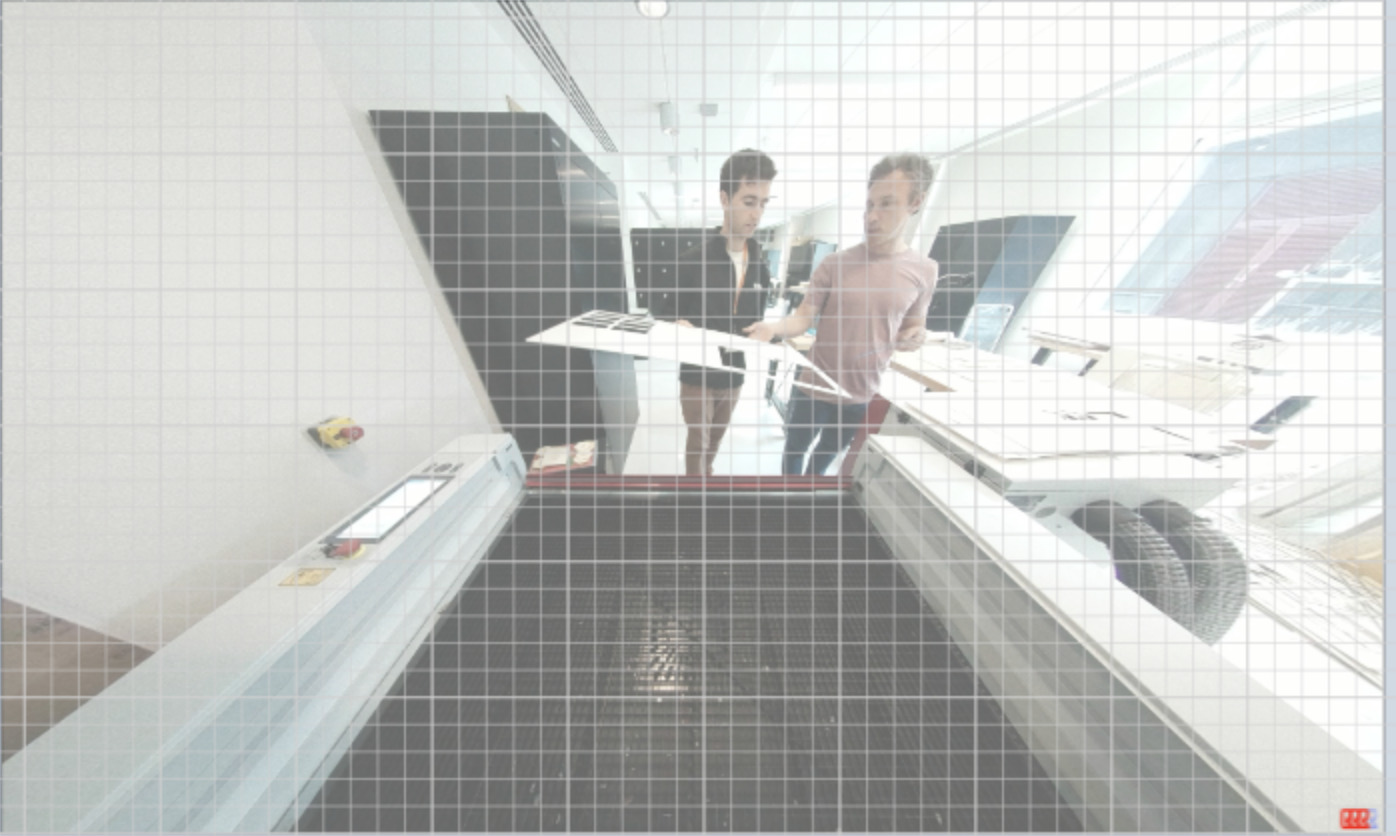
This codelab will guide you through the process of using the Trotec Laser Cutter for lasercutting. Follow the steps below to ensure safe and efficient operation of the laser cutter.
- Laser cutter key: Always keep the key in the machine.
- Turning on: Turn the key to a right angle to light up the device. Hold it firmly against the force.
- Red switch: If it's down, pull it up to activate the laser cutter.
- Placing the material: Wait until the device is ready. The bed should drop before lifting the lid. Place the material you will be laser cutting into on the grate.
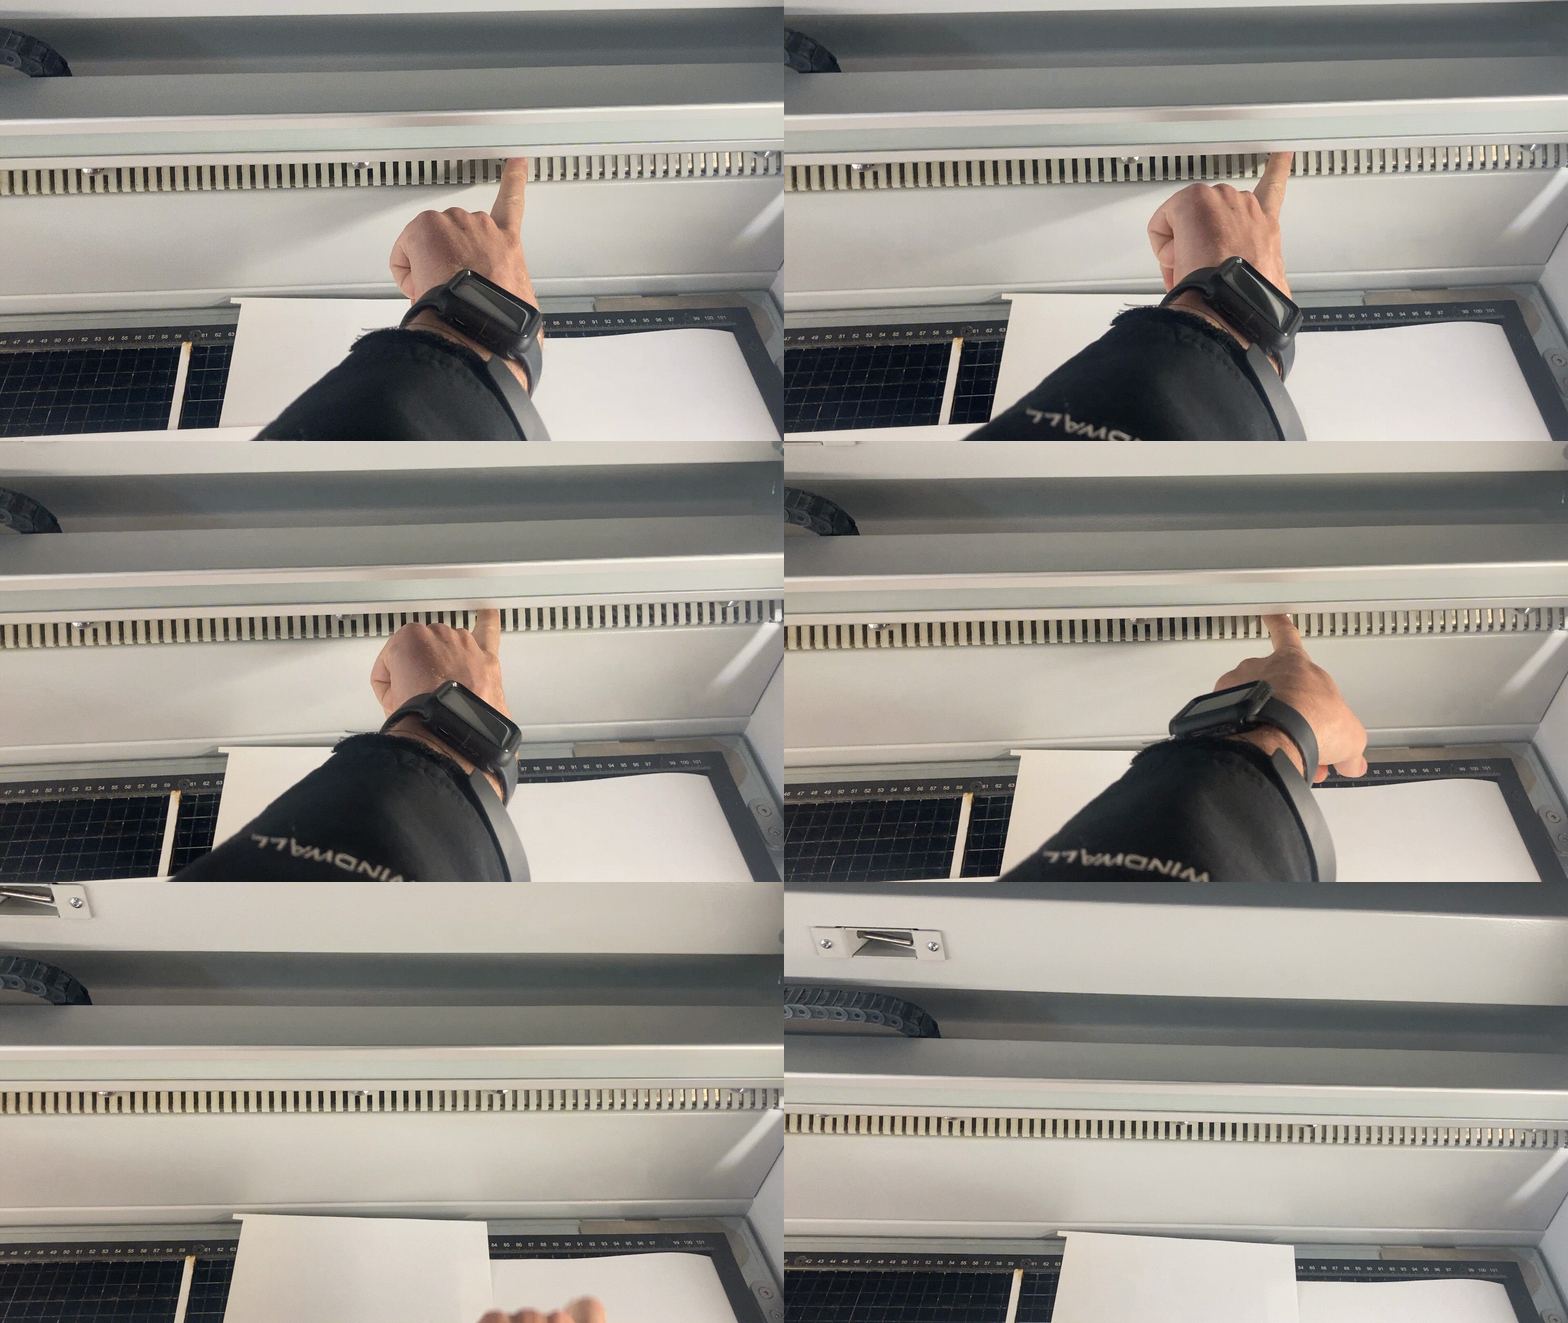
- Warped material: Use paper to block fans around the material for better vacuum and suction.
- Back fans: Close some of the back fans, leaving the middle one open, for increased suction.
 Putting the Laser Cutter in Sleep Mode
 - Sleep mode: Press the power button on the GUI to put the laser cutter in sleep mode. This will turn all the lights off aside from the light on the laser.
- Utilize the Trotec USB memory stick to transfer a DXF file to the laptop designated for lasercutting.
- Alternatively, you can open the Trotec ruby software directly from any web browser if you are connected to UCL's eduroam network.
- Import design: Go to the first tab and import your design. Ensure that the file is of the "dxf" format to minimise number of reformatting steps required.
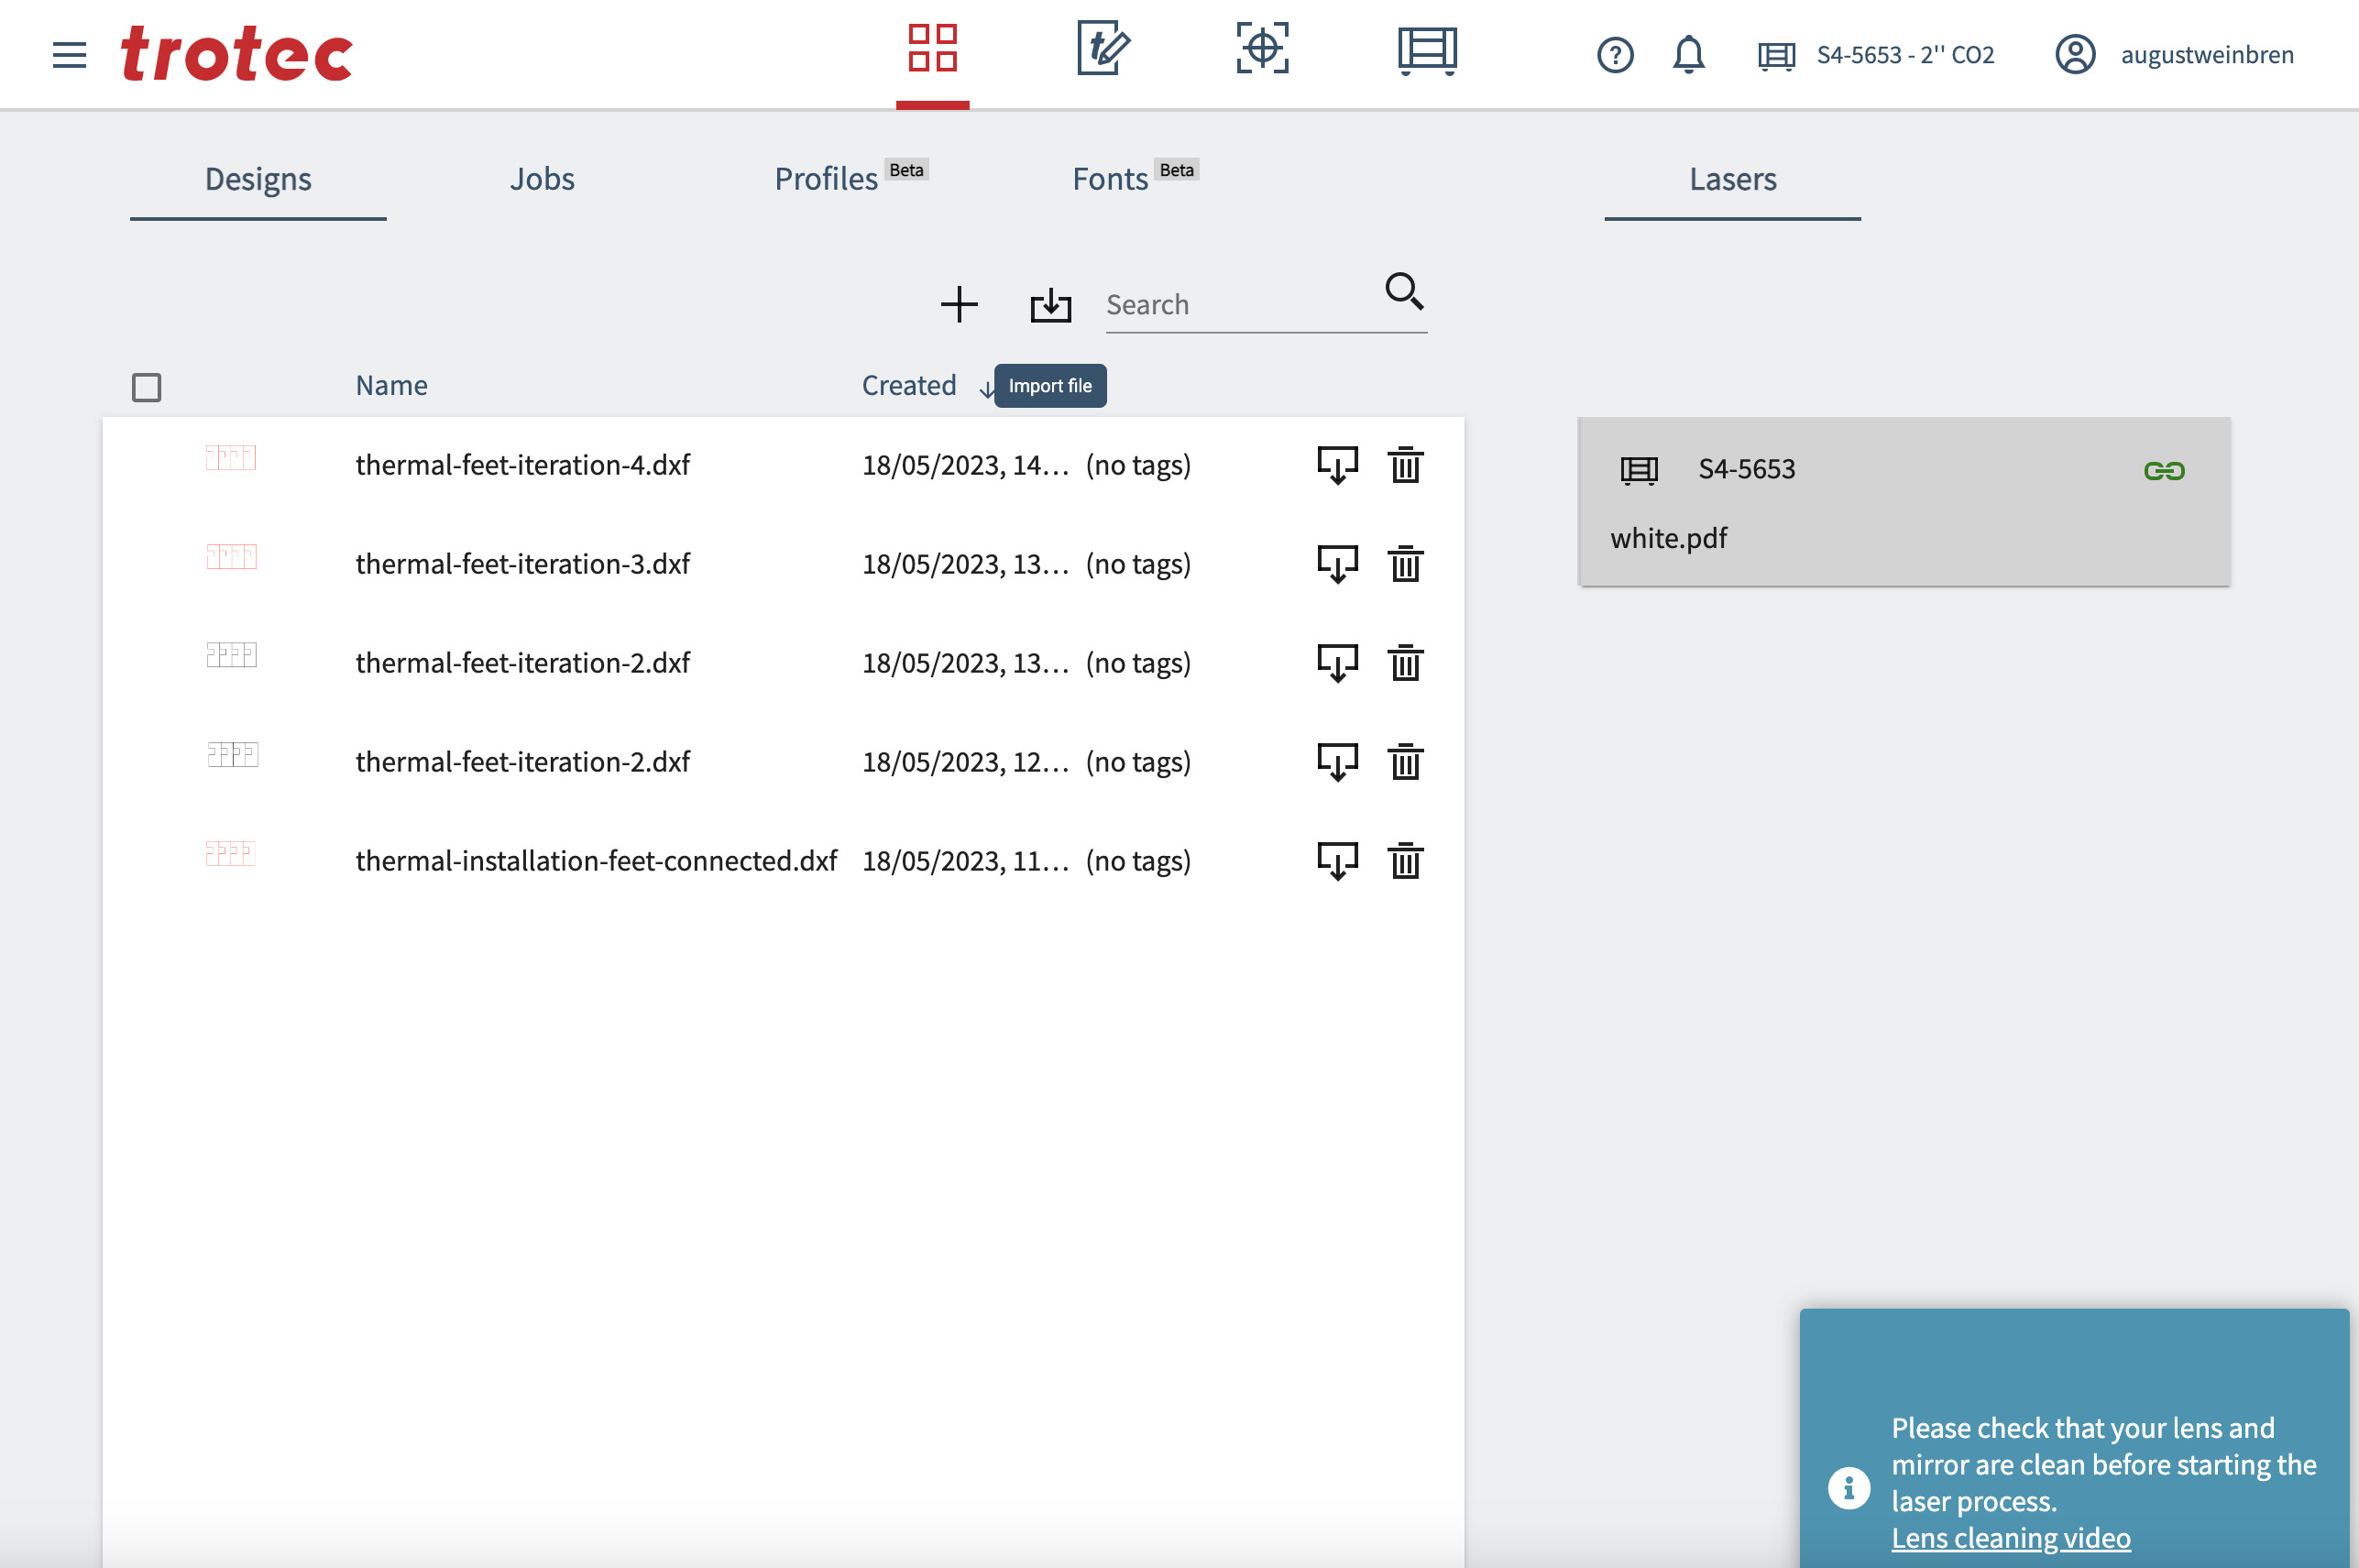
- Click on your design to navigate to the "Design" step
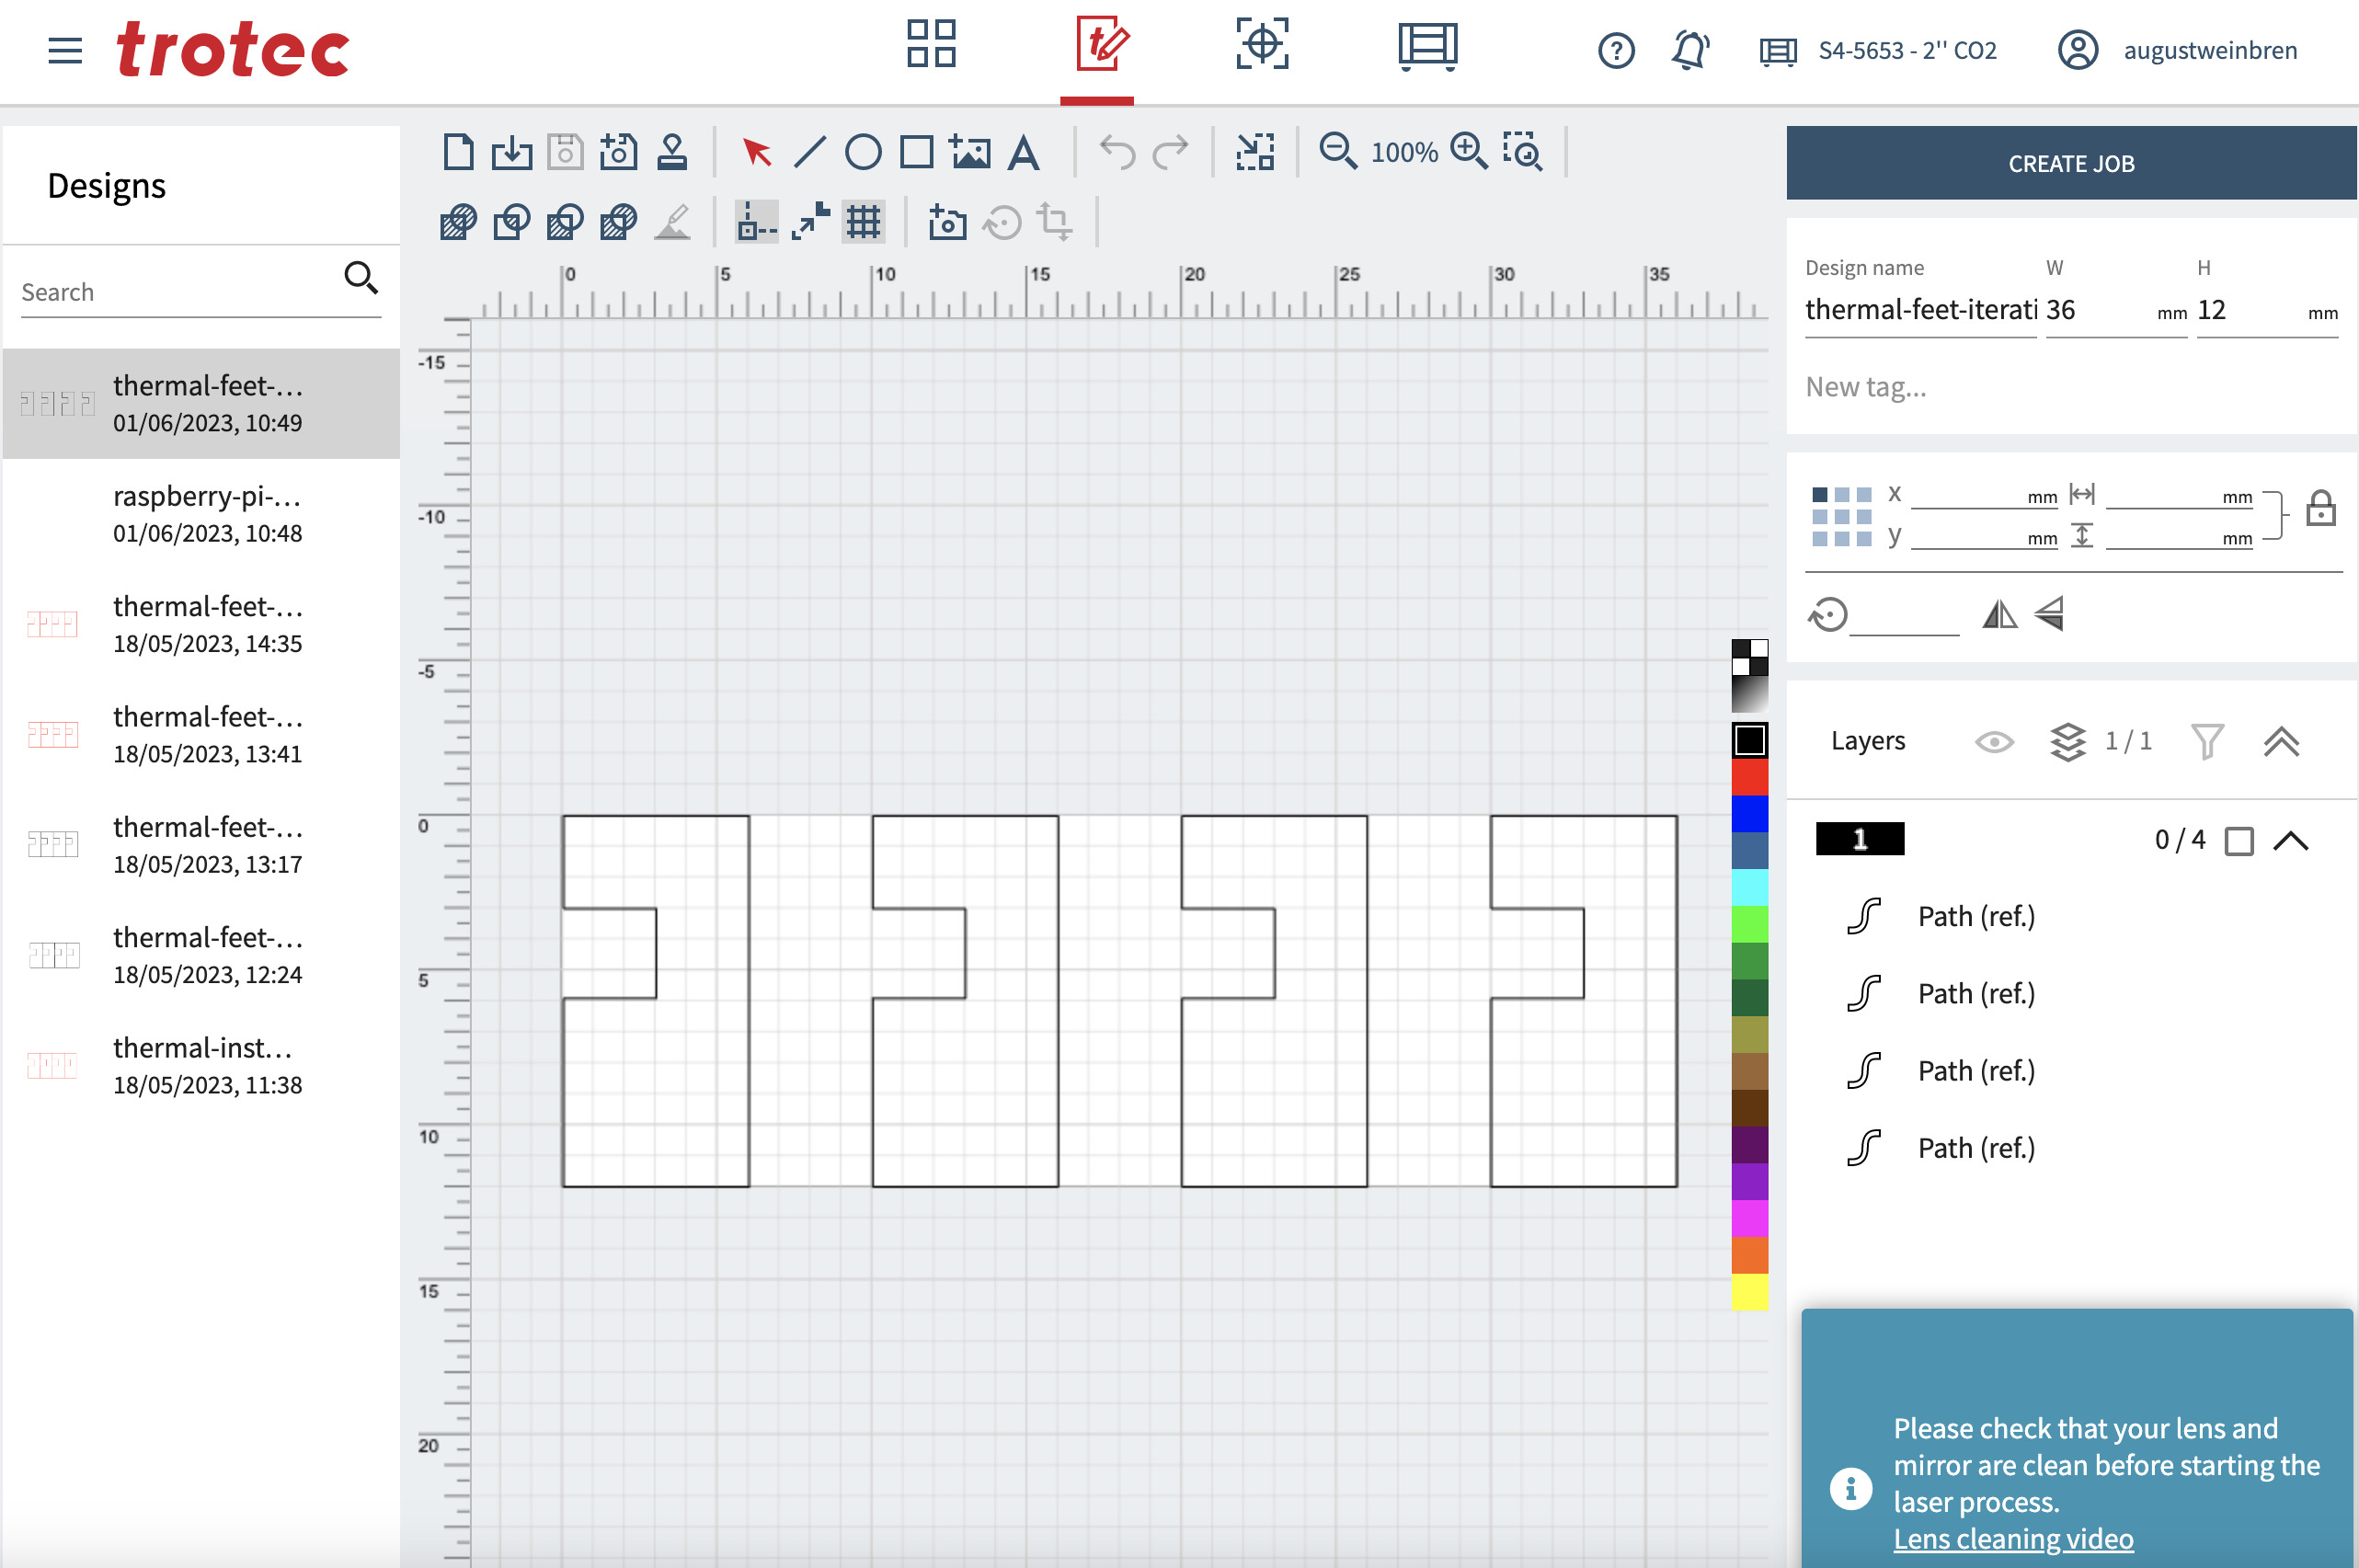 Adjusting the Design
 - Arrange your Design: Arrange the design elements close together within the canvas. This minimises wasted material.
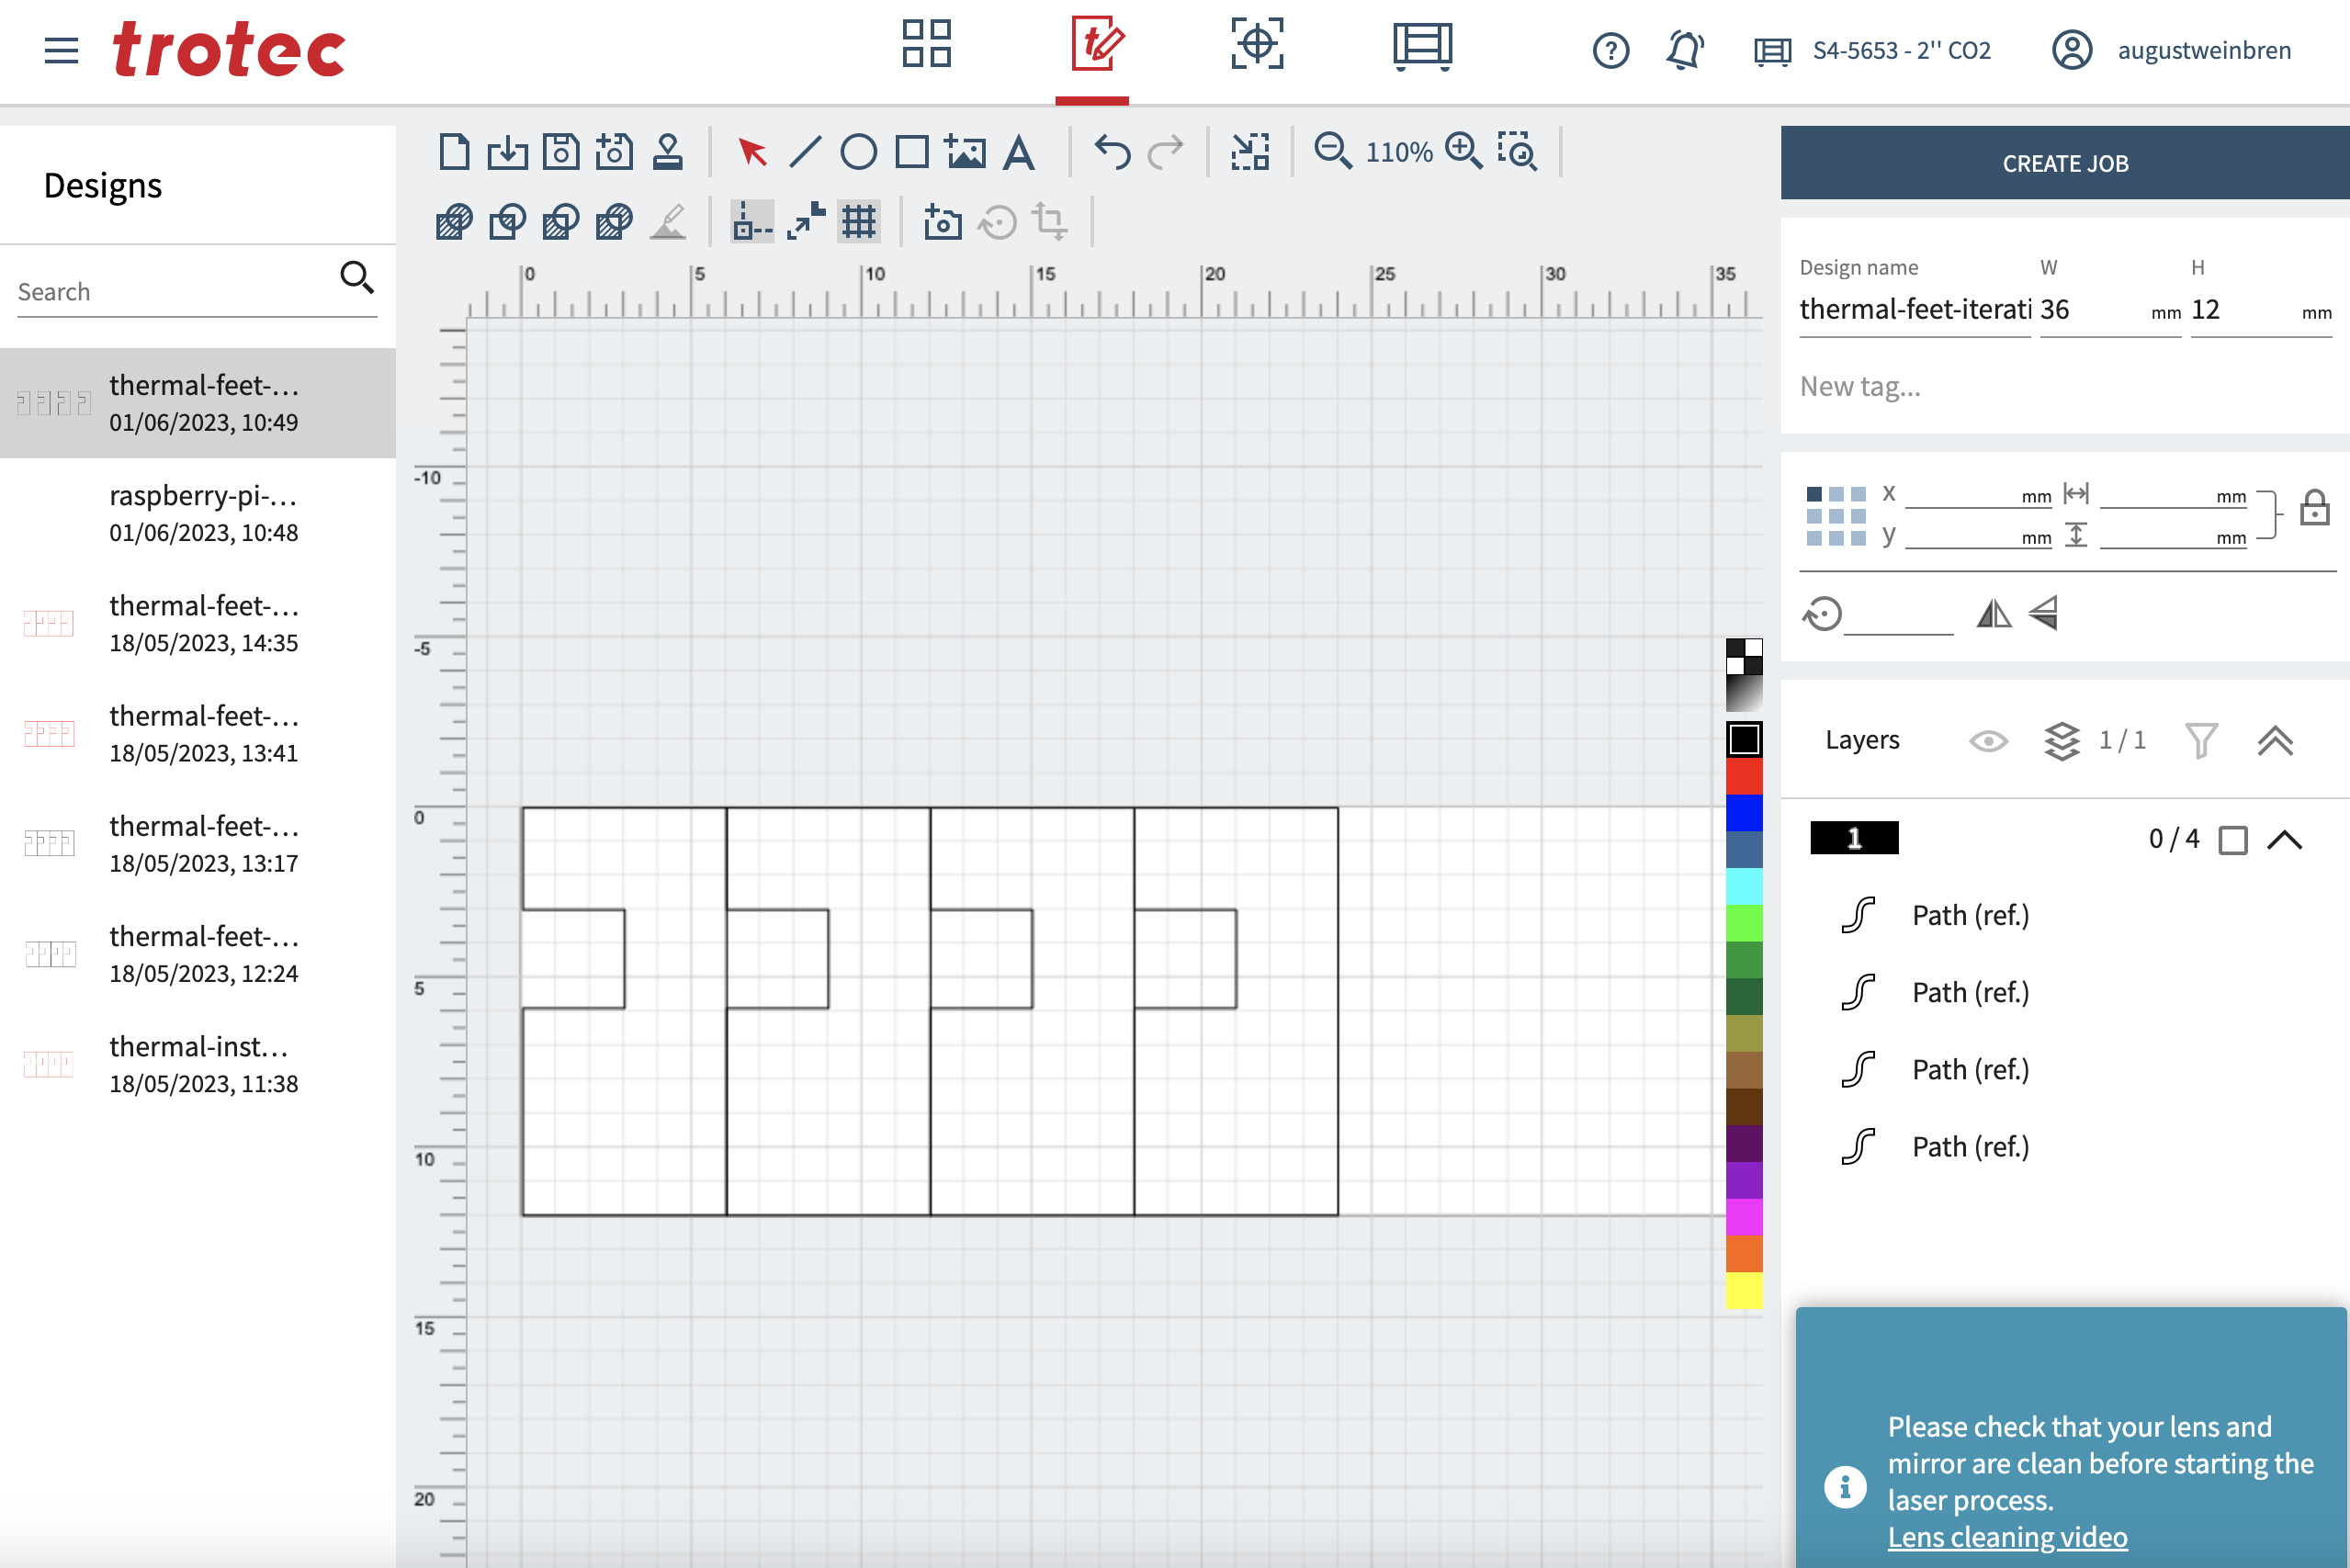
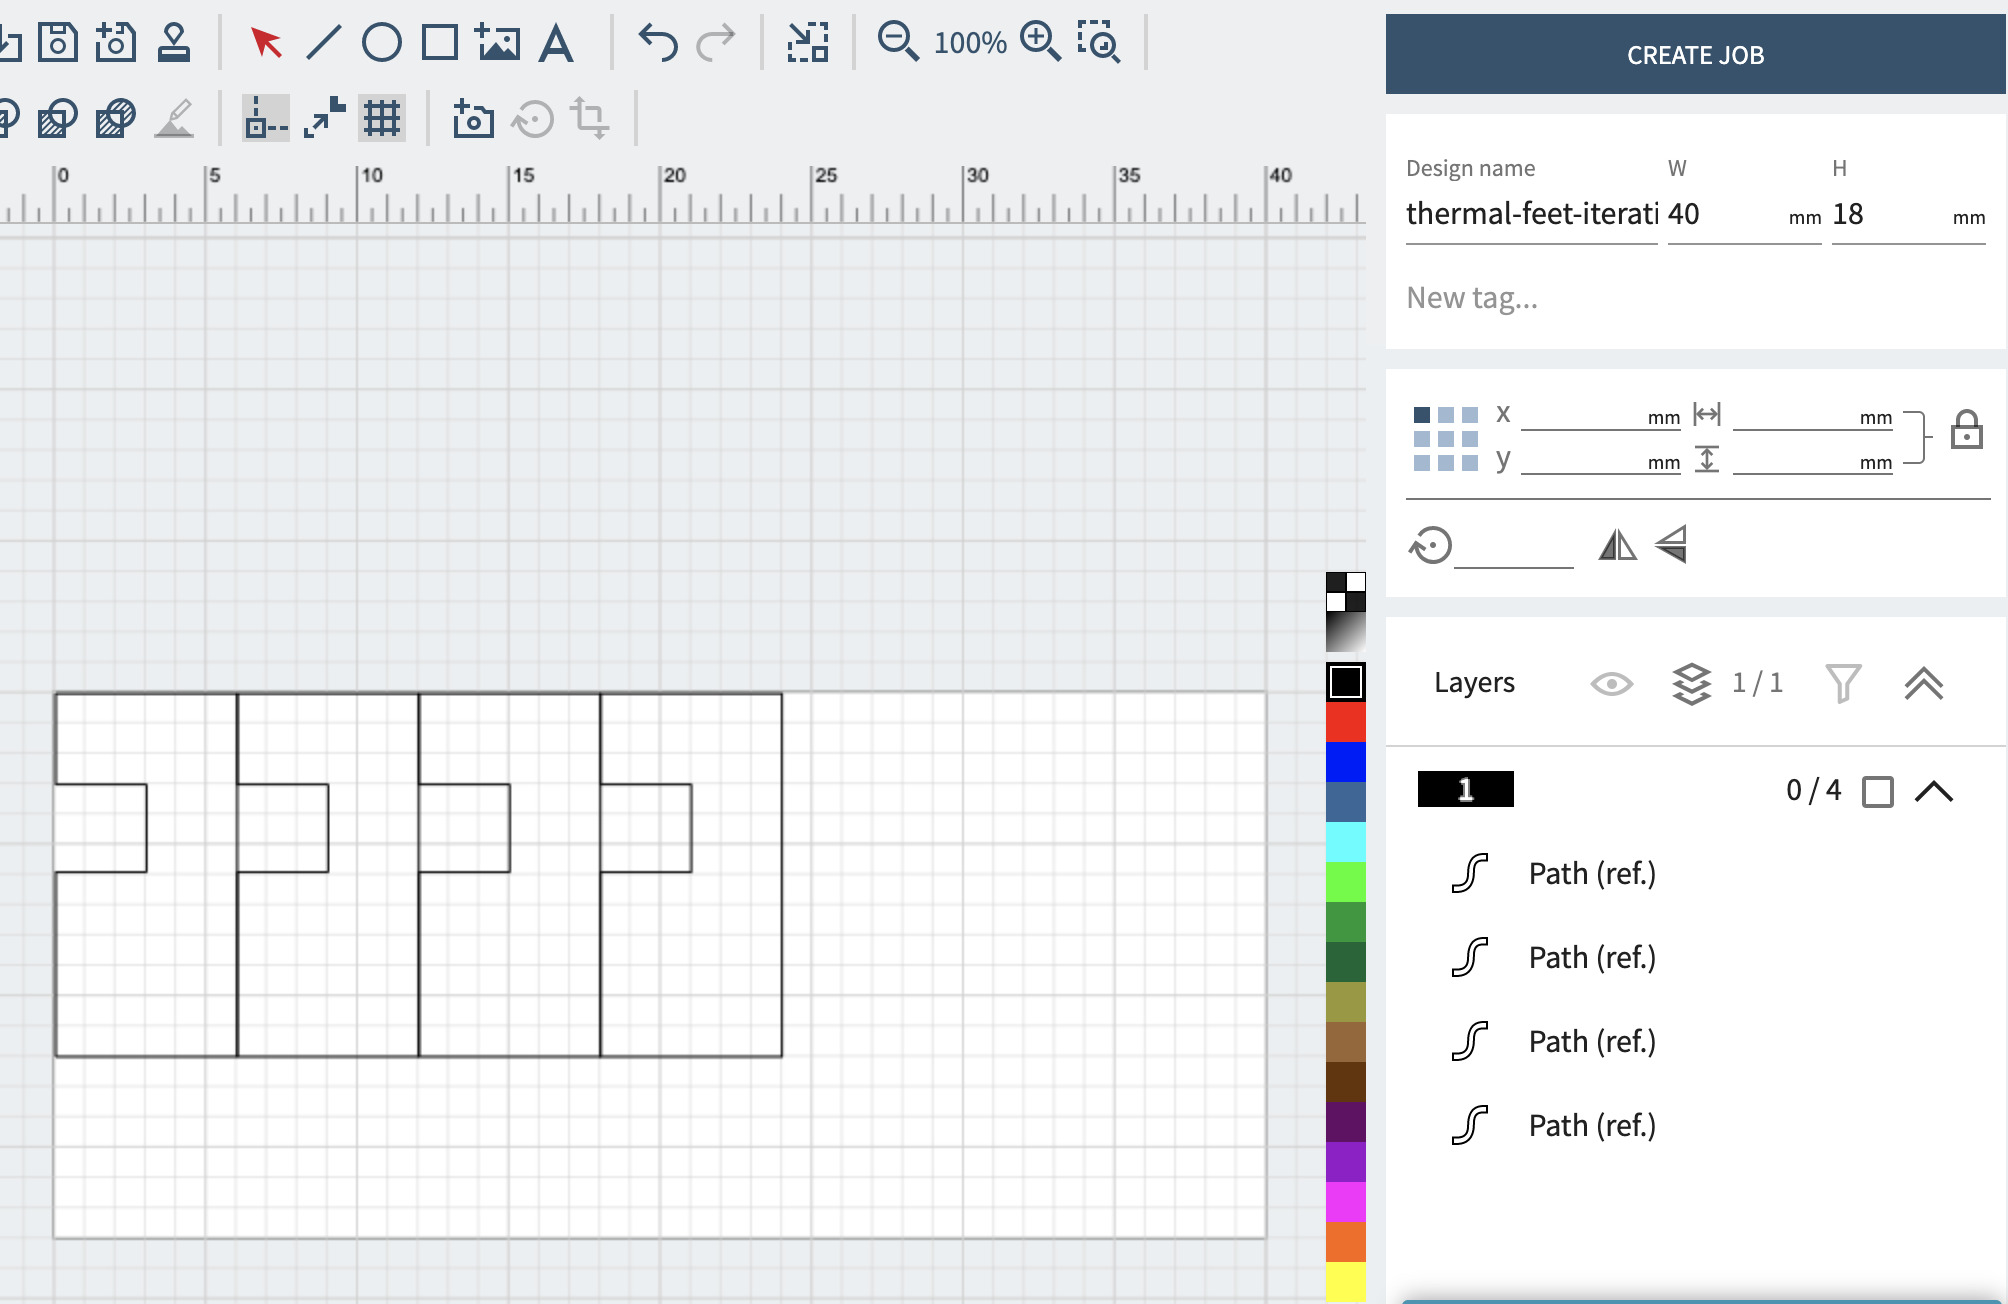
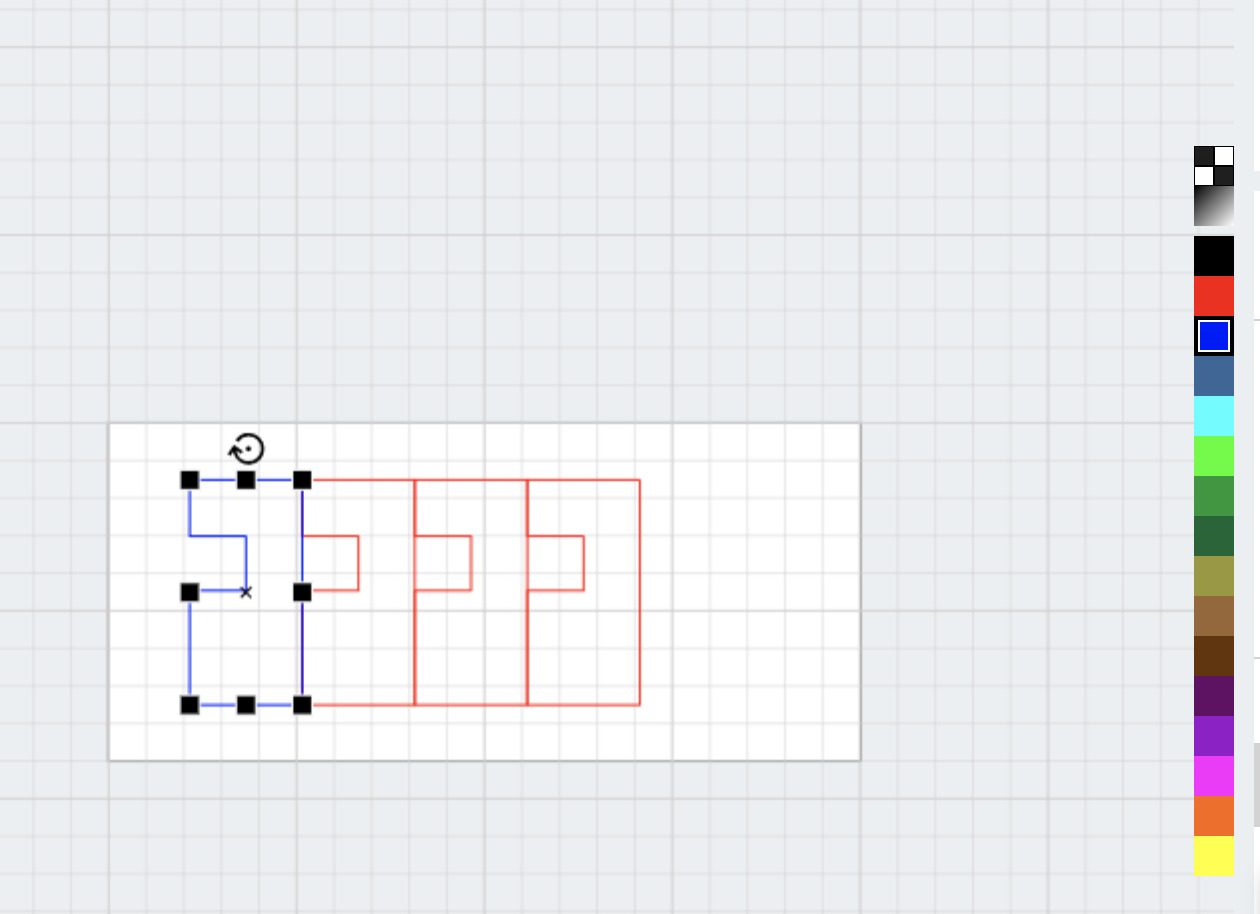
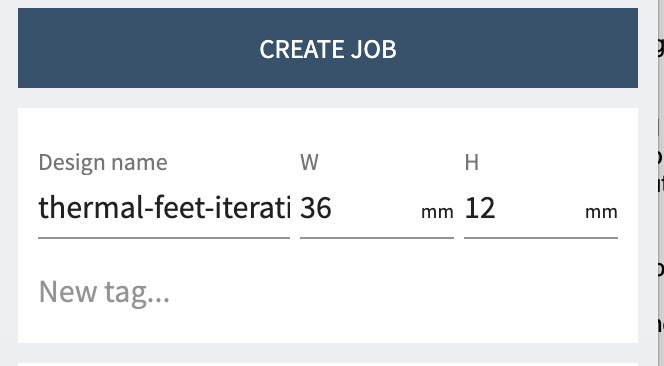
- Adjust the Exclusion area: Anything outside the canvas (white rectangle) will not be laser cut. This rectangle can be adjusted by changing the "W" and "H" values near the top right of the window.
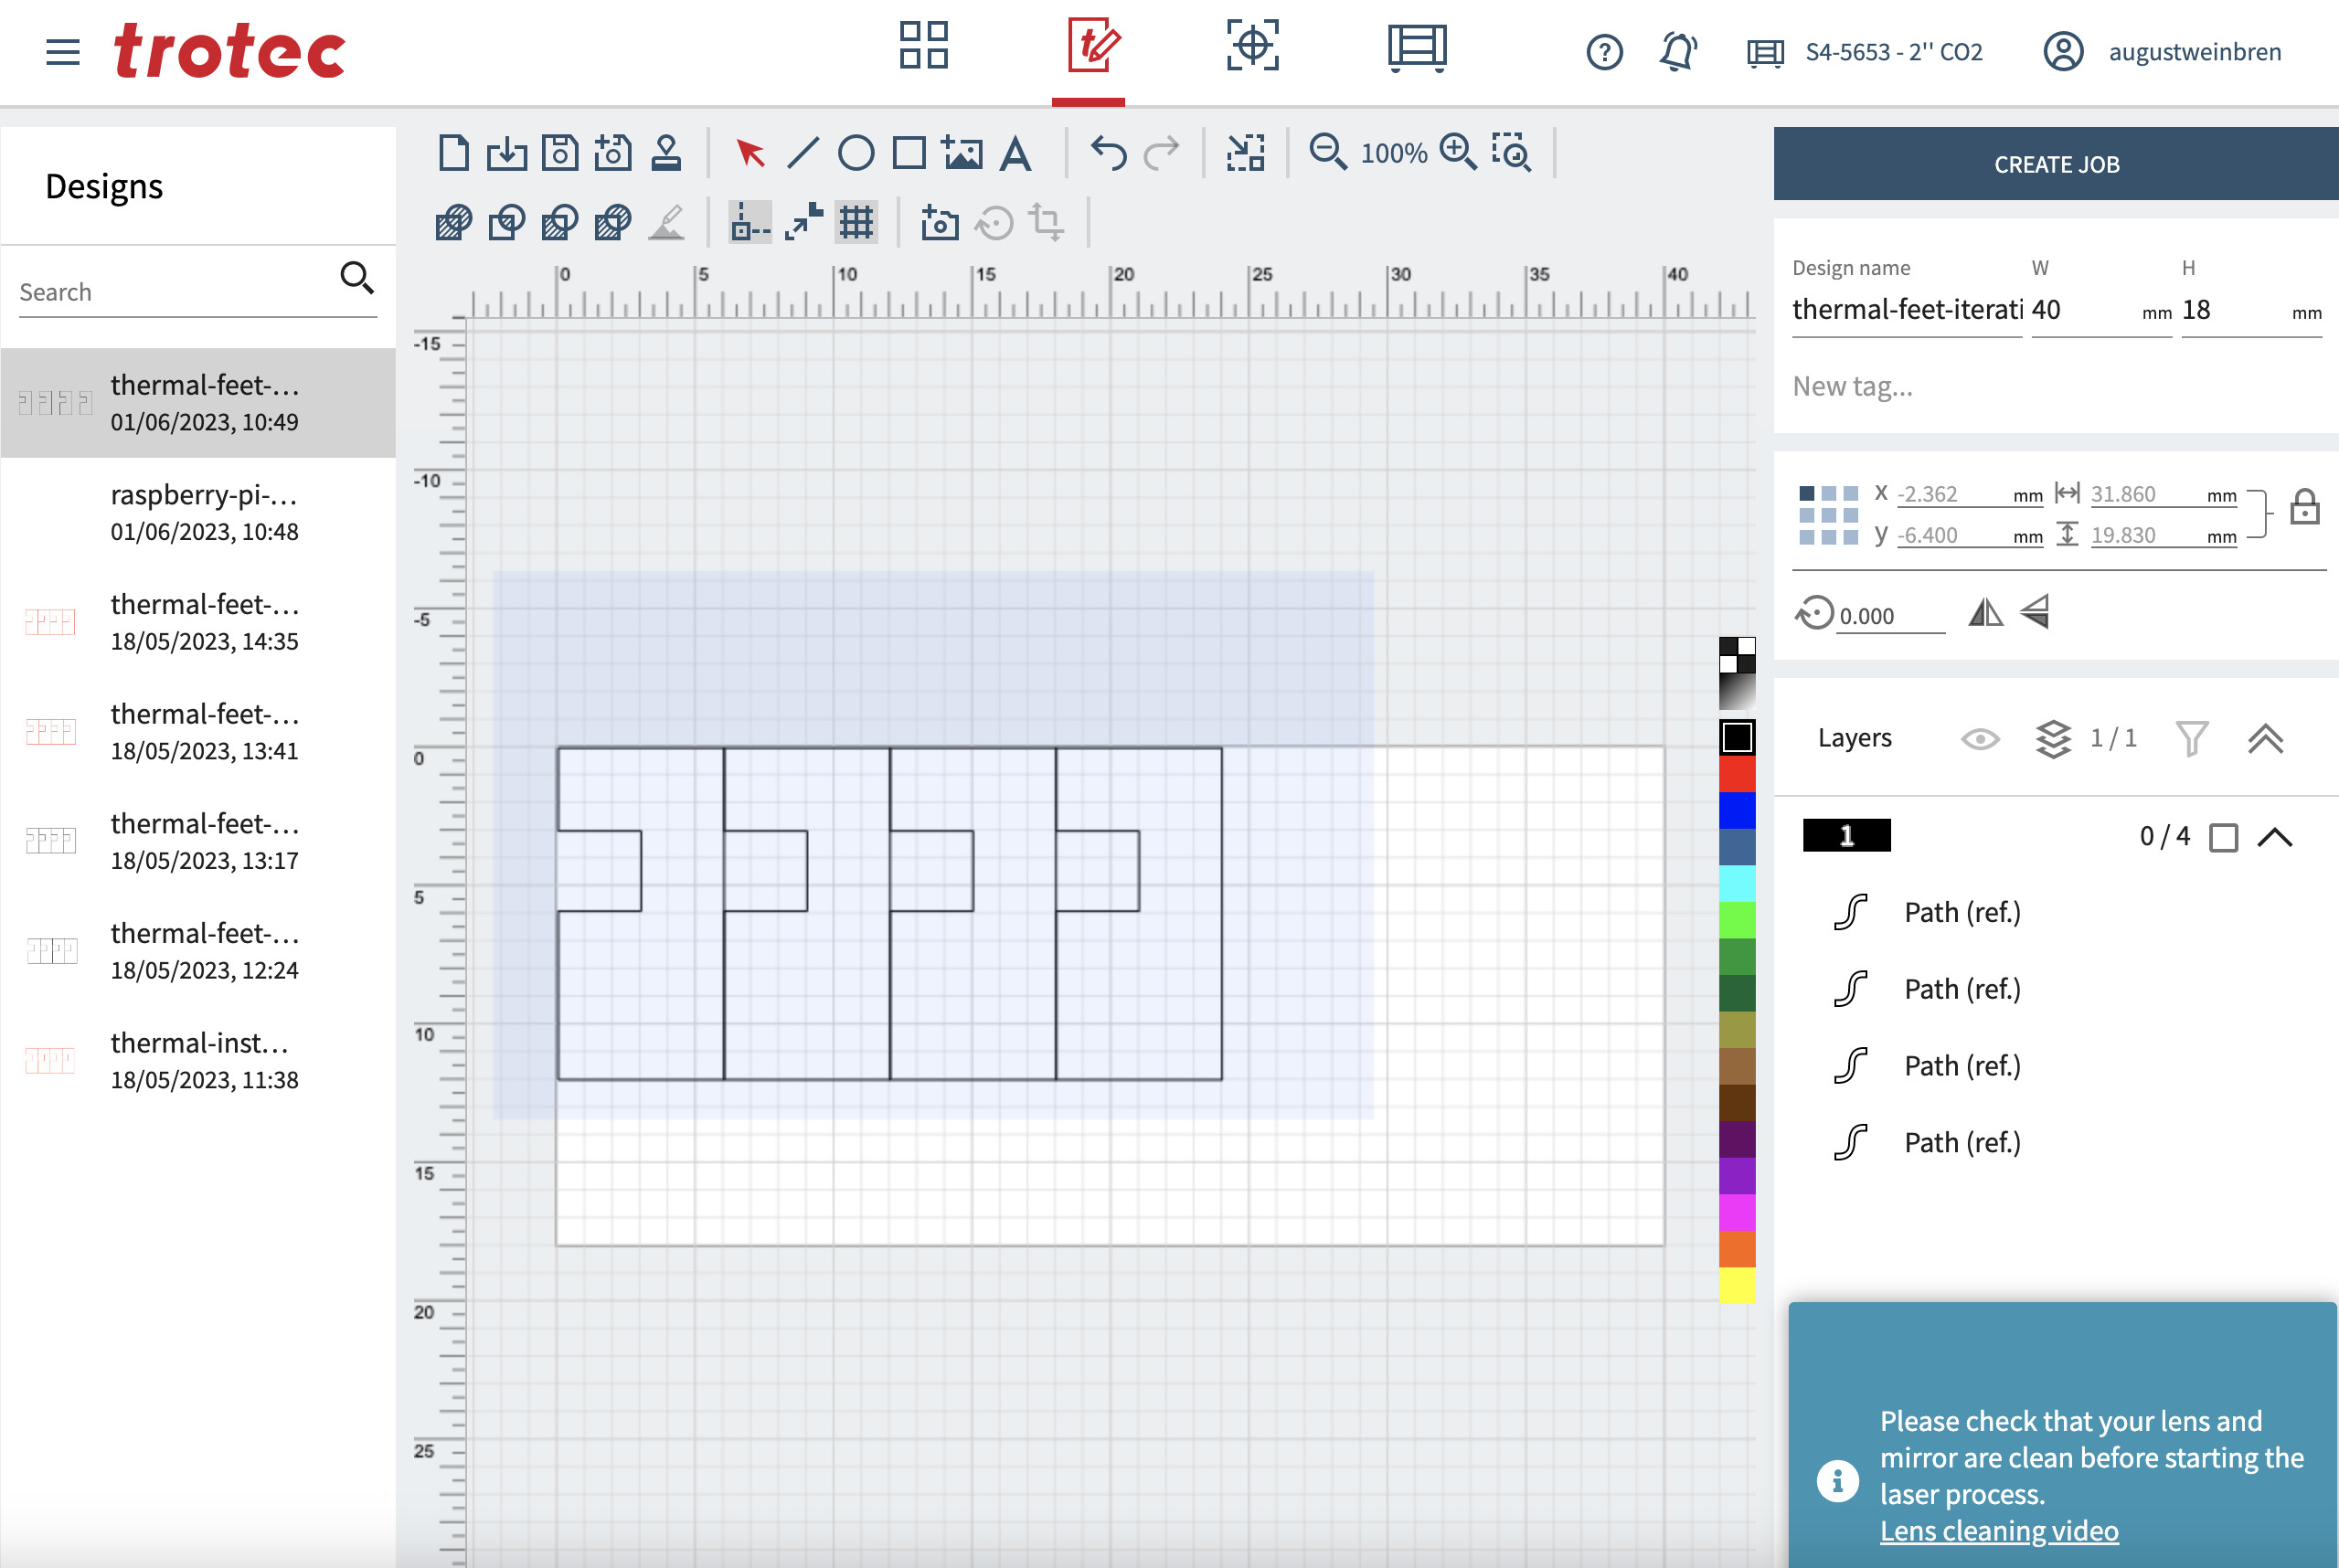
- Fit your design in the white rectangle: Adjust your design to fit within the white rectangle by (1) clicking below one corner of your shape and dragging to above the opposite corner to select your full design, then clicking and dragging on the centre of your selected shape
- Cut identification: Colour the cuts red to distinguish them as sections of the design for the lasercutter to cleanly cut through by clicking on the red square towards the right of the middle panel. If you want to cut through all lines within your design, you can keep everything selected from the previous step. If you want to cut through some lines, and etch or engrave in other portions, you will need to select the portion to etch or engrave into and choose unique colours of your choice for each laser modality, but avoid leaving them as black.
- Click "Create Job" to move onto the next step: Preparation.
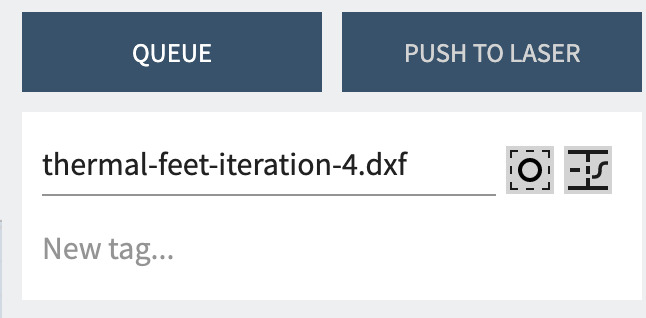
- Overlapping outlines: Select "Skip Overlapping Outlines in Full" using the button below "Push to Laser."
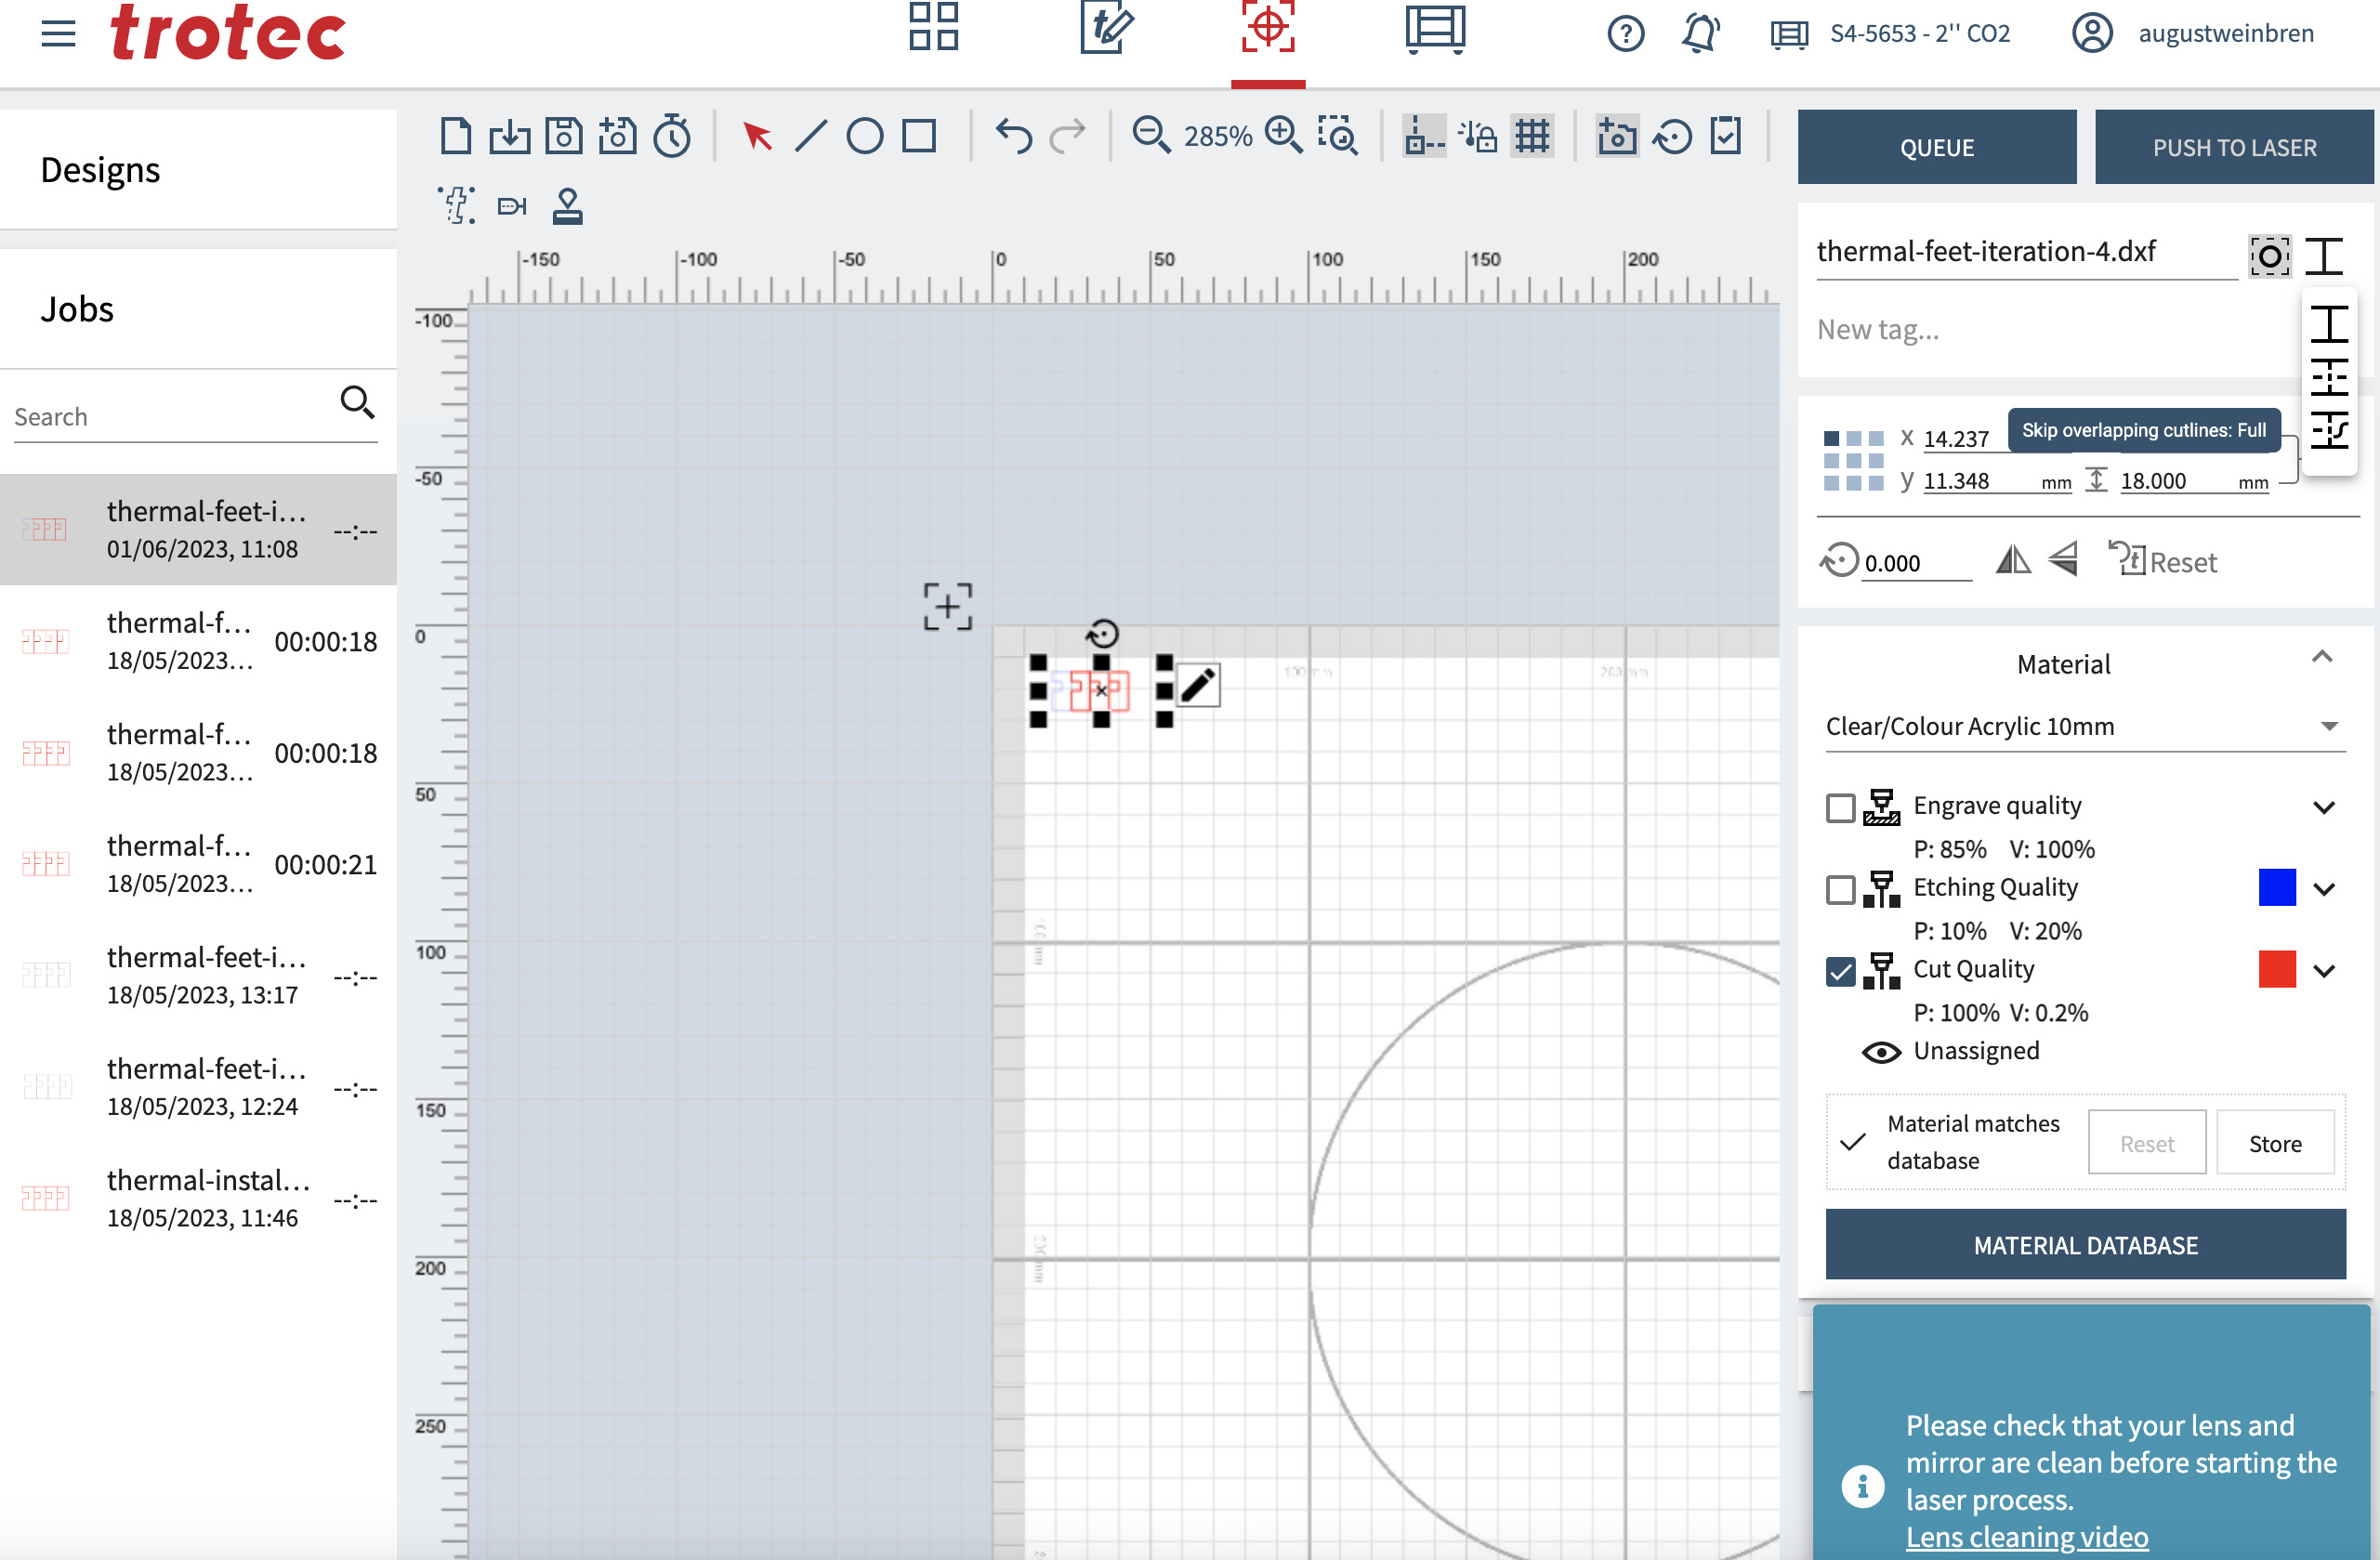
- Material placement: Nest the material in the top left corner of the canvas.
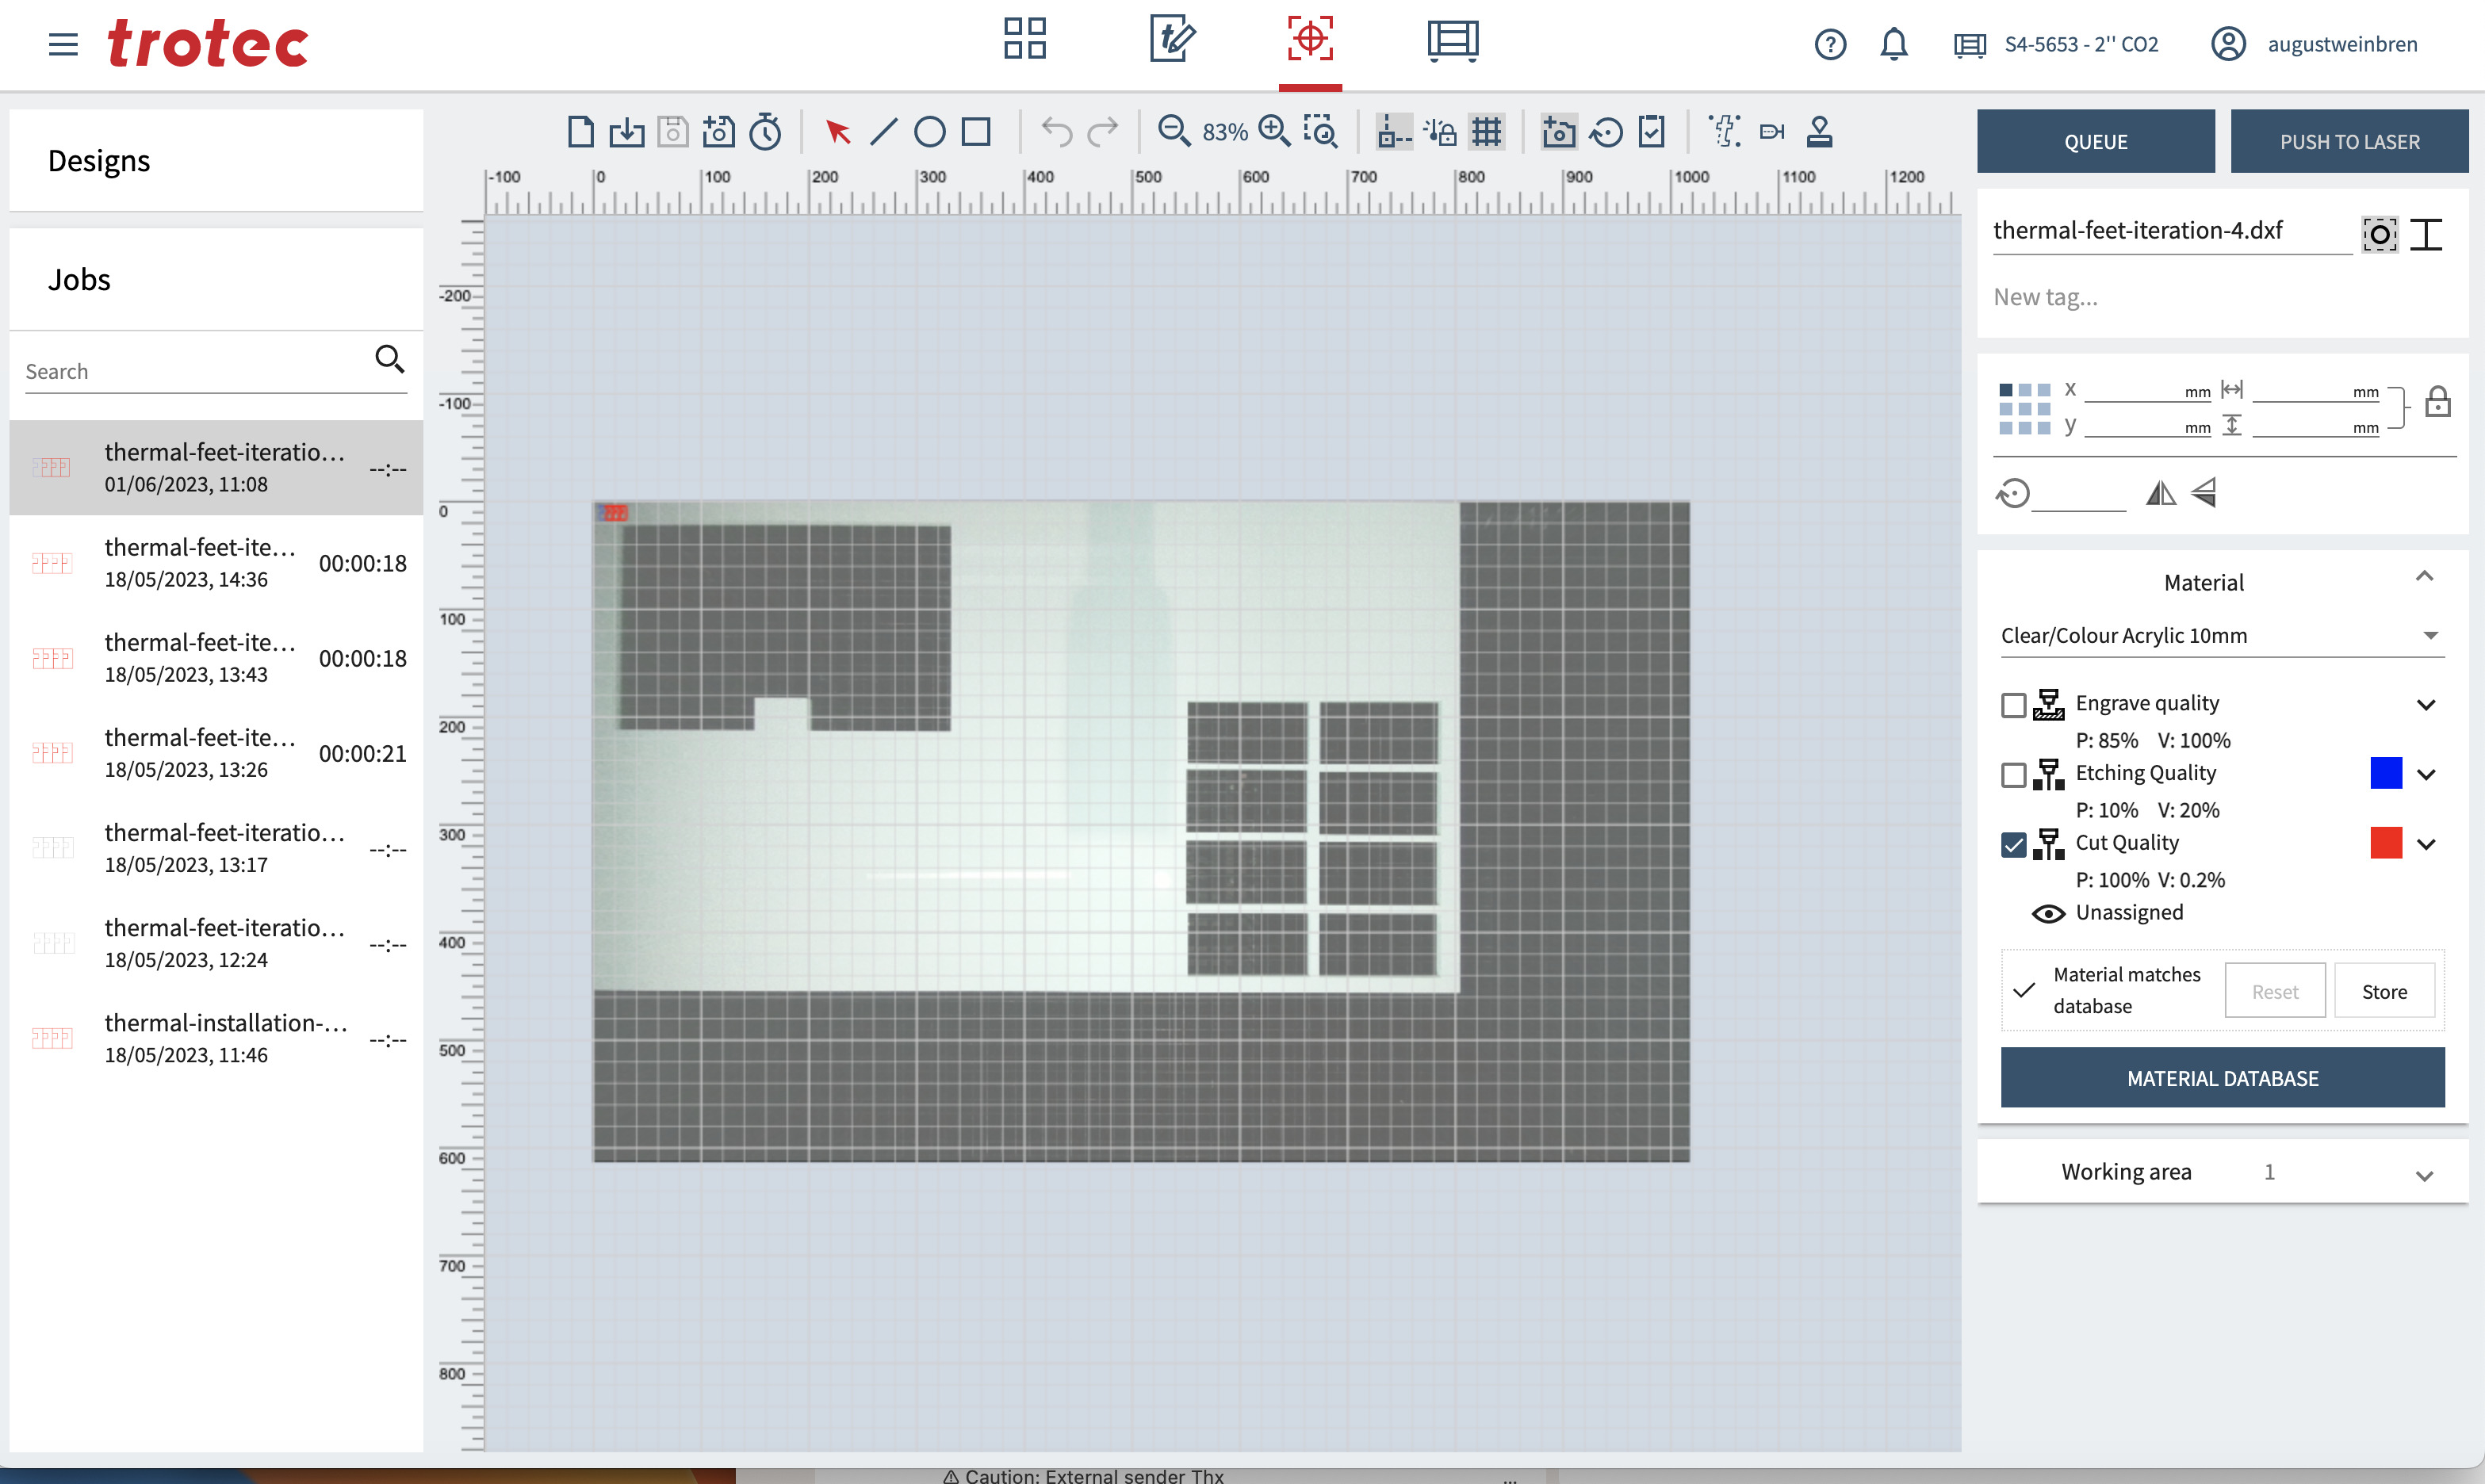
- Material selection: Choose the material profile that matches your type and thickness (e.g., 3mm acrylic). Colour is unimportant for lasercutting.
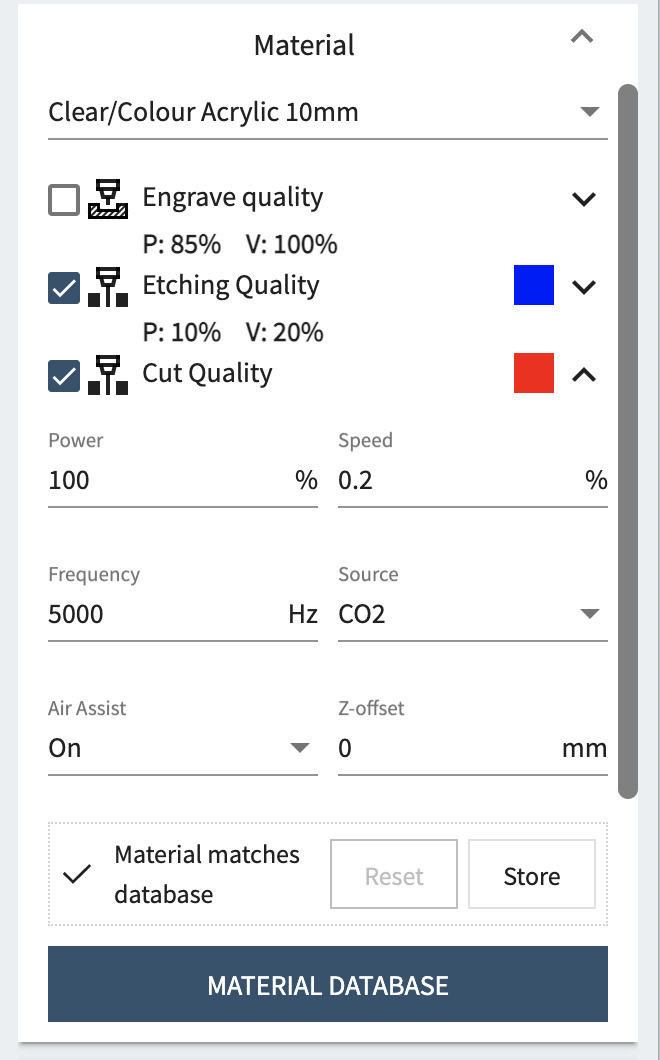
- Adjusting the Material: Should you find that the material's defaults are not successful, you can customise them by clicking on the arrows next to each used modality. For example, if cuts are not getting fully through the material, you can decrease the speed under "Cut Quality".
- Cutting options: Deselect all options except those which you are using in the general settings.
- Power (P) setting: Double-check power is at 100 for "Cut Quality".
- Uncut material area: Use the arrows to position the laser cutter head in an area with ample uncut material.
- Height adjustment: Press the up and down arrows simultaneously to automatically set the height.
- On the web interface, press "Queue" to send the job to the laser cutter.
- On the laser cutter, locate the queue button (bottom left button on the touch screen).
- Fire prevention: Sparking is to be expected when full cuts are made. While small flames that go out quickly are acceptable, please use the emergency stop button should a flame persist.
- After cutting is complete, adhere the cut material to the sheet before removing the full sheet from the lasercutter. This can be accomplished by covering your design with masking tape, preventing any small pieces from falling off.
- Don't be afraid to ask questions! Danny and August are happy to help :)
