3D printing, also known as additive manufacturing, involves fabricating a physical three-dimensional item from a 3D Model developed with computer-aided design (CAD) software. The process can employ a variety of methods where materials are layered, connected, or hardened under computer guidance. These materials range from plastics to liquids to powders depending on the method of 3D Printing.
Fused Deposition Modeling (FDM) is one of the most popular methods used in 3D printing. In the FDM process, a thermoplastic filament is heated to its melting point and then extruded to build the desired object layer-by-layer on a printbed. The extrusion nozzle moves in a predetermined path, as dictated by the digital model, depositing melted material in thin layers. As each layer is placed down, it cools below its melting point and fuses with the layer below, gradually constructing the 3D object. This technique is lauded for its simplicity, cost-effectiveness, and versatility.
Prusa is a recognized name in the 3D printing community, and the MK3S is one of its prominent FDM printer models. Overall, the Prusa MK3S is targeted towards makers, boasting a strong Open Source presence on GitHub, where Prusa has Open-Sourced not only the firmware that runs on its printers, but also the Desktop user application for converting 3D models into printable files.
- Navigate to the PrusaSlicer Download page
- Download the version that matches your computer's operating system
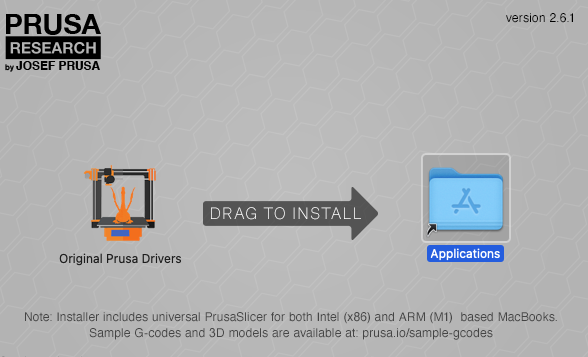
- Follow the instructions in the installation to get all the files onto your Computer's disk.
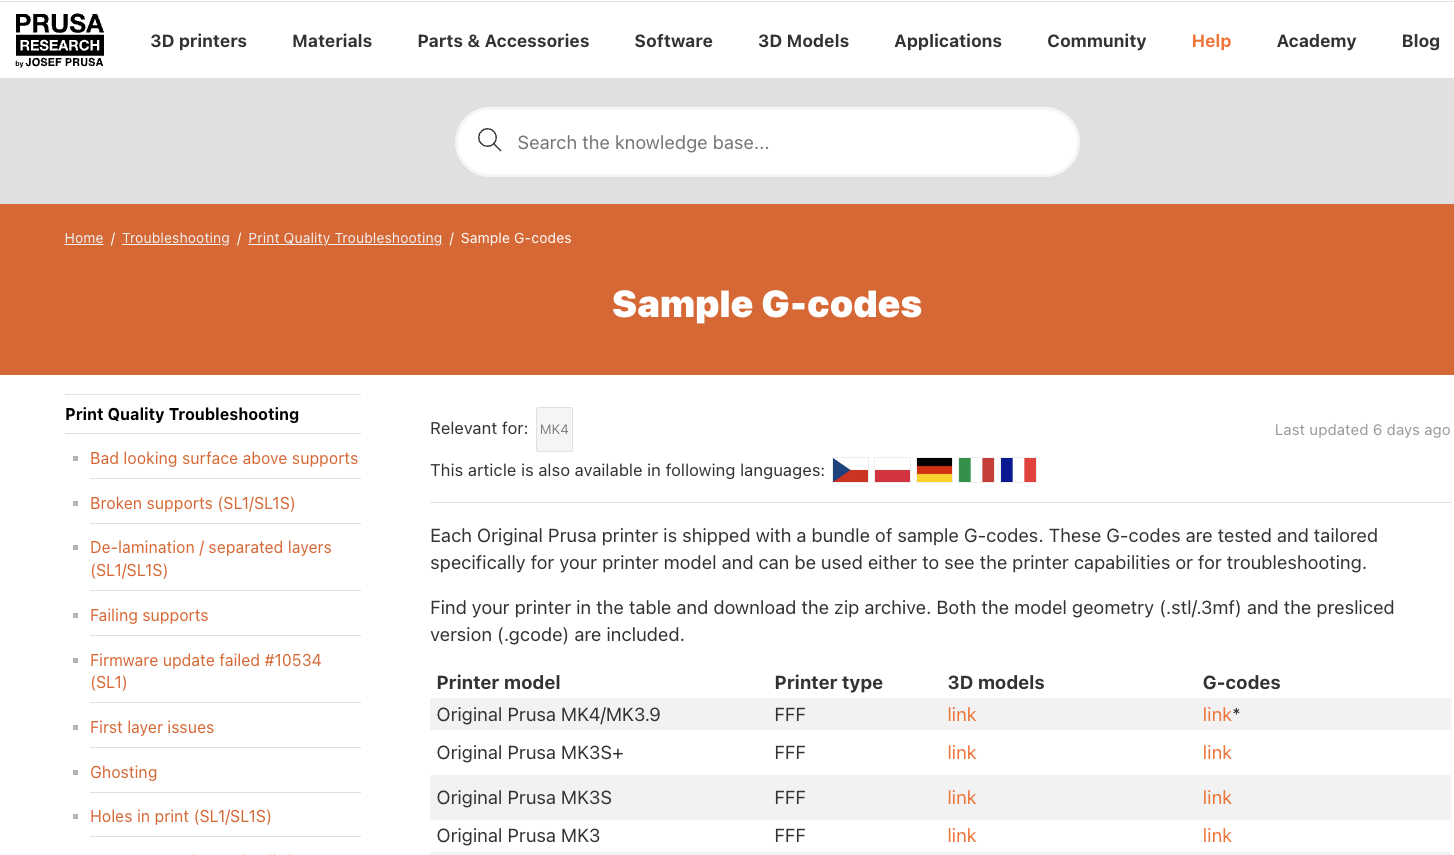
- As of 10 October, the download should include a link to Sample G-codes and Models
- Download the 3D Models for Prusa Mk3S+ (not the G-codes for this tutorial so that you can learn how to slice your own model)
- You should find a "MK3family-3dmodels" directory where you saved the download.
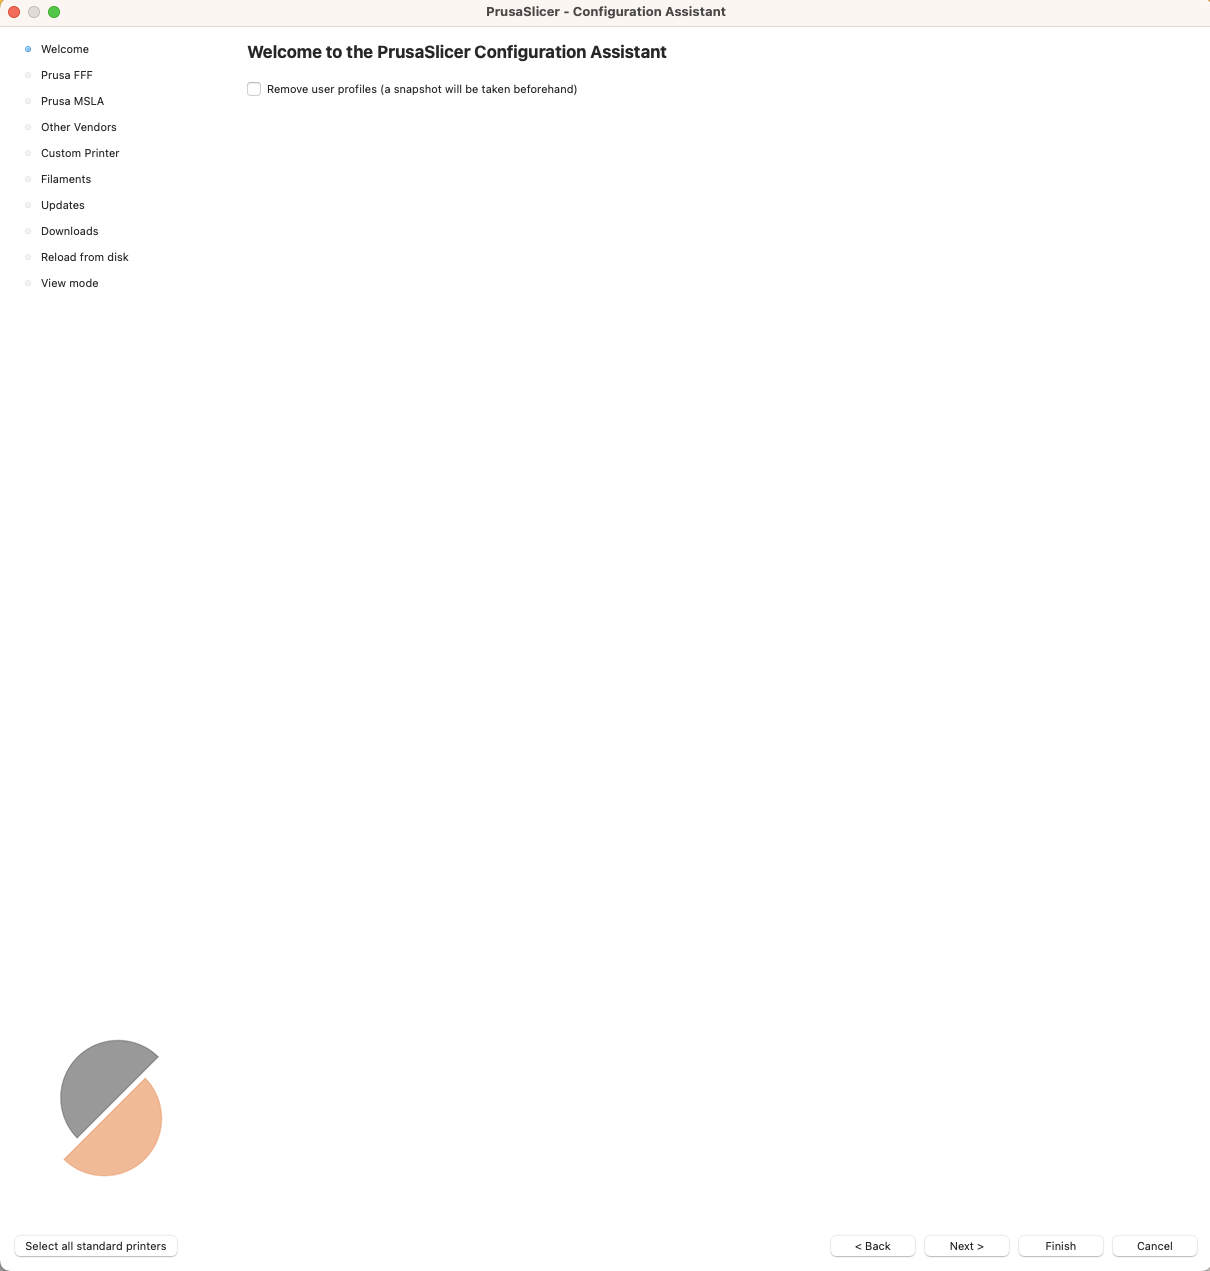
- On the first open, watch to see if the Configuration Assistant opens automatically
- If it doesn't, navigate to
Configuration > Configuration Assistant
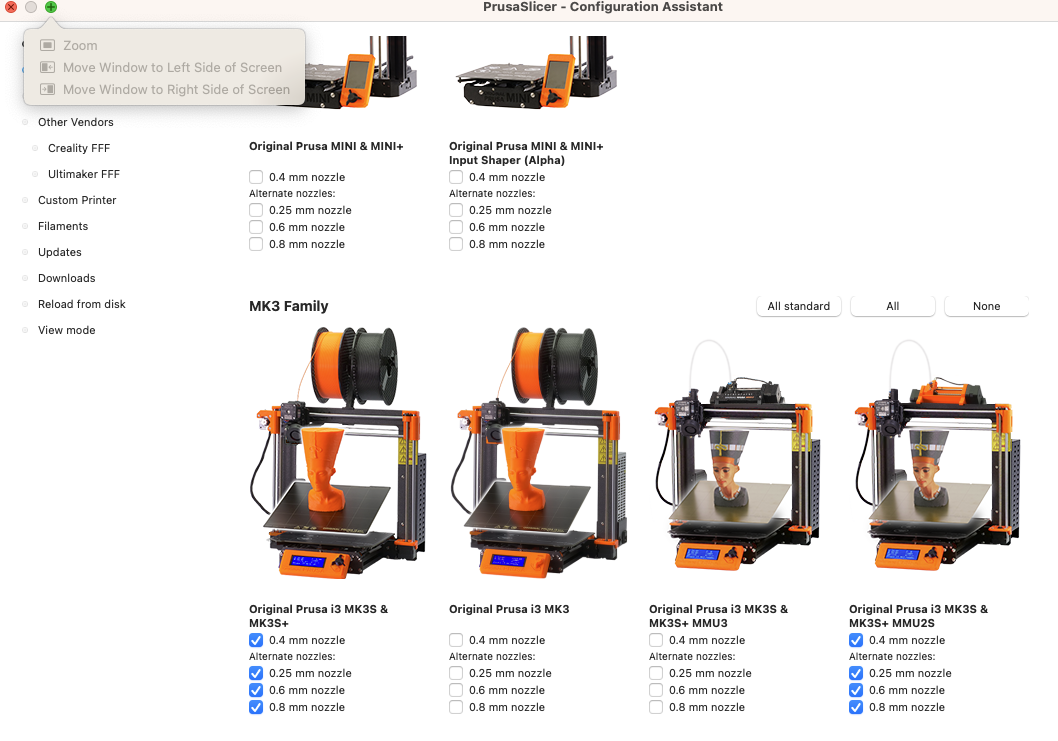
- Scroll down to Select all of the nozzle variations for the MK3S+ and MK3S+ MMU2S Printers (a WIP setup in the CE Lab)
- Click
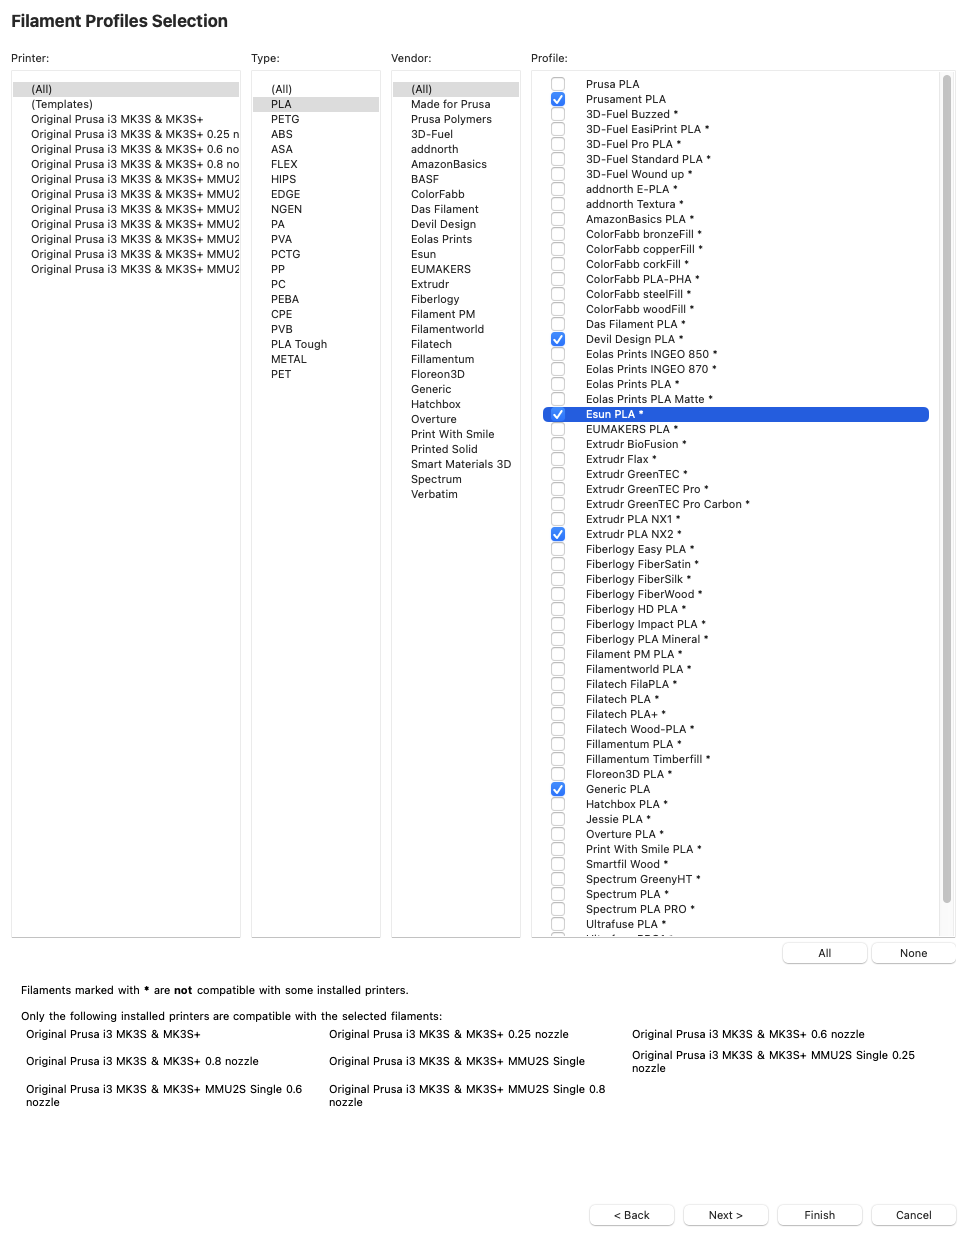
Nextuntil you arrive atFilaments(Filament Profiles Selection) - Filter by PLA, then select Prusament PLA, Esun PLA, Generic PLA, and Verbatim PLA. Others can be selected too, but these are the only 4 we currently make use of in the CE Lab.
- Keep Clicking
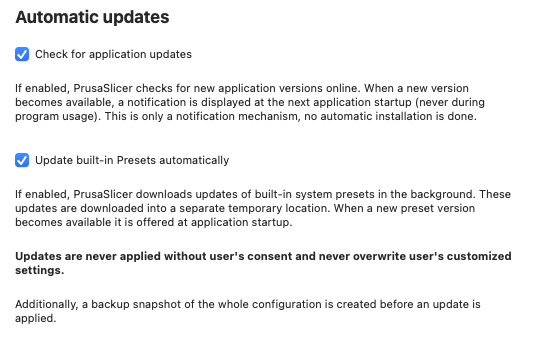
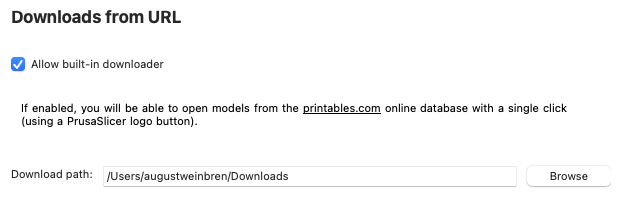
Nextand choose the settings shown below onUpdates,Downloads, andReload from Disk, respectively:

- On View Mode, I would recommend choosing
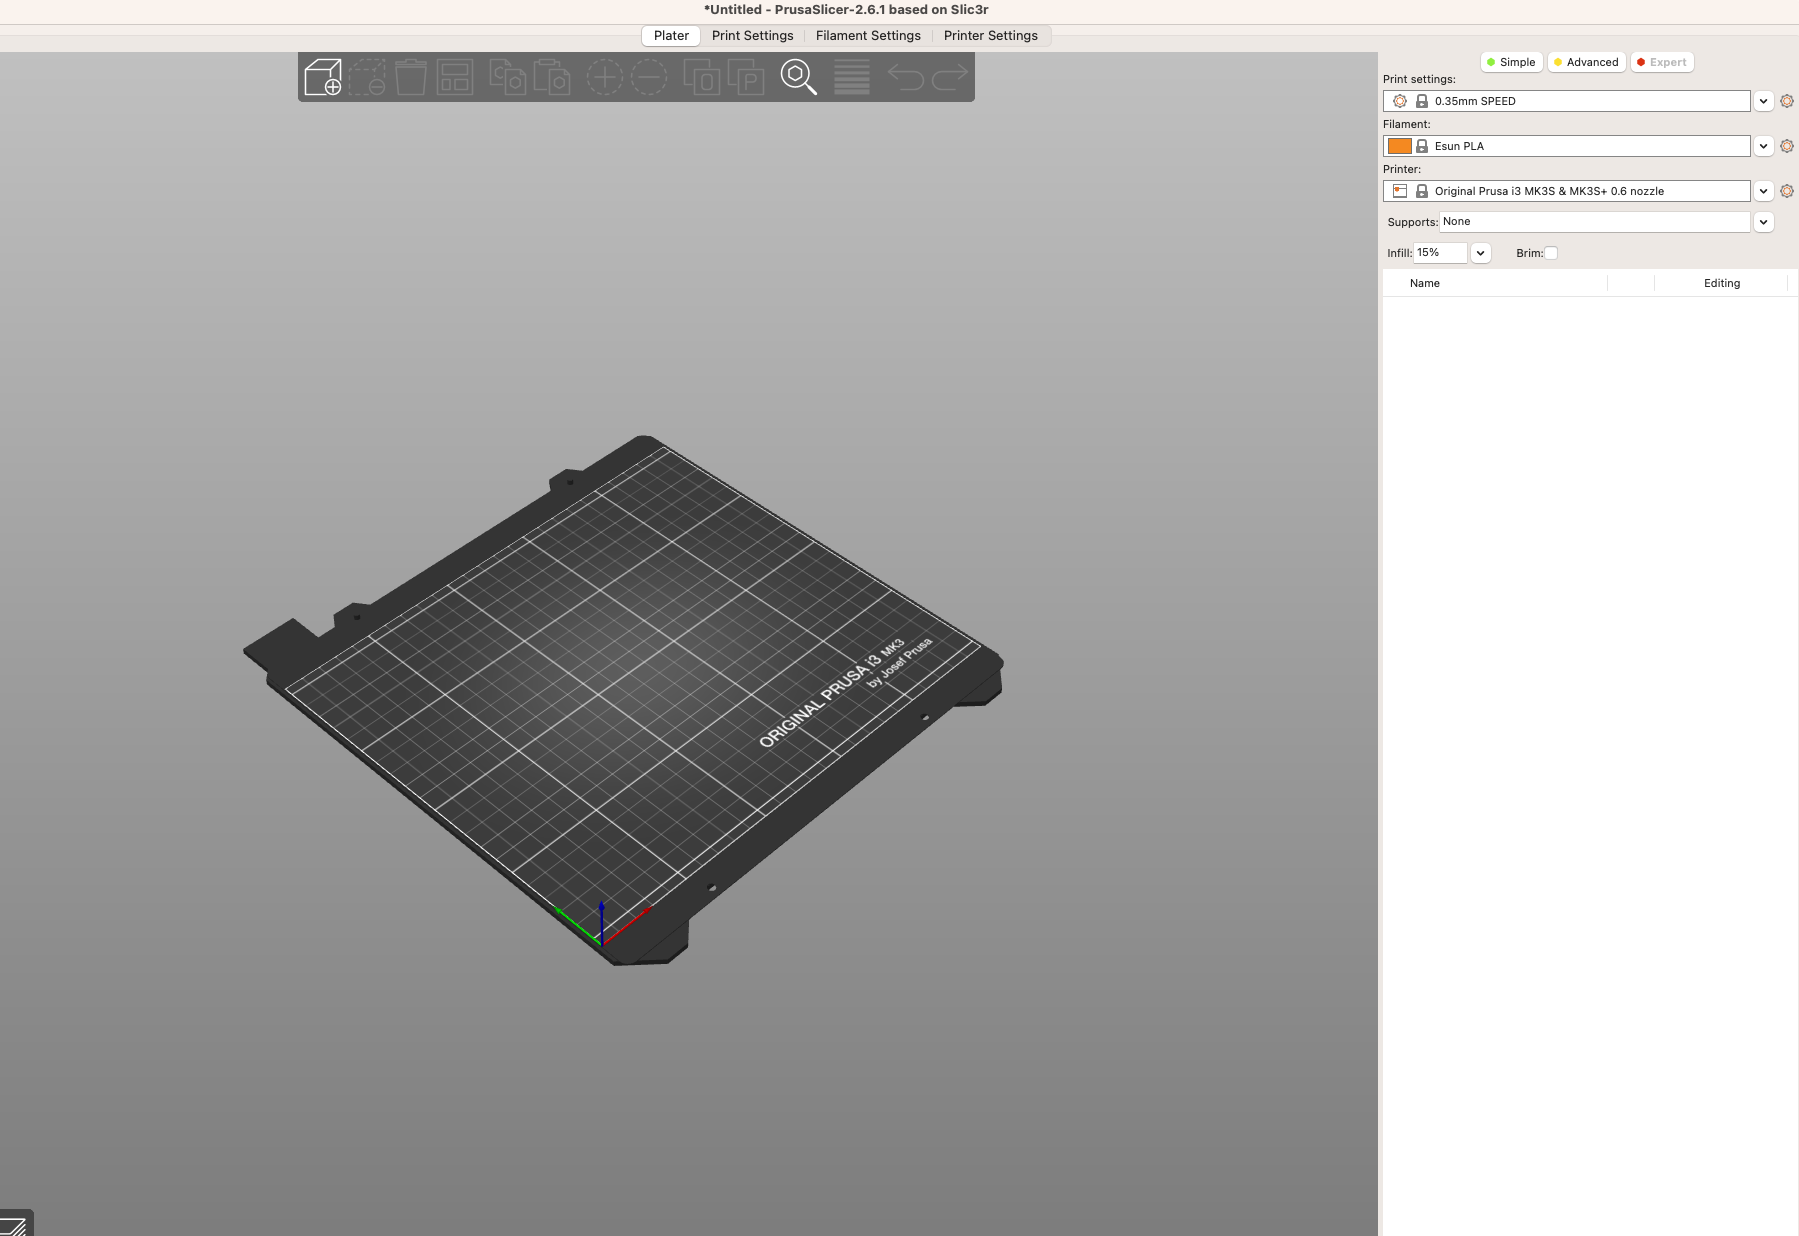
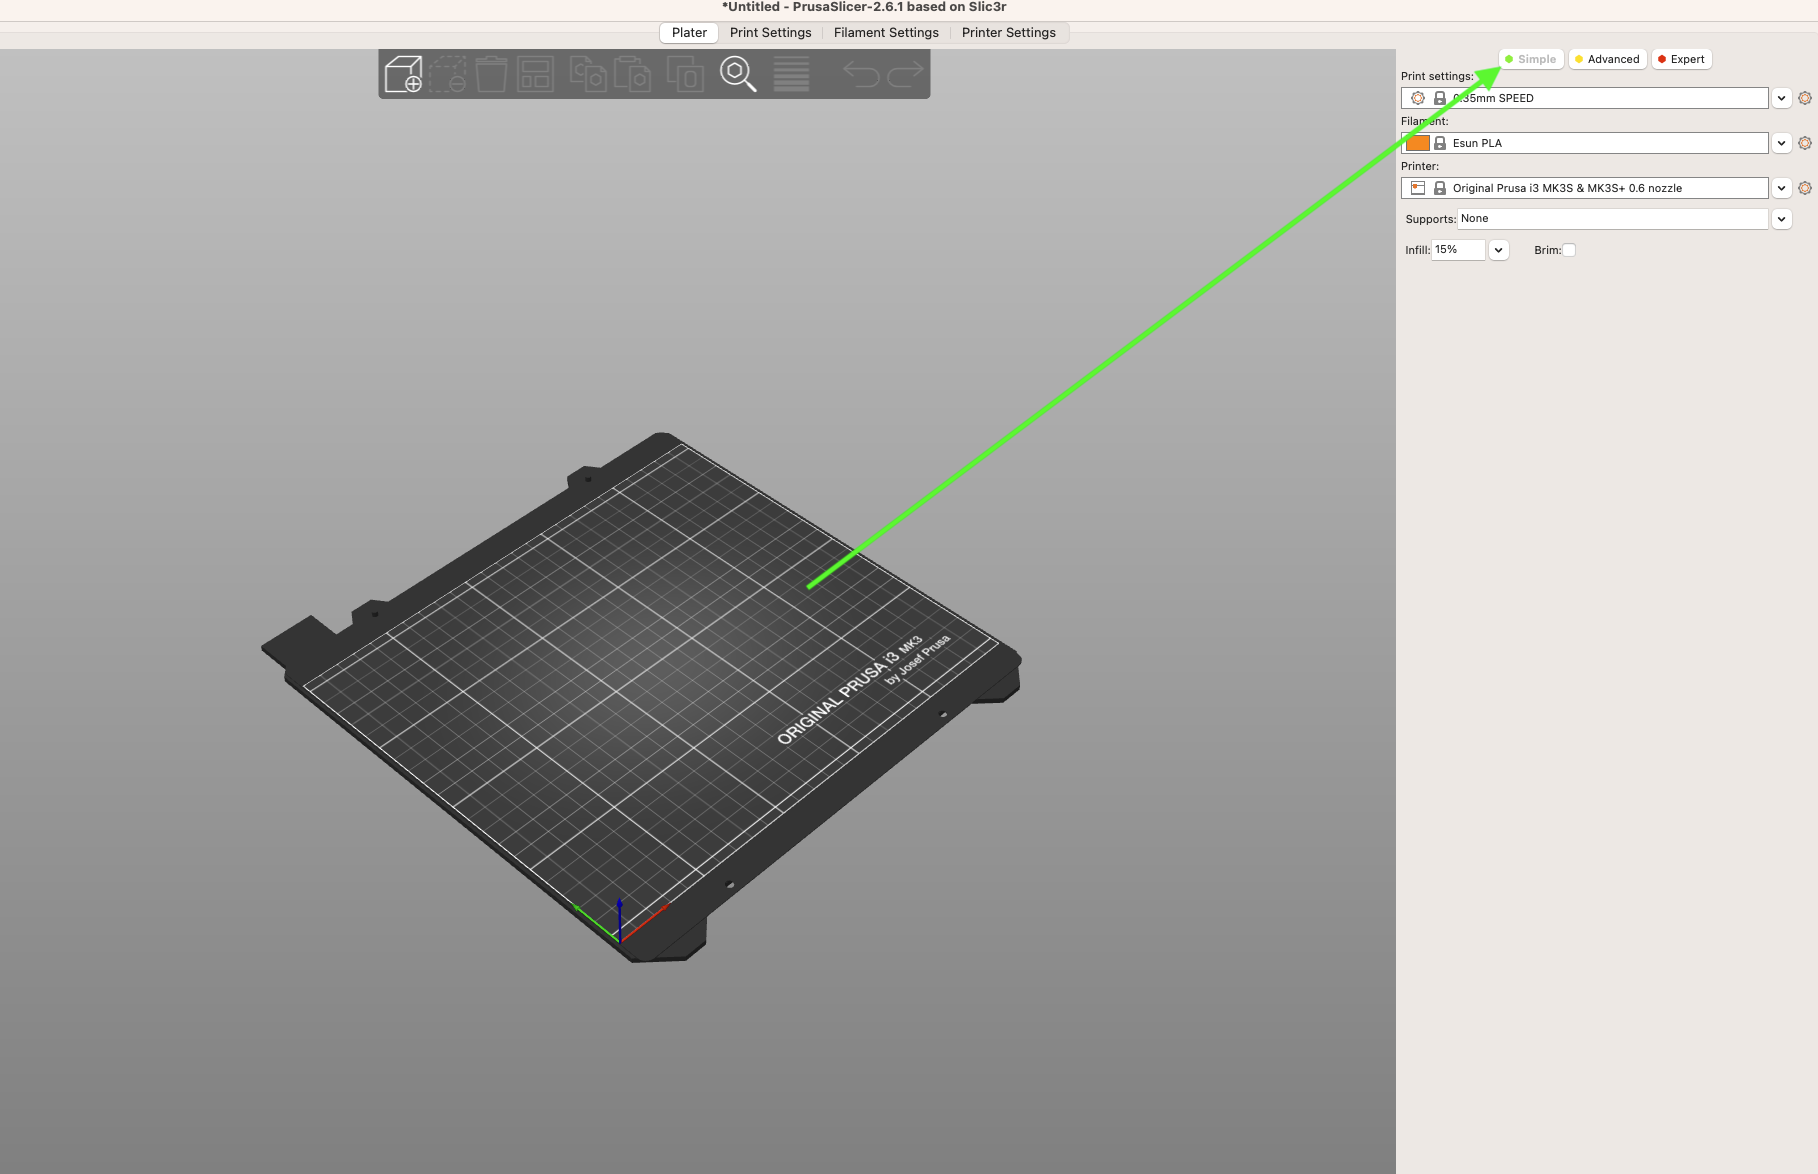
Expert Mode, because this will still highlight what are the most common settings that need changing (as visible in Simple mode) using green circles, but it will give you an idea of what is possible with a 3D Printer. It is also very easy to switch back and forth between Simple, Advanced, and Expert from Prusa Slicer's main window.
- Click
Finish; you can come back to this Assistant at any time.
- Import a Model by pressing
Ctrl-I > Import STL/3MF...
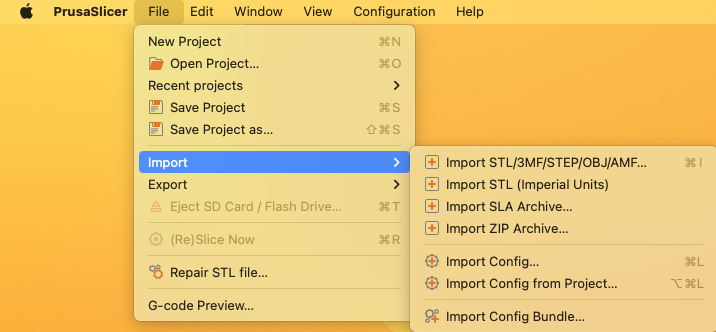
- Choose a Model from the directory you downloaded earlier, and it should appear in PrusaSlicer in the middle of the screen
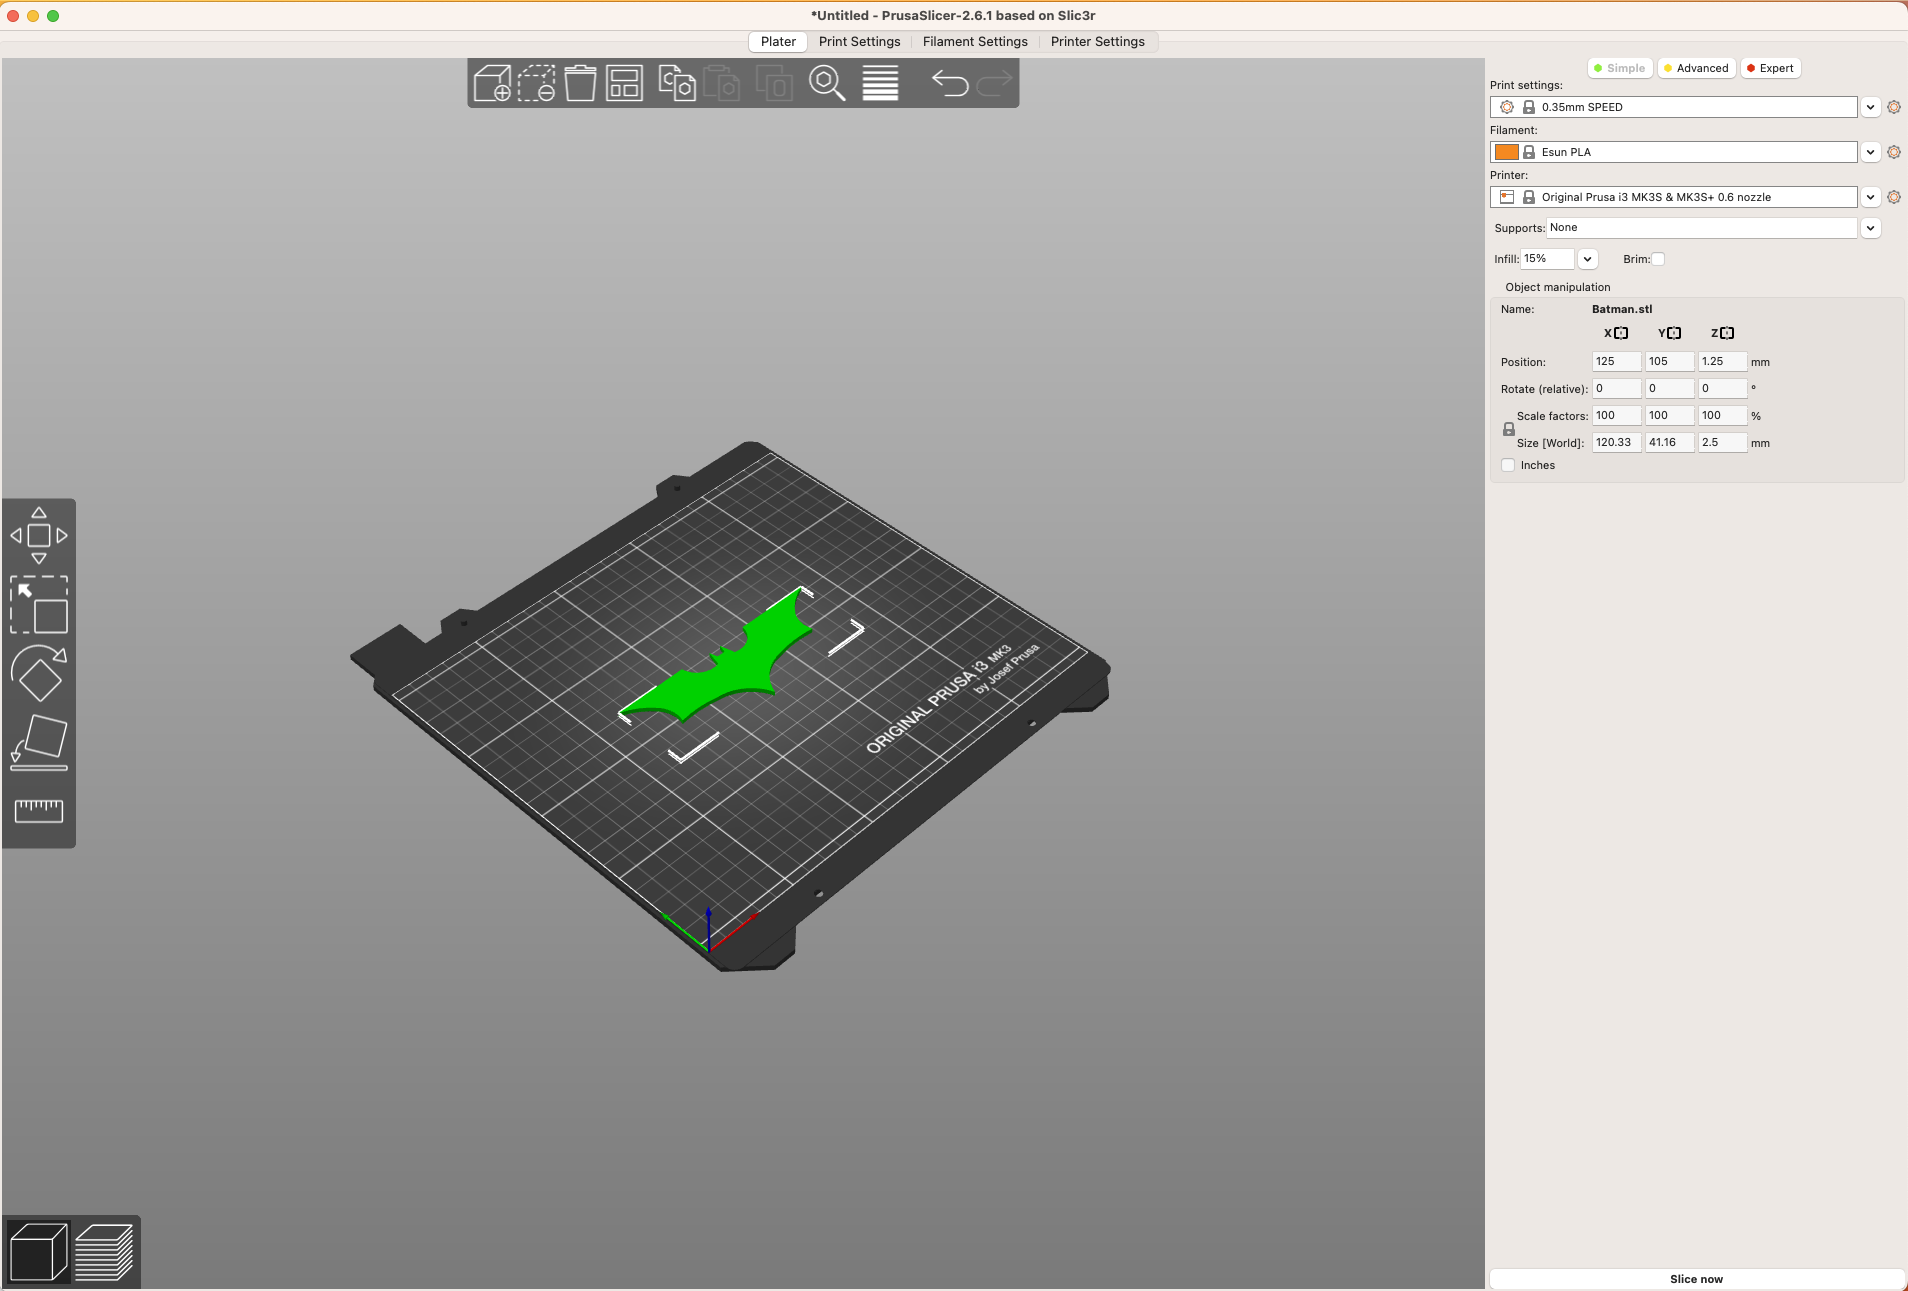
- Start by selecting the
Print Settings. A higher millimeter number here means a faster and more imprecise print. - Choose the
Printerand Nozzle Combination based on the label on the printer itself. Similar to thePrint Settings, a larger nozzle is less precise but prints faster. Make sure you have not accidentally selected the MMU for this first print.
For the 0.4 mm nozzle Printer setting, there is no nozzle size mentioned. This is because the 0.4 mm nozzle is the default that the printer comes shipped with.
- Check what filament is currently in the printer you would like to use by walking over and looking at the spool that is in place.
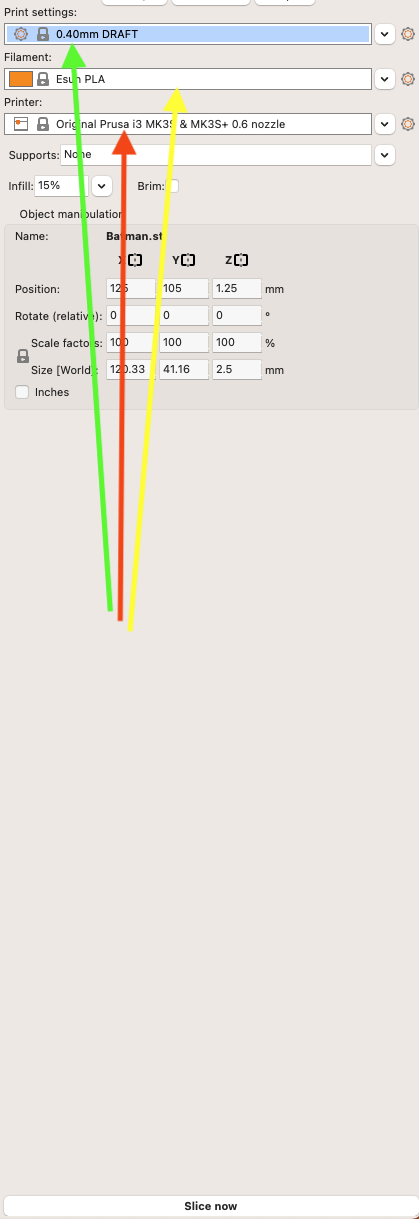
- Change the setting in the right sidebar accordingly:
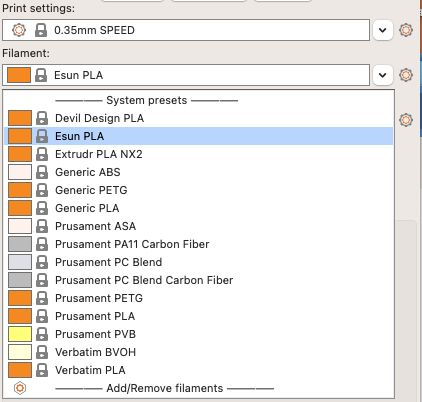
- In this tutorial, we assume that Esun PLA is the filament in place in the 3D Printer, but it could easily be a different brand when you complete this tutorial.
- If you cannot tell what brand it is, or if it is of none of the brands that Prusa has produced Filament profiles for, make sure that PLA is indeed the filament's material, and select "Generic PLA" if so.
- If you would like to use a different type of filament material, please speak to a 3D Printing-proficient staff member to any additional steps to take.
- Click Slice Now when you have checked that these three settings are correct.
- Depending on your model, you may receive a warning similar to the one shown below:
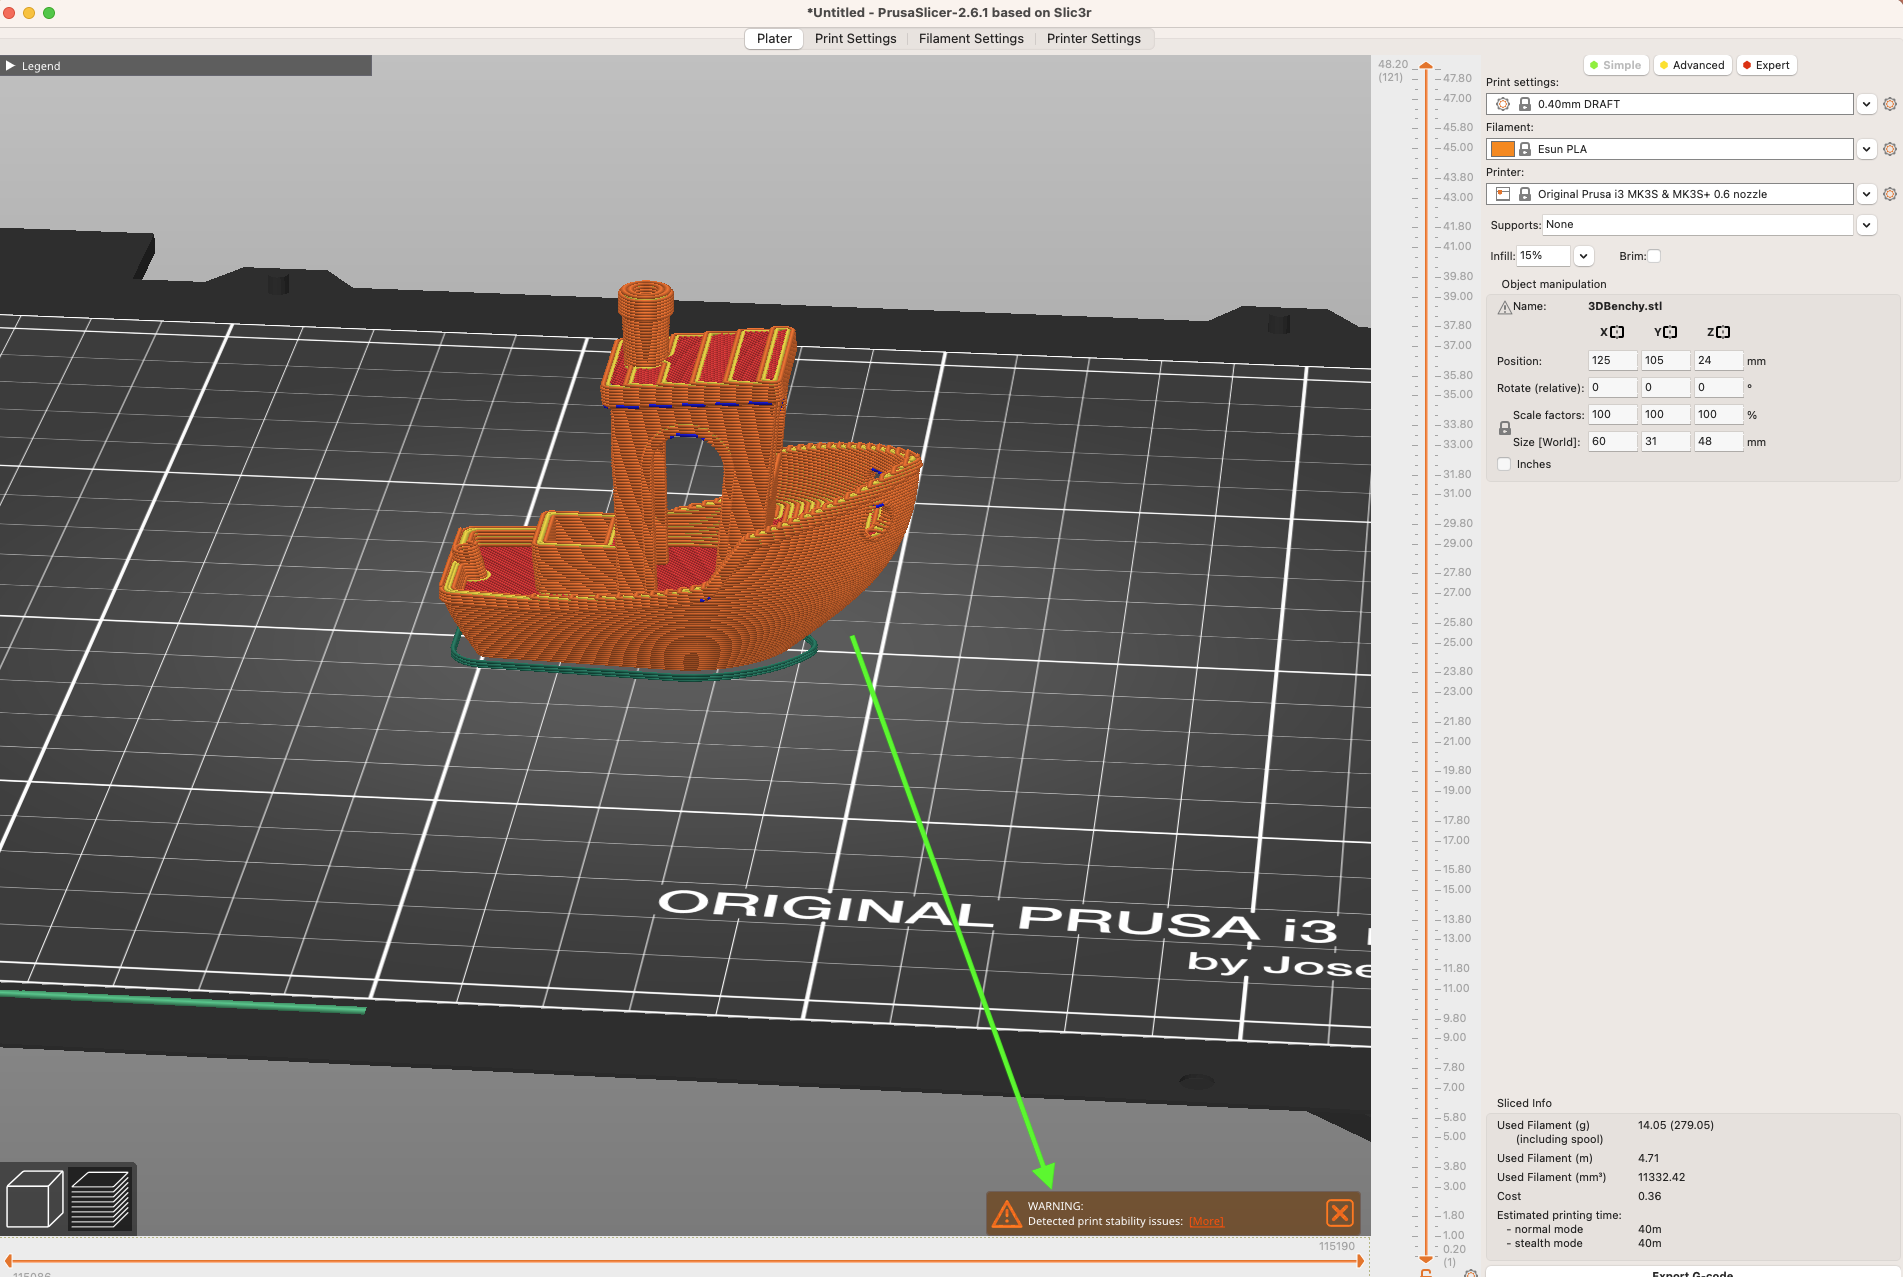
- Clicking
Morereveals the following:
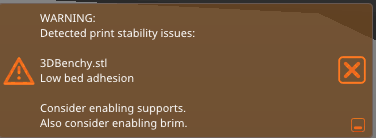
- As it suggested that the print may require supports and/or a brim, I tried adding a brim first, as it will have less of an effect on the print time and post-processing required than adding supports will:
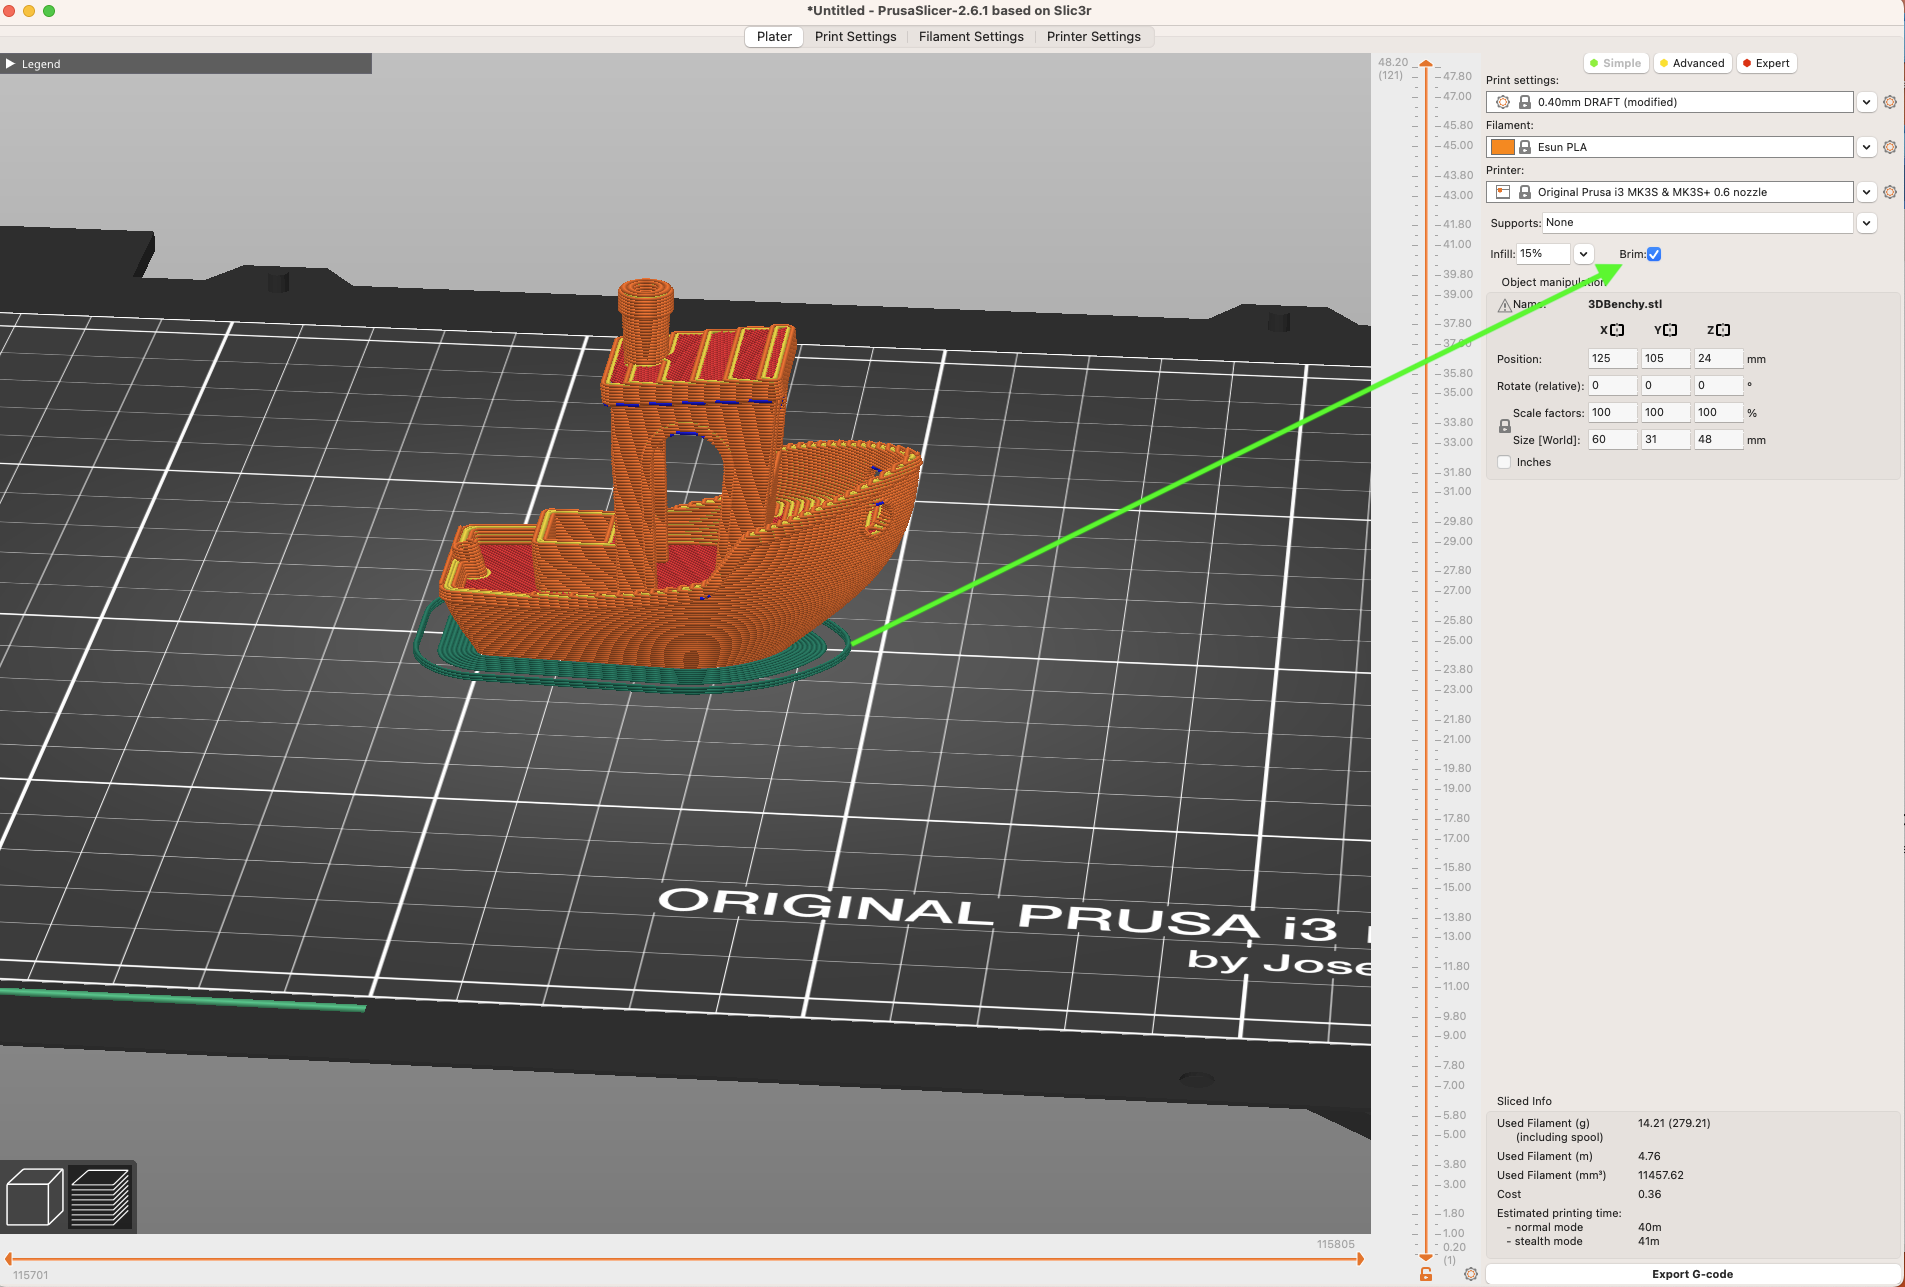
- Click
Slice Nowand see if the warning still occurs. If so, add supports to all areas as well. In this case, it did not so we can proceed.
For this step you will need to be connected to the CE-Hub-Student Wifi.
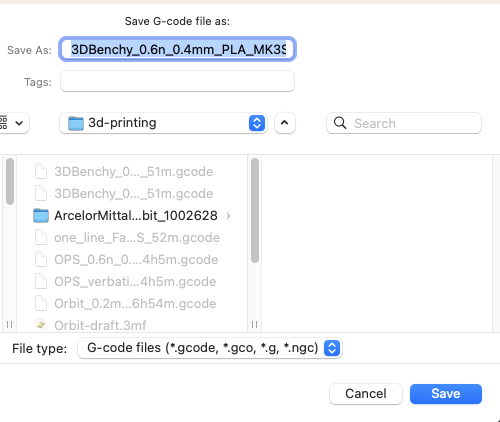
- Now that your 3D Model is sliced successfully without warnings, it is time to Export the G-Code and Upo (this is what the printer reads as instructions for printing).
- Navigate to OctoPrint. These are web servers that are hosted on Raspberry Pis which serve as a wireless interface to the printers. The printers are labelled in the top right with the associated OctoPrint URL (don't forget to type in the
httpscheme as part of the URL), and type in the Password which has been shared during the in-person session.
The URLs follow the pattern http://octopi-prusa-1.celab
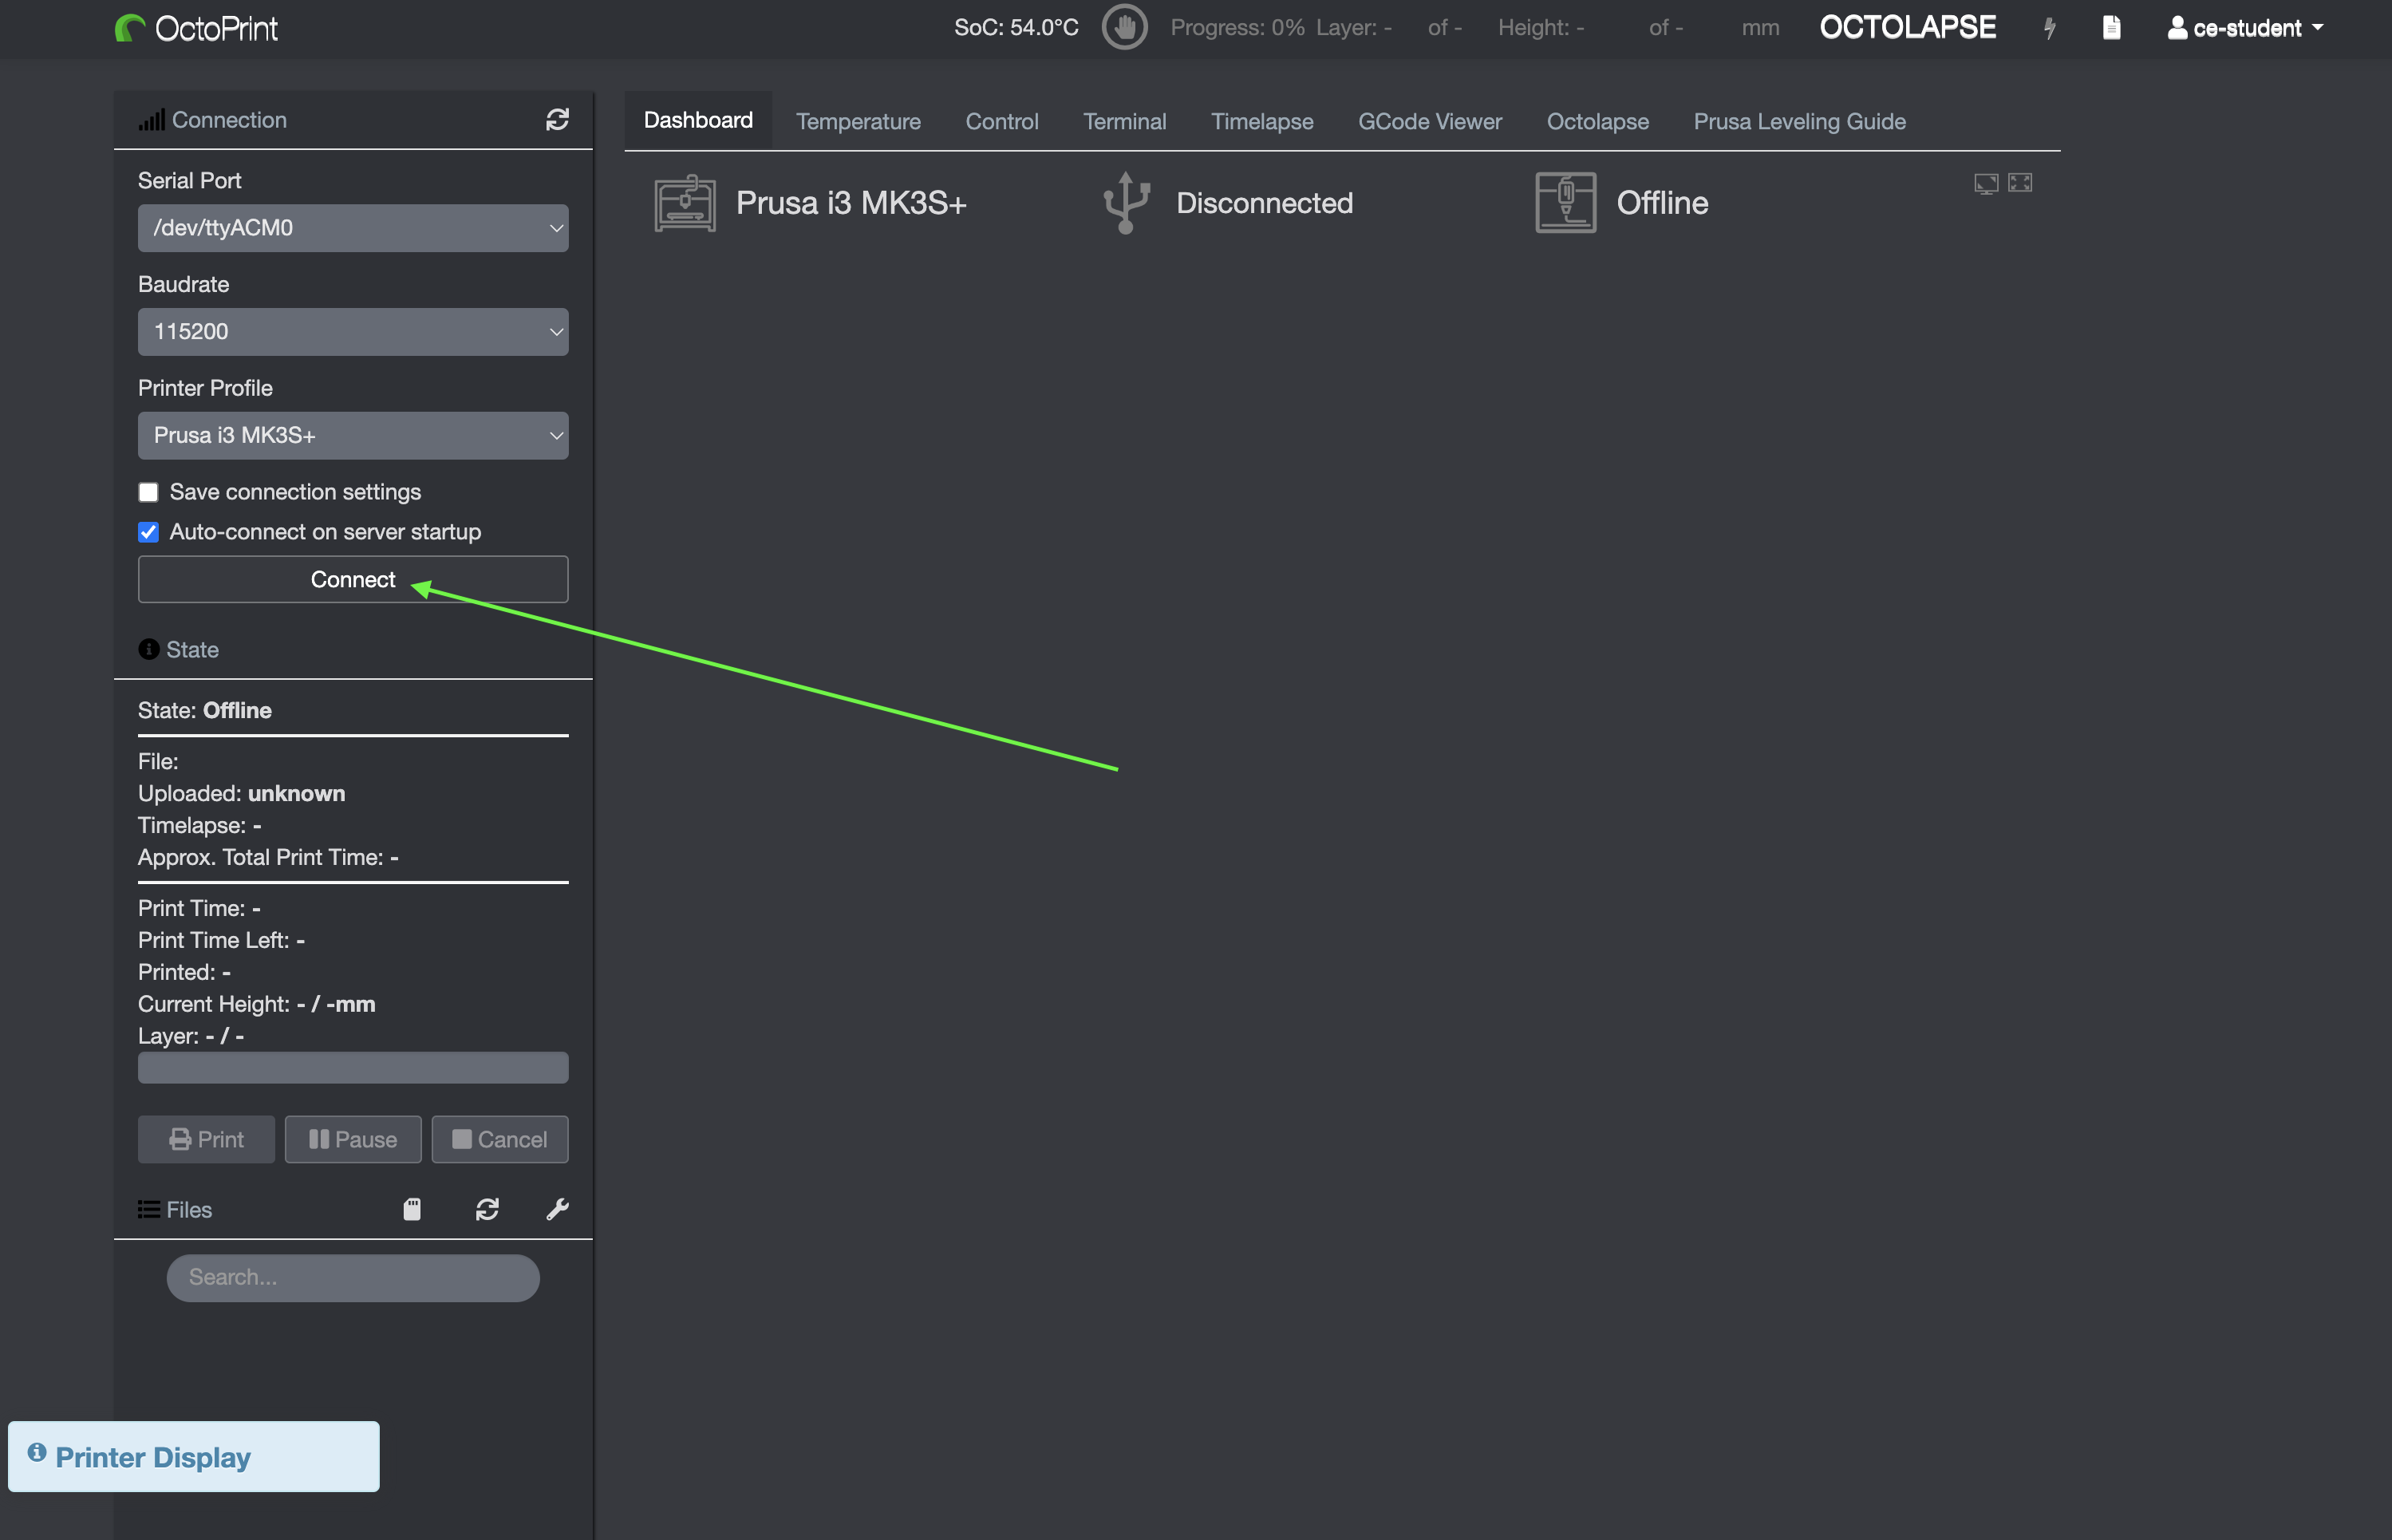
- After opening the web interface, it may be that the printer is disconnected. In this case, make sure the printer is turned on and hit the
Connectbutton to get the Octoprint website reconnected to the printer. This may take a minute, but the three screens below should guide what changes to the site content you can expect.
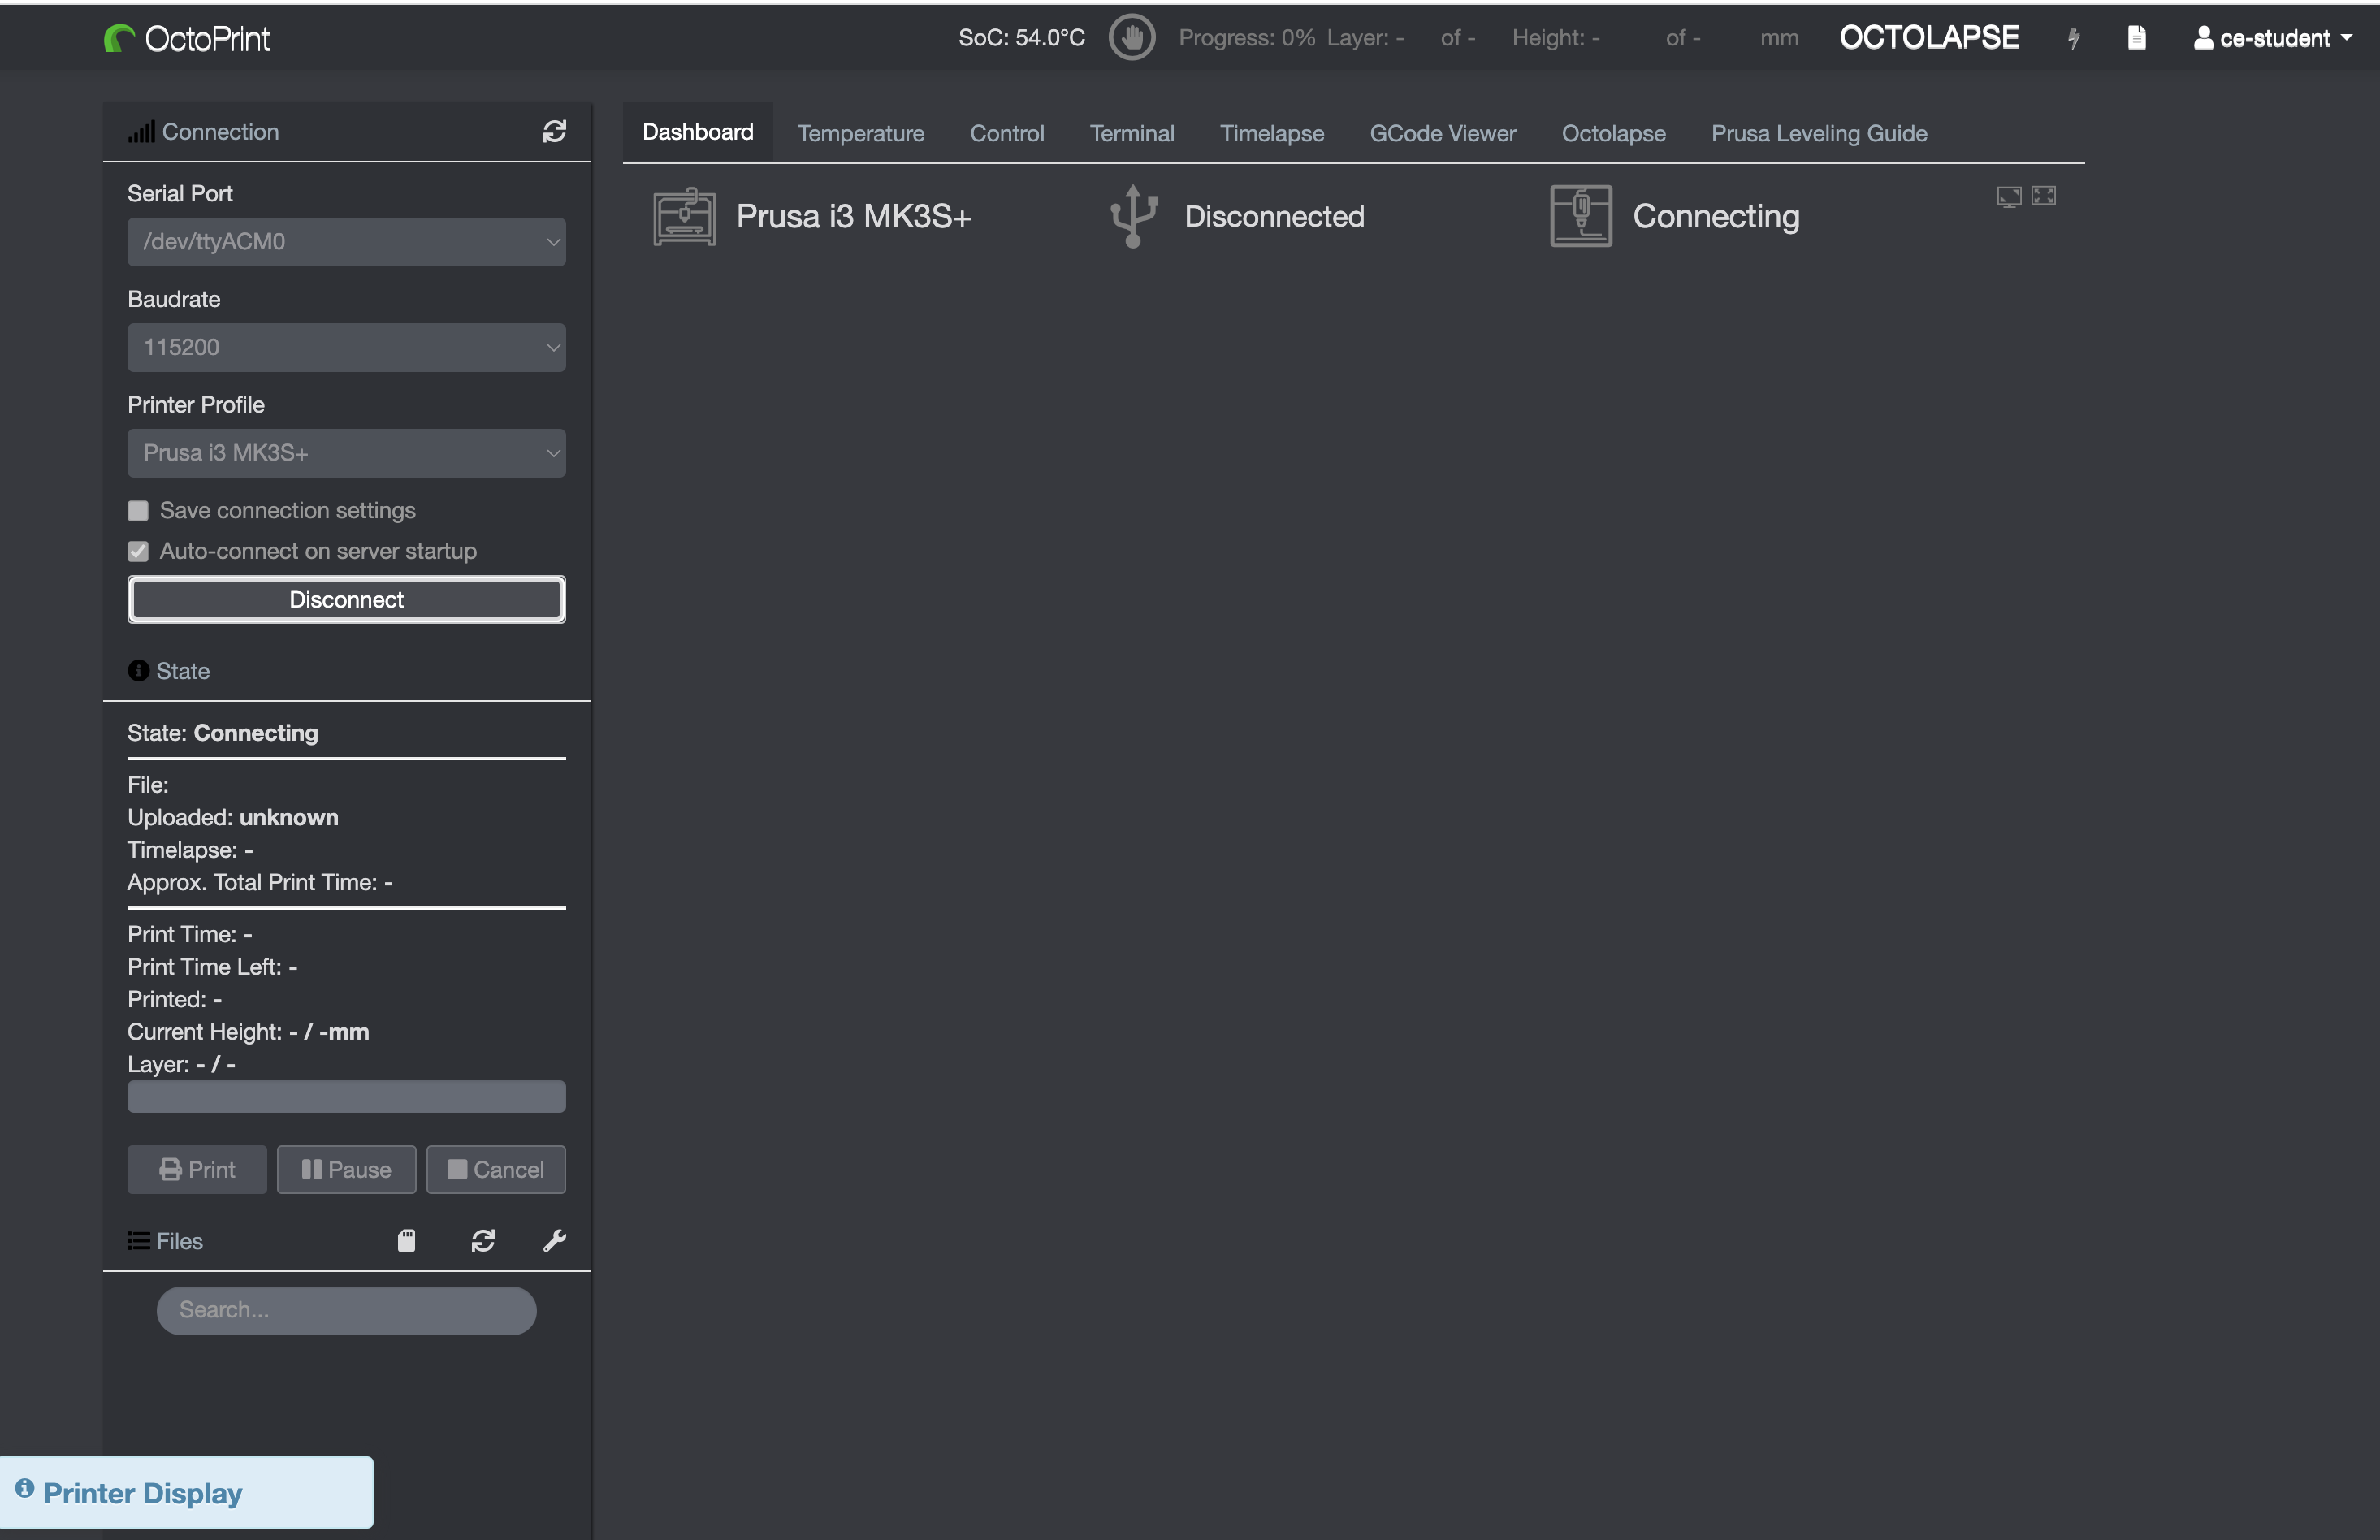
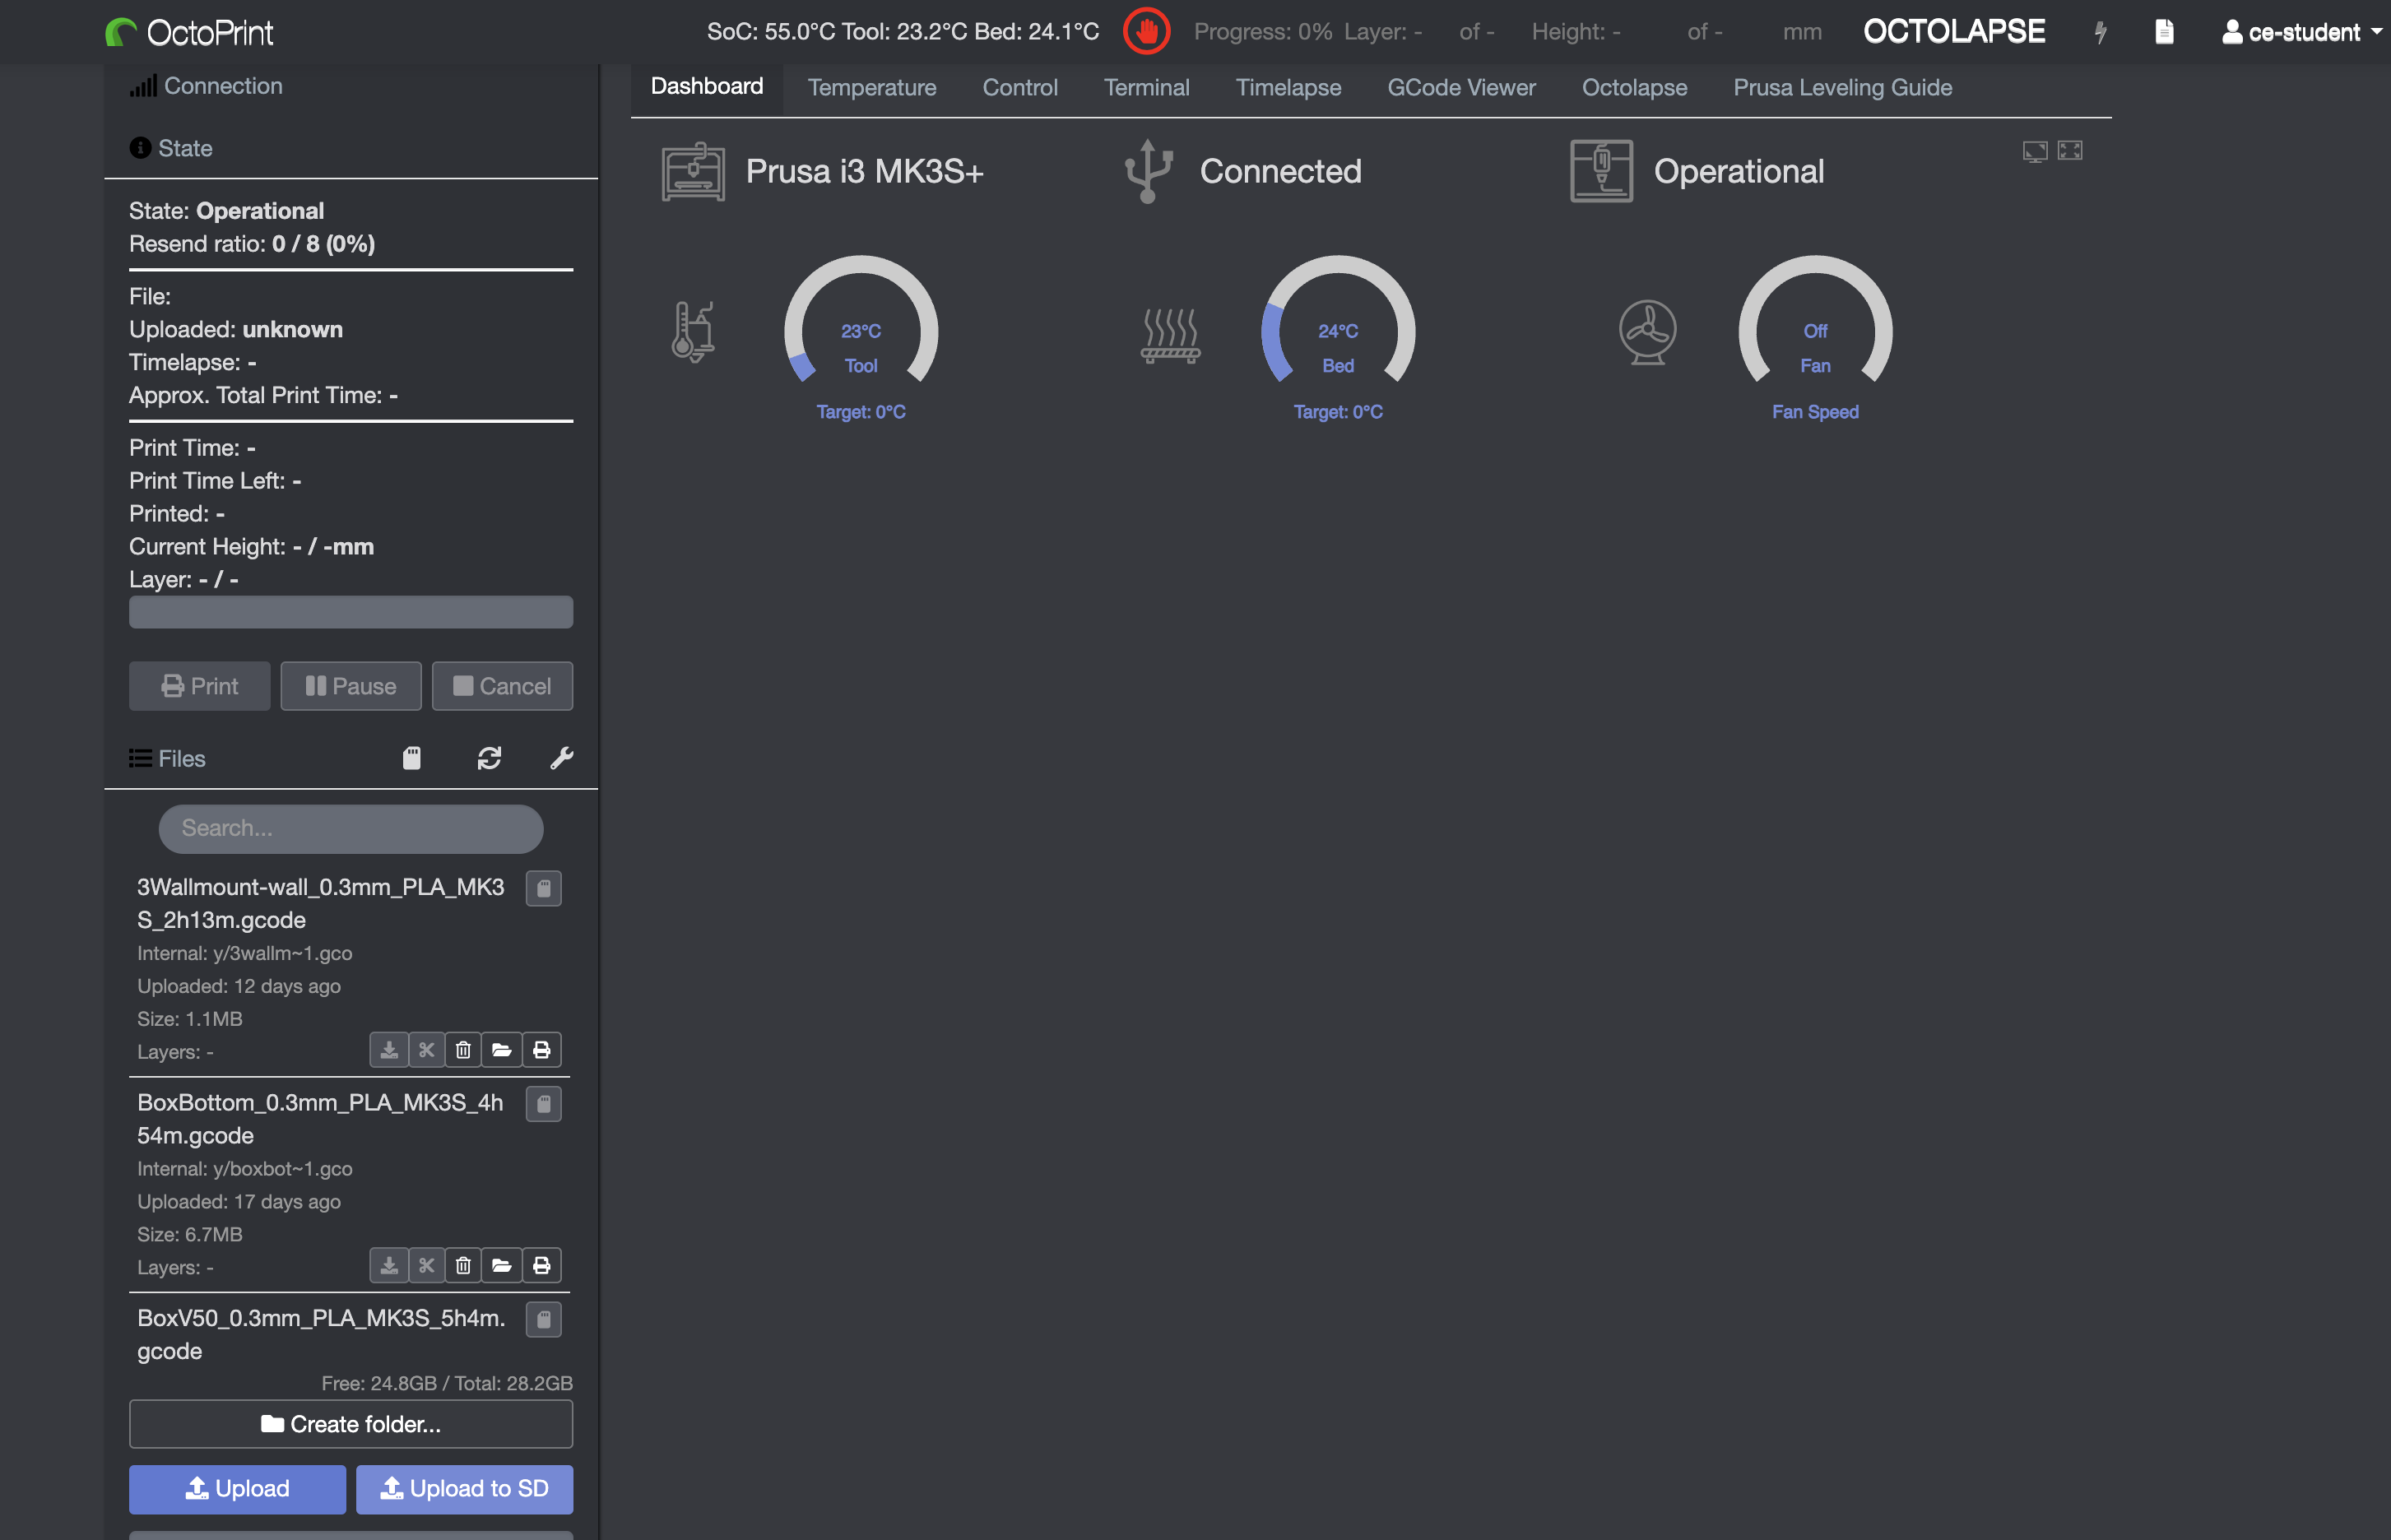
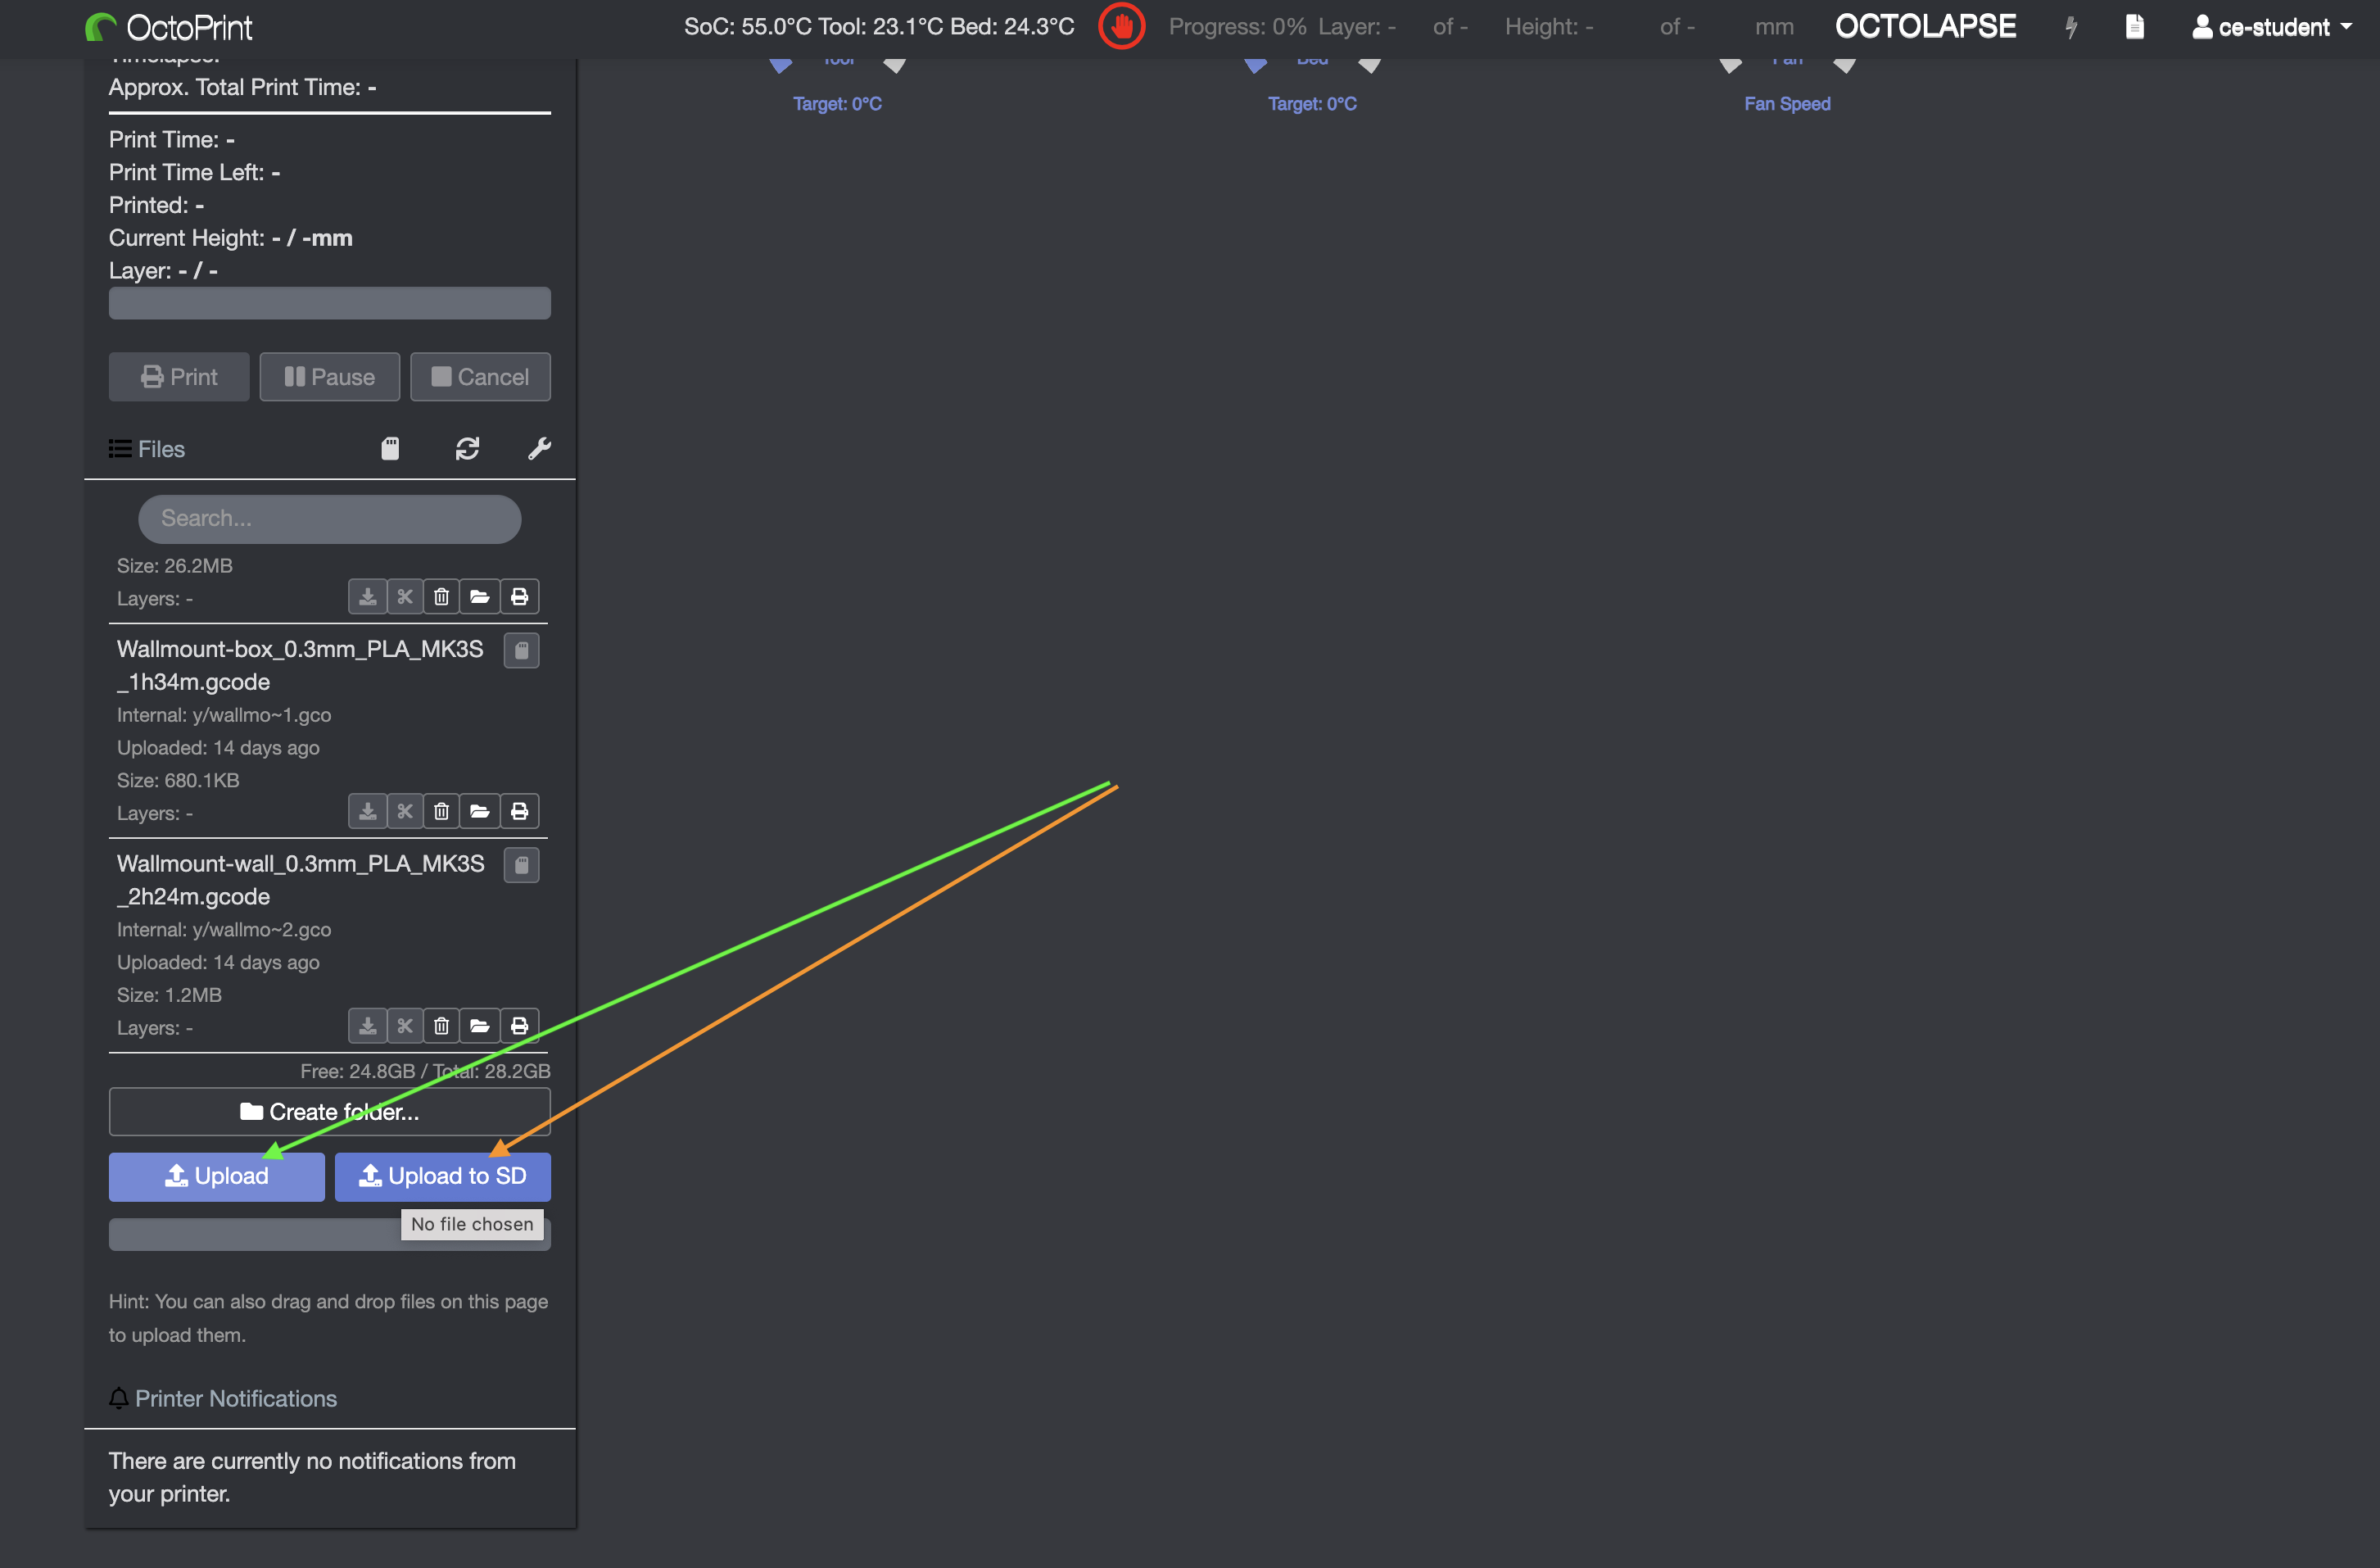
- Upload your G-Code to Octoprint using
Upload - You can alternatively use
Upload to SD, but this will be slower - Please read the following forum discussion to understand the difference
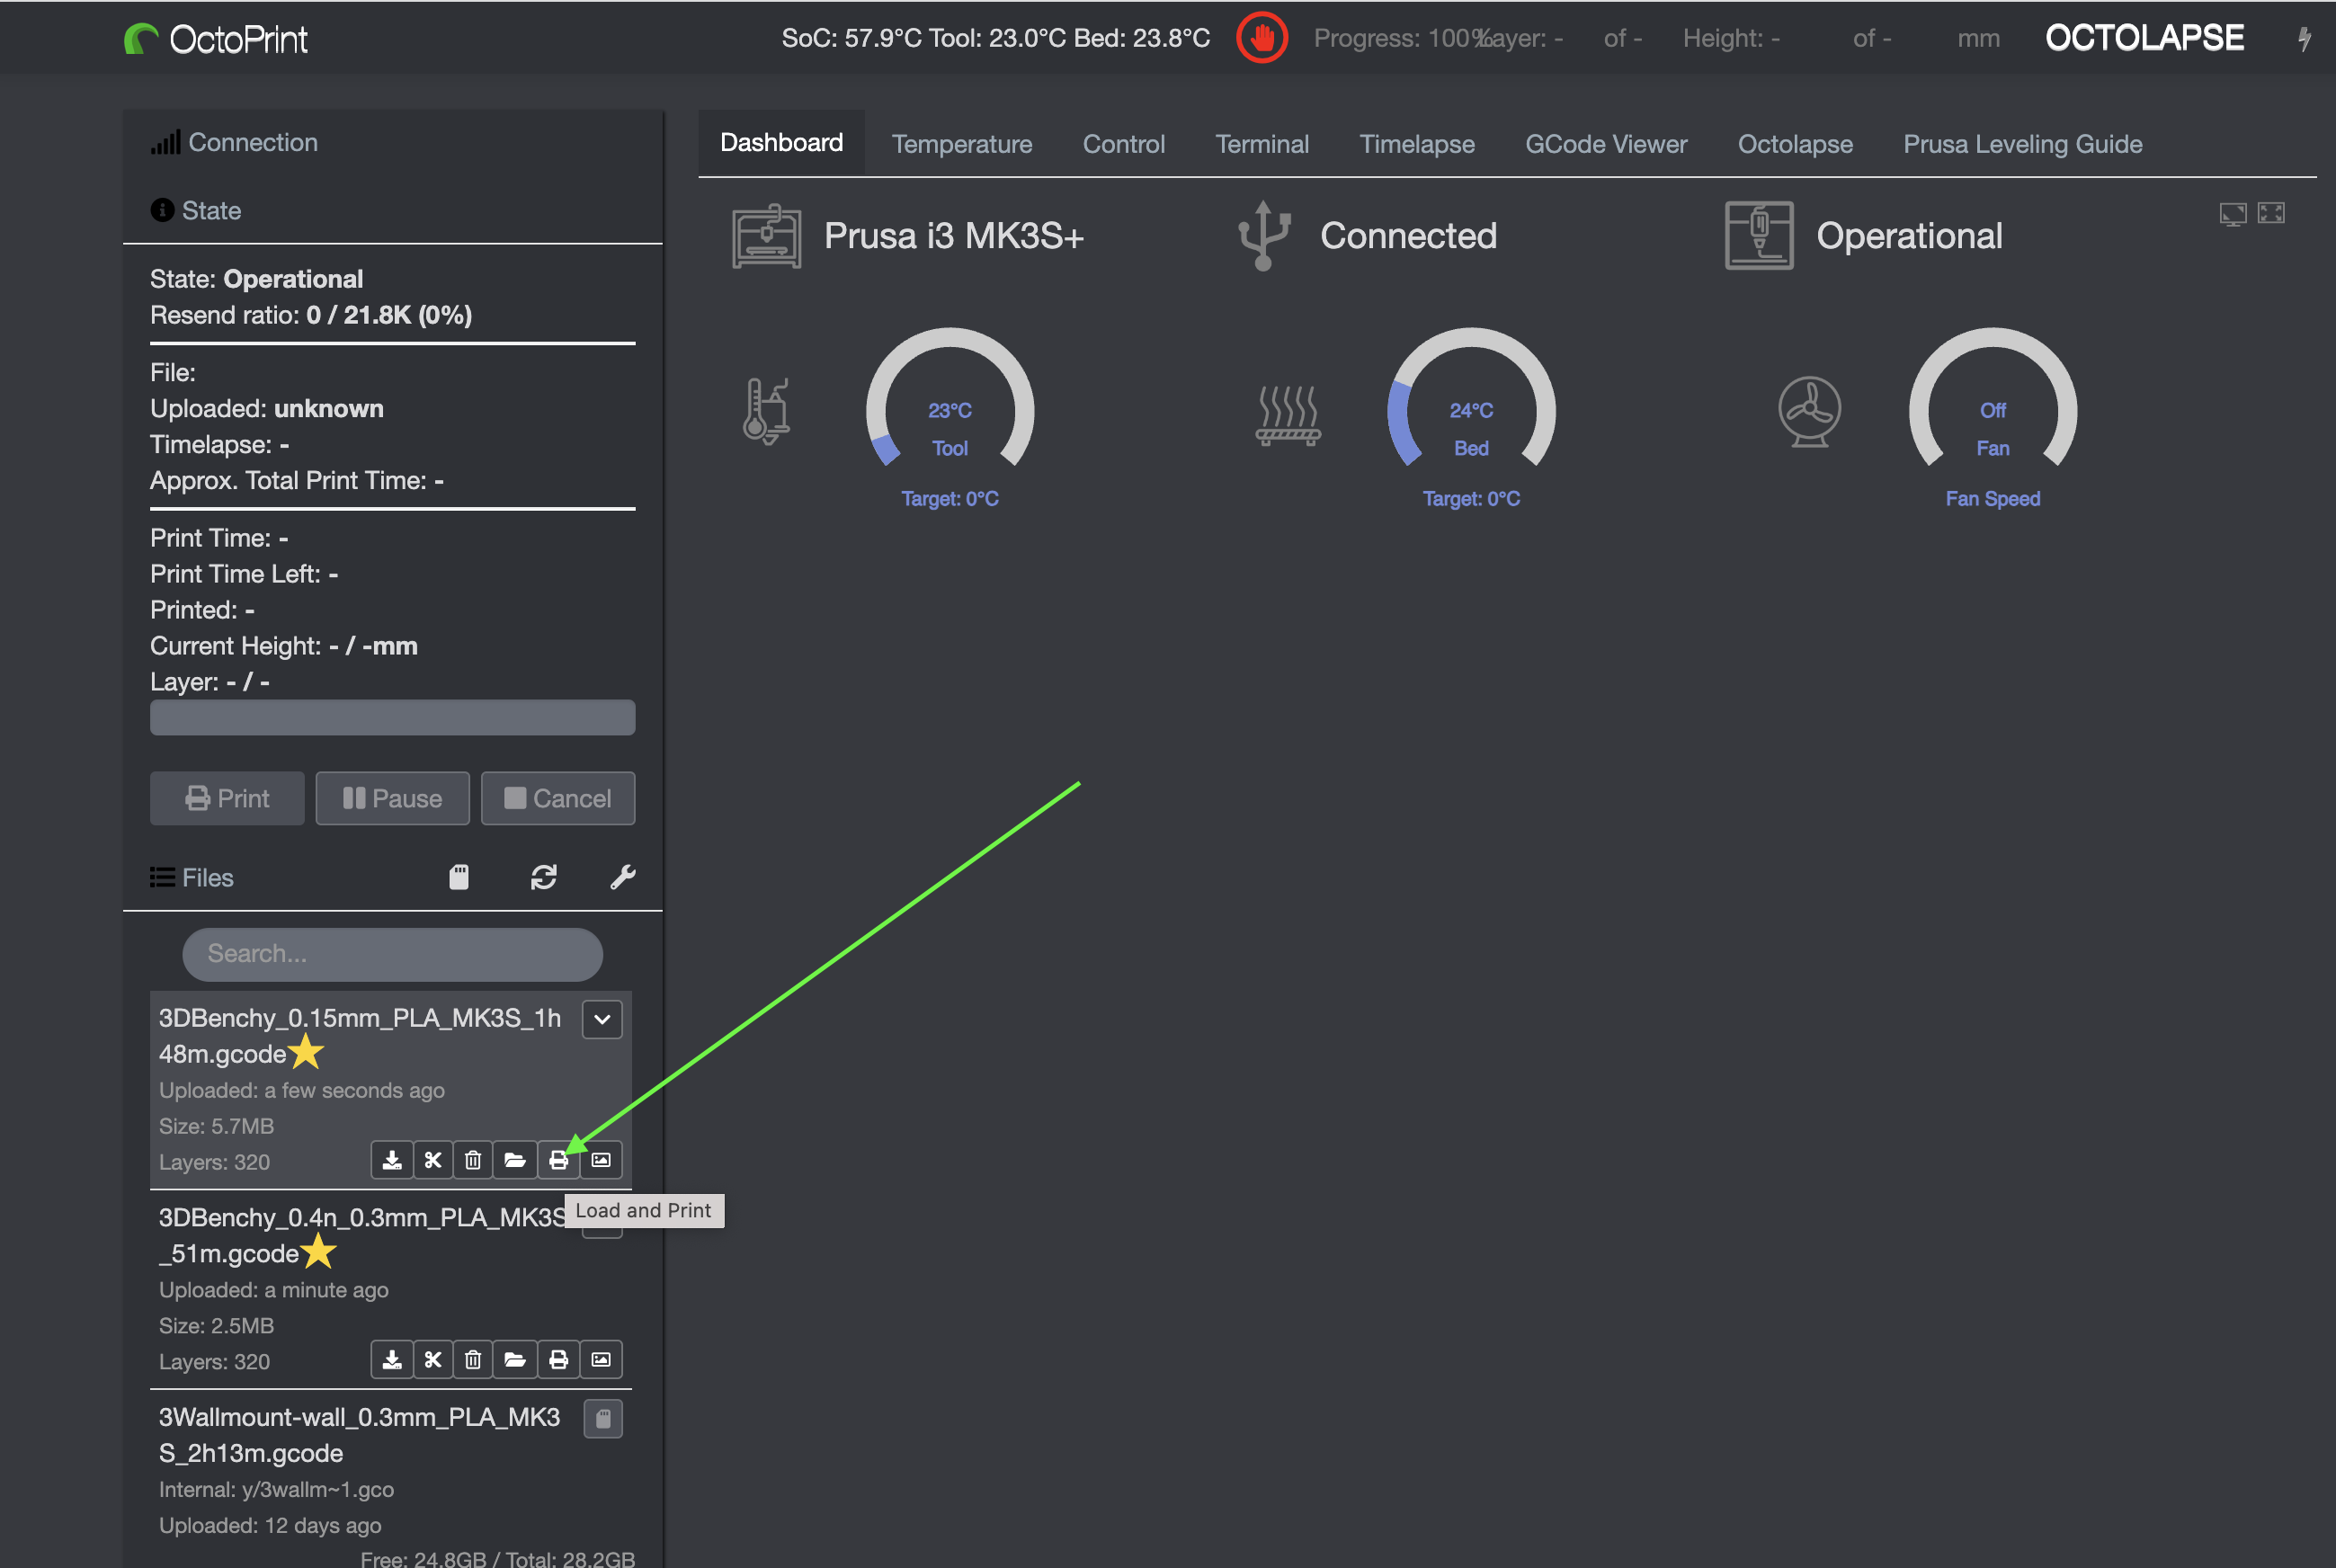
- Once you have uploaded the file, click on the Printer icon next to your upload and it should start printing automatically after the printer gets up to temperature!
