This workshop will show you how to:
- Add geo location service to the AR experience
- Add sounds and haptic feedback
To complete this workshop you will need:
- Unity 2021.3 or above
- UX Video from arfoundation-demos repository
- VS Code
- Unity scene with MQTT Gauge and Vuforia set up
Languages used:
- C#
Additional resources
The onboarding experience is an important aspect of any AR app. The main purpose is to let the user know how to use the App with straightforward information. Each application will have specific instructions, however, the initial steps (e.g. find a plane, place an object) are commonly used in any application.
There are no specific rules on how the onboarding experience needs to be, the important part is that the user needs to be informed, from the beginning, on what it needs to do to use the application (e.g. button to press, actions to perform).
Overlays video
One effective solution is to add overlaid videos and/or text to alert the user. Both uGUI and UIToolkit can be used for displaying and controlling the user interface. In this tutorial, we are going to use the new UIToolkit system.
UIDocument and UIBuilder
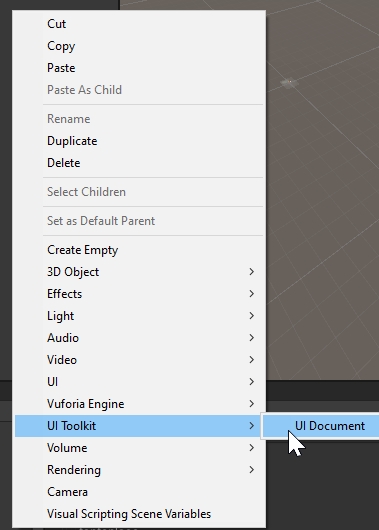
The UI Toolkit is controlled by a UIDocument GameObject, add a new one in the Hierarchy panel of the current scene
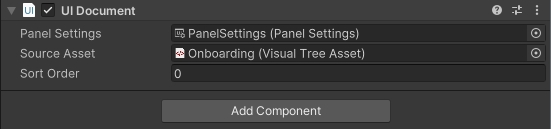
The UIDocument Asset is used to effectively build the UI. In the Project panel, inside a new folder, Create -> UI Toolkit -> UI Document, give a unique name (e.g. Onboarding) and add the asset to the Source Asset of the UI Document GameObject. The Sort Order value is used to control the order of visualisation of multiple UI Document GameObject.
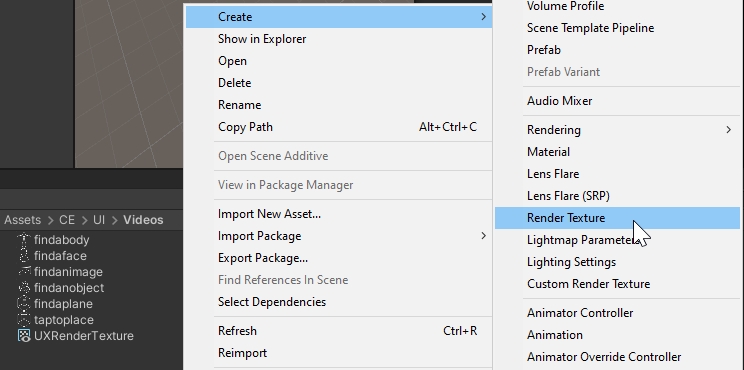
Before building the UI we need to prepare the Video Players used to control the onboarding AR videos. Import the findaplane.webm and taptoplace.webm in a subfolder of the Assets and inside the same subfolder create a RenderTexture named UXRenderTexture
Create, inside the UIDocument GameObject in the Hierarchy panel an empty GameObject named FindPlaneVideoP and add to it a VideoPlayer component
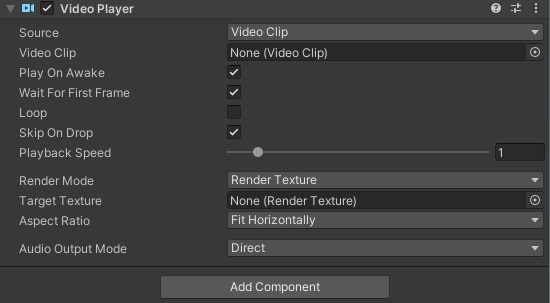
And use the following settings:
- Source: VideoClip
- Video Clip:
findaplane.webm - Play On Awake: checked
- Loop: checked
- Render Mode: Render Texture
- Target Texture:
UXRenderTexture
Clone the FindPlaneVideoP, rename it TapToPlaceVideoP and change the Video Clip with the taptoplace.webm. Also, disable this GameObject.
Select the UIDocument from the Hierarchy panel and, in the Inspector panel double click the Source Asset (i.e. Onboarding) to open the UI Builder
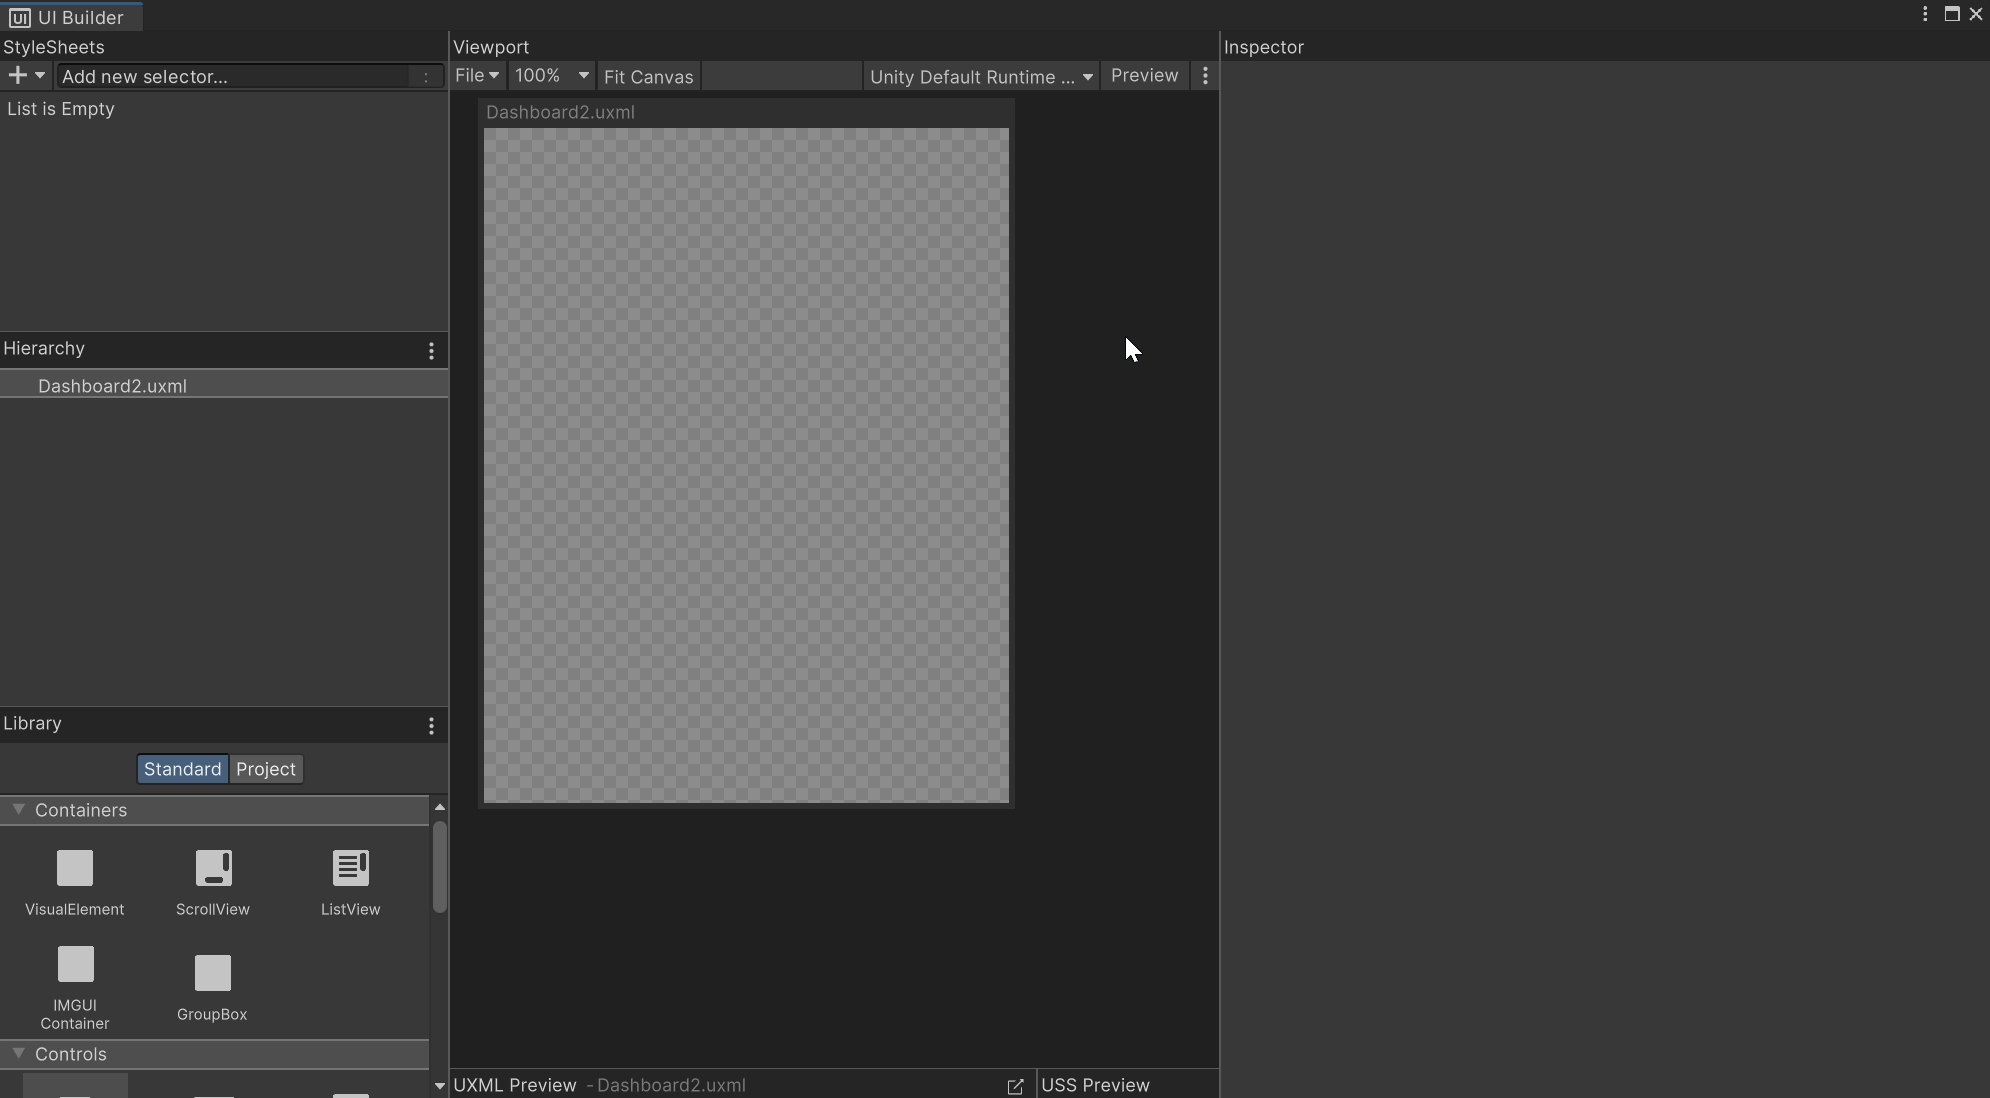
In the Hierarchy panel of the UIBuilder select the UIDocument Asset (the *.uxml file) and in the Inspector panel check Match Game View.
Drag and drop, from the Library panel the VisualElement container. This is the Parent of the entire UI, name it accordingly (from the Inspector Panel or by double click on it).
- Add to the
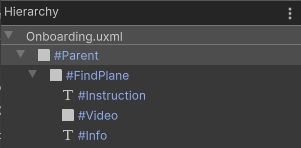
ParentVisualElement another VisualElement and name itFindPlane - Add to the
FindPlaneone last VisualElement nameVideoand two Label Control namedInstructionandInfo
Save the UI Builder (CTRL+S / COMMAND+S)
The final Visual Tree should be similar to the one in this image (note the order of the two Labels)
Select the Parent element and set the following parameters in the Inspector panel:
- Position -> Position: Relative
- Align -> Align Items: centre
- Align -> Justify Content: centre
- Size -> Size: both width and height 100%
- Margin & Padding -> Padding: Top 40% - Bottom 40%
Select the FindPlane element and set the following parameters in the Inspector panel:
- Position -> Position: Absolute
- Align -> Align Items: centre
- Align -> Justify Content: centre
- Size -> Size: both width and height 100%
Select the Video element and set the following parameters in the Inspector panel:
- Position -> Position: Relative
- Size -> Size: both width and height 40%
- Size -> Min -Max -> Max: Width: 300px; Height: 300px
- Size -> Min -Max -> Min: Width: 200px; Height: 200px
- Background -> Image: Render texture,
UXRenderTexture - Background -> Scale Mode: Scale to fill (third icons)
Select the Instruction element and set the following parameters in the Inspector panel:
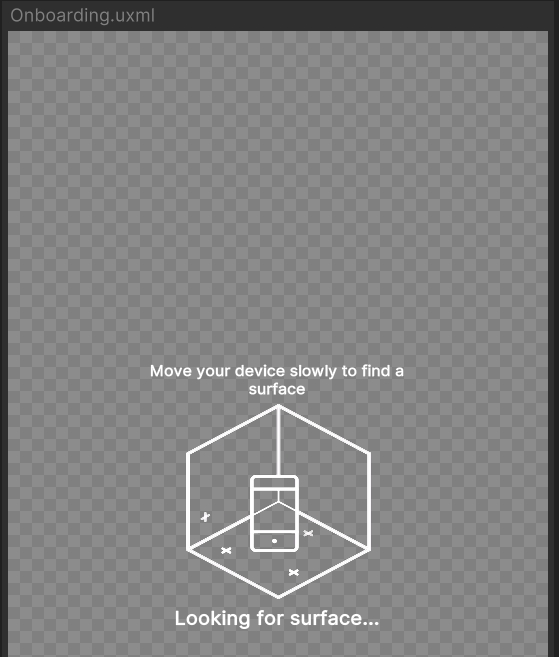
- Label -> Text:
Move your device slowly to find a surface - Position -> Position: Relative
- Size -> Size: both width 50%
- Margin & Padding -> Margin: 2px 4px 4px 2px
- Margin & Padding -> Padding: 1px 2px 4px 4px
- Text -> Font Style: Bold
- Text -> Size: 20px
- Text -> Color: White
- Text -> Align: Centre
- Text -> Wrap: Return
Select the Info element and set the following parameters in the Inspector panel:
- Label -> Text:
Looking for surface... - Position -> Position: Relative
- Size -> Size: both width 50%
- Margin & Padding -> Margin: 2px 4px 4px 2px
- Margin & Padding -> Padding: 1px 2px 4px 4px
- Text -> Font Style: Bold
- Text -> Size: 25px
- Text -> Color: White
- Text -> Align: Centre
- Text -> Wrap: Return
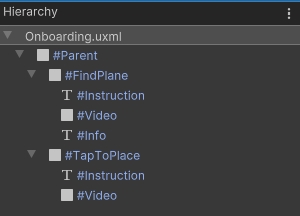
Select the FindPanel again and Duplicate it (right click). Change its name to TapToPlace. Remove the Info element and change the Label -> Text from the Inspector panel in Tap to Place. In the Inspector panel select Display -> Display -> hide icon to hide the UI object
Finally, for the Parent, FindPlane and TapToPlace, in the Inspector panel select VisualElement -> Picking Mode -> Ignore. The Picking Mode Ignore allows us to click behind the UI and place the object on the detected surface.
Save the UI Builder (CTRL+S / COMMAND+S)
Control the UI
The UI contains now two states, one for finding the surface and one to place the digital object. To control visibility of each state it is possible to use the events fired by Vuforia.
Create a new C# Script named UI_Behaviour
using UnityEngine;
using Vuforia; //import the Vuforia library
using UnityEngine.UIElements; //Import the UI Toolkit

//The GameObject must be the PlaneFinder and the following components are needed
[RequireComponent(typeof(PlaneFinderBehaviour))]
[RequireComponent(typeof(ContentPositioningBehaviour))]

public class UI_Behaviour : MonoBehaviour
{
    public UIDocument UIOnborading; //The UI Document Onboarding

    //The the Visual Elements from the UI Document
    private VisualElement findPlaneUI;
    private VisualElement tapToPlaceUI;

    // The two video players
    public GameObject findPlaneVideoP;
    public GameObject tapToPlaceVideoP;

    private PlaneFinderBehaviour m_PlaneFinder;
    private ContentPositioningBehaviour m_ContentPositioning;

    bool isContentVisible = false;

    private void Awake()
    {
        findPlaneUI = UIOnborading.rootVisualElement.Query<VisualElement>("FindPlane");
        tapToPlaceUI = UIOnborading.rootVisualElement.Query<VisualElement>("TapToPlace");

        m_PlaneFinder = GetComponent<PlaneFinderBehaviour>();
        m_PlaneFinder.OnAutomaticHitTest.AddListener(planeListener); //Event Fired when a plane is detected/found automatically

        m_ContentPositioning = GetComponent<ContentPositioningBehaviour>();
        m_ContentPositioning.OnContentPlaced.AddListener(contentPlaced); //Event fired when the content is created (user Tap)
    }


    void planeListener(HitTestResult htr)
    {
        //Plane found, turn off UI and Video
        findPlaneUI.style.display = DisplayStyle.None;
        findPlaneVideoP.SetActive(false);

        if (isContentVisible)
        {   //Content created, turn off UI and Video
            tapToPlaceUI.style.display = DisplayStyle.None;
            tapToPlaceVideoP.SetActive(false);
        }
        else
        {
            //Content is not created yet, keep the UI on and the Video
            tapToPlaceUI.style.display = DisplayStyle.Flex;
            tapToPlaceVideoP.SetActive(true);
        }
    }
    void contentPlaced(GameObject gobj)
    {
        isContentVisible = true; //if the content is there

        //Content created, turn off UI and Video
        findPlaneUI.style.display = DisplayStyle.None;
        findPlaneVideoP.SetActive(false);
        tapToPlaceUI.style.display = DisplayStyle.None;
        tapToPlaceVideoP.SetActive(false);
    }
}
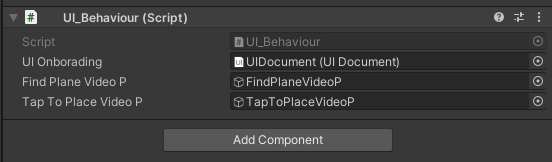
Add the script to the Plane Finder GameObject and set the public variables
Run the scene and using the Ground Plane Emulator (Packages\Vuforia Engine AR\Vuforia\Databases\ForPrint\Emulator\Emulator Ground Plane.pdf) control that the UI behaviour is working correctly.
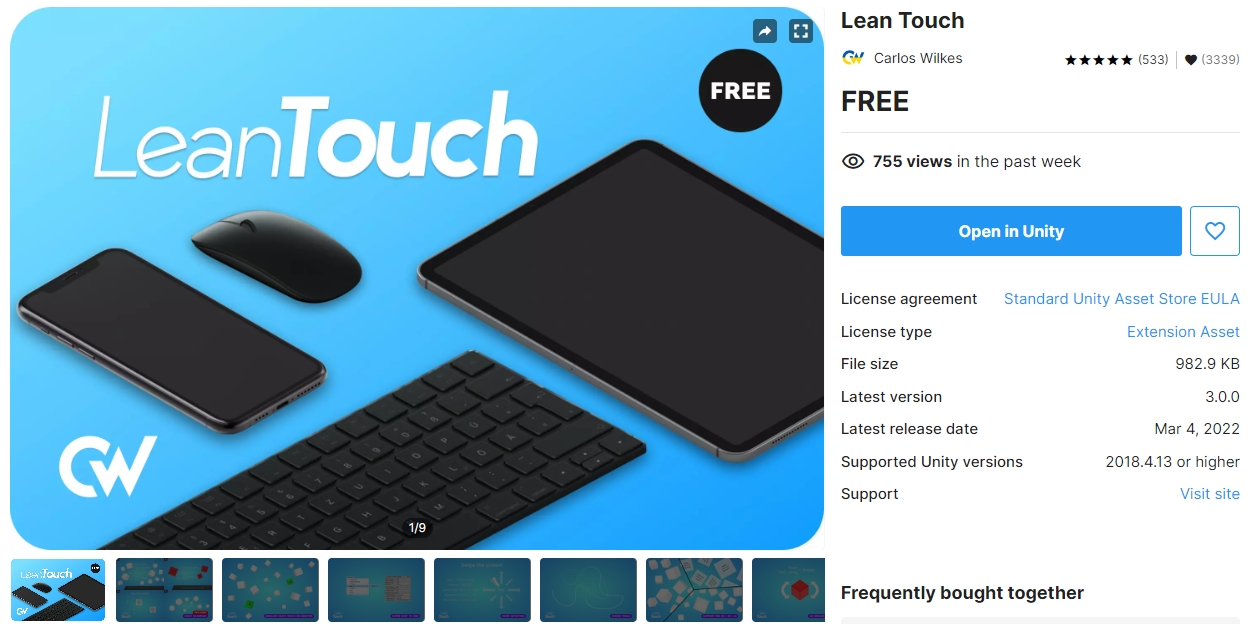
The Lean Touch Asset provides a quick and easy way to add multiple gestures to your AR project without writing (almost) any code.
Installation is a two-step process, firstly you need to download the Unity Assets (there are two versions of LeanTouch, the Free version is enough for our needs) from the Unity Store, to add it to your asset collection.
Head to The Unity Store
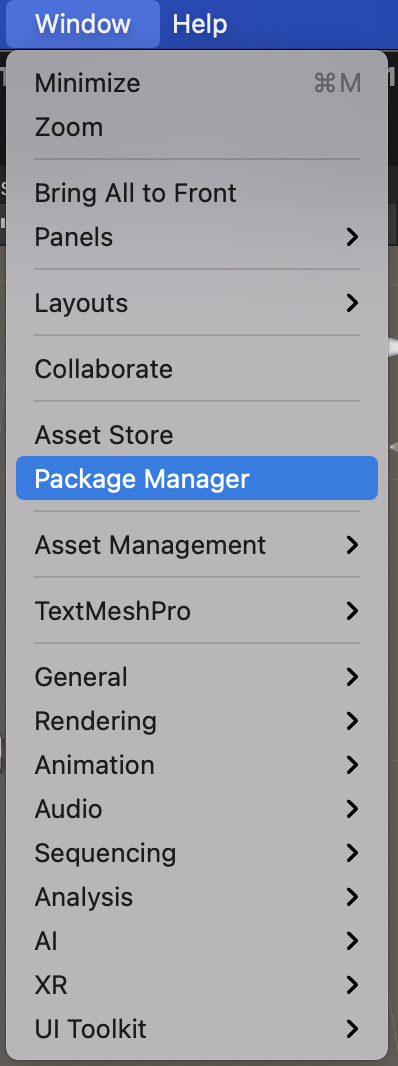
Secondly, install it in Unity by going to Window -> Package Manager
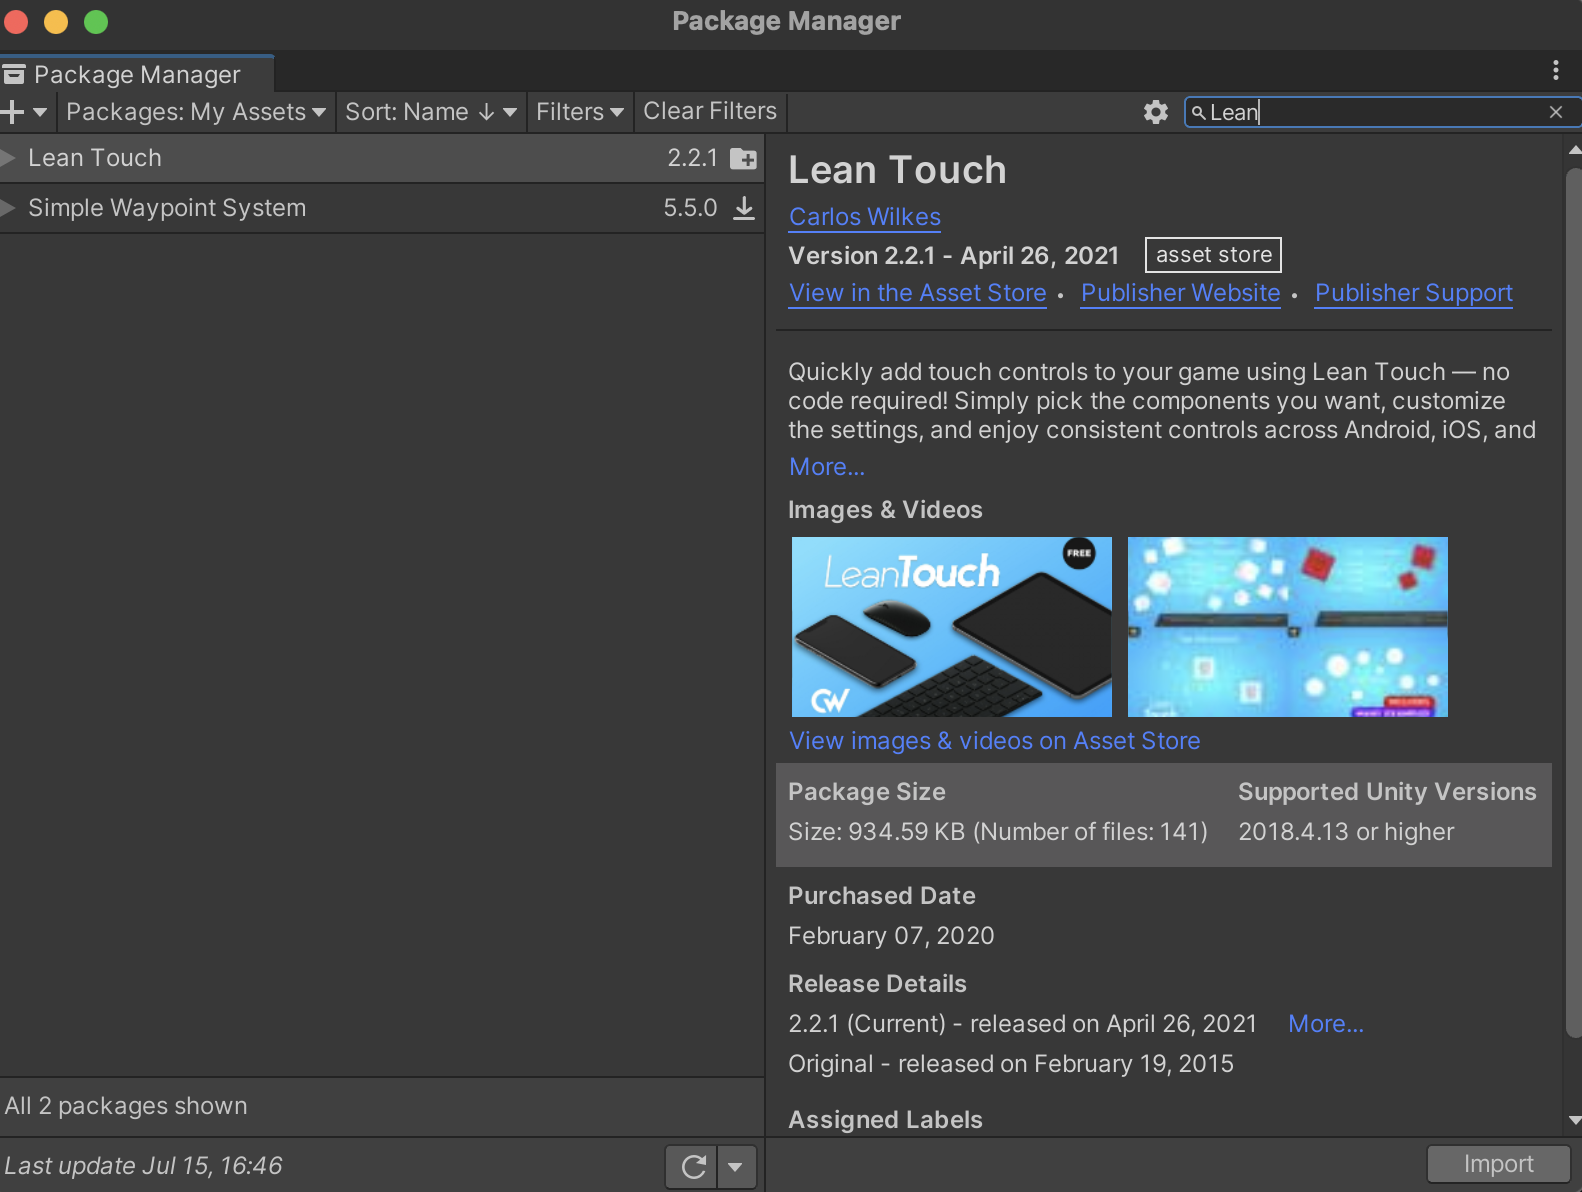
Search under Packages: My Assests for Lean Touch, download and import.
Add the LeanTouch GameObject by right-clicking on the Hierarchy panelLean -> Touch
We now need to add the touch controls to our object (gauge Prefab) - there are numerous options and Lean Touch can be used for any application with a touch screen.
Double-click your AR Object Prefab to open it in Edit mode and Add Component. If you type in Lean you will see a long list of options. Our first one is Lean Selectable and we want to tick the Self Selected option - this simple makes sure our object is automatically selected and ready to touch.
- Add
Lean Pinch Scalewith Required Finger Count3; - Add
Lean Twist Rotate Axisand we are moving the y axis - so set y to1, with Required Finger Count2; - Add
Lean Drag Transaltewith Required Finger Count1;
You should now be able to:
- tap to place the object
- drag the object with one finger
- rotate the object with two fingers
- scale the object with three fingers
Designing dashboards and charts in Unity can be very challenging without dedicated add-ons. A recent project, XCharts, takes away the most complex coding part leaving the user a flexible tool to design and customise different chart types with ease. Most of the charts are part of the package delivered with an MIT licence.
Download and install the Unity XCharts 3.2.0 package
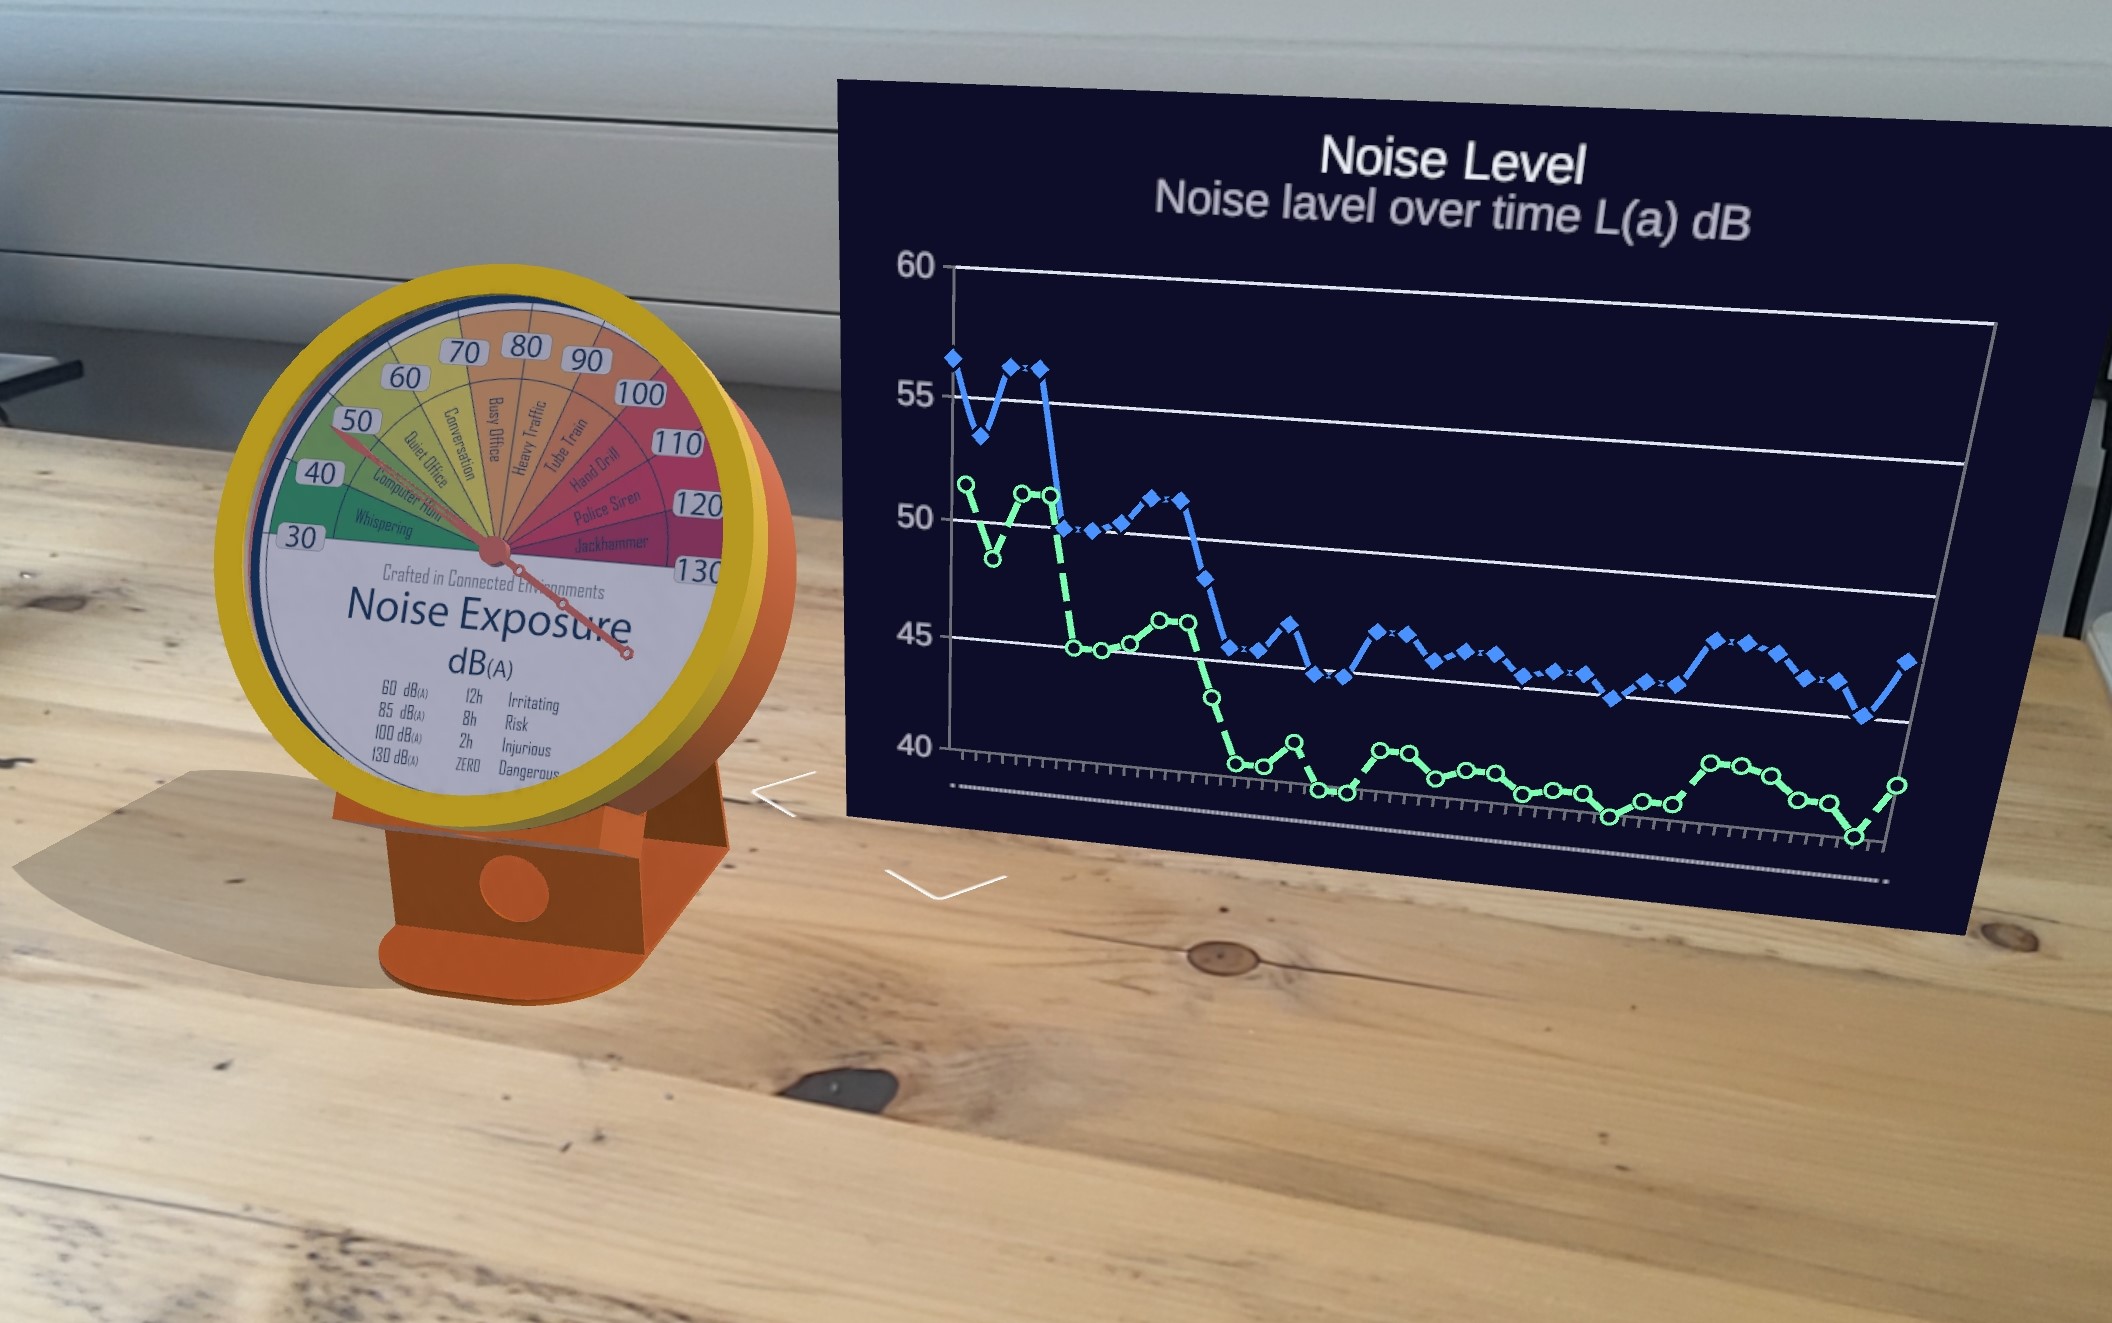
The chart can be added directly to the UI, as part of the Screen Space or as a 3D object in the World Space.
To add the chart next to the gauge, open the Prefab and in the Prefab editor right click in the Hierarchy panel and select XCharts -> Line Chart
As XCharts is based on the uGUI system, it will create a new Canvas GameObject as a parent of the selected chart. By default, the Canvas GameObject is set to Screen Space. select the Canvas GameObject and in the Inspector panel change the Canvas -> Render Mode to World Space.
At this point it is possible to change the scale and position of the Canvas GameObject, e.g.:
- Pos X: -0.25; Pos Y: 0.15; Pos Z: 0.0
- Width: 600; Height: 400
- Scale: 0.0005
The style of the chart is entirely customisable from the Inspector panel, after selecting the Line Chart GameObject from the Hierarchy Panel.
Select the Anchor Presetscenter - middle
- Pos X: 0.0; Pos Y: 0.0; Pos Z: 0.0
- Width: 600; Height: 400
- Rotation: 180
The following is just an example of the style that can be set:
- Theme -> Shared Theme:
Dark - Grid Coord -> Show Border:
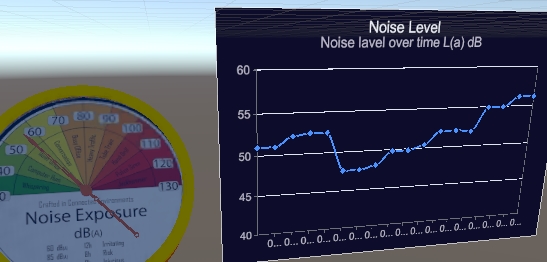
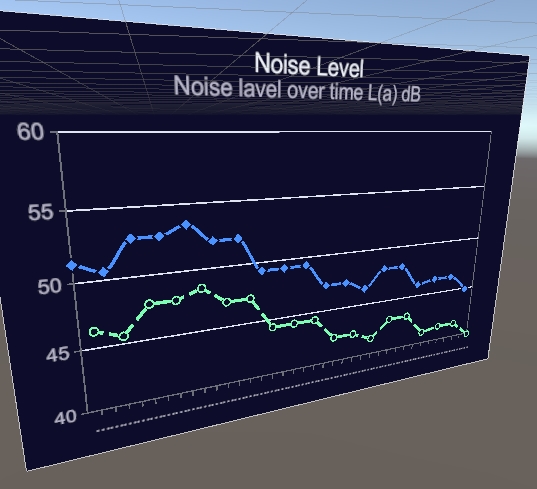
checked - Title -> Text:
Noise Level - Title -> Sub Text:
Noise level over time L(a) dB - X Axis -> Type:
Time - Y Axis -> Min Max Type:
Custom; Min: 40; Max: 60 - Serie 0: Line -> Line Type:
Smooth - Serie 0: Line -> Data:
Size: 0
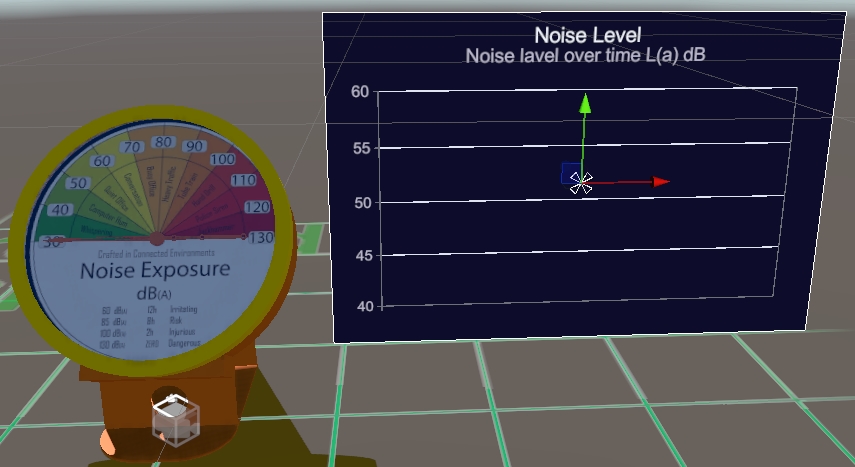
Chart manager
To dynamically change the data of the chart, we need to create a new C# script, named chartManager, and add this to the Canvas GameObject. As we are going to use the same MQTT feed used to control the dial, the script will be based on the mqttController used before with some minor changes:
- add the using directive
using XCharts.Runtime; - add new variable for the used chart (e.g.
LineChart); - add a new int variable named counter;
- in the OnMessageArrivedHandler event, add the
AddDatamethod;
using UnityEngine;
using XCharts.Runtime;

public class chartManager : MonoBehaviour
{
    public LineChart lineChart;
    public mqttReceiverList _eventSender;
    public string tagOfTheMQTTReceiver = ""; //tag of the mqttReceiver, add from the Inspector panel
    int count = 0; //simple counter for the data

    void Start()
    {
        if (GameObject.FindGameObjectsWithTag(tagOfTheMQTTReceiver).Length > 0)
        {
            _eventSender = GameObject.FindGameObjectsWithTag(tagOfTheMQTTReceiver)[0].gameObject.GetComponent<mqttReceiverList>();
        }
        else
        {
            Debug.LogError("At least one GameObject with mqttReceiver component and Tag == tagOfTheMQTTReceiver needs to be provided");
        }
        _eventSender.OnMessageArrived += OnMessageArrivedHandler;
    }

    private void OnMessageArrivedHandler(mqttObj mqttObject) //the mqttObj is defined in the mqttReceiverList.cs
    {
        //We need to check the topic of the message to know where to use it
        if (mqttObject.topic == "topic_to_subscribe")
        {
            double num = float.Parse(mqttObject.msg); //parse the string as a float
            lineChart.AddData(0, count++, num); // first value refer to the serieIndex, serieName can be used instead

        }

    }
}
Set the public variables (Line Chart and Tag) and test the app