- Google Colab
- Edge Impulse
In your cloned GitHub repository navigate to the Week3 folder and open it.
Click on the CASA0018_3_3_Cats_v_Dogs.ipynb file to open the notebook. And select the Open in Colab button.
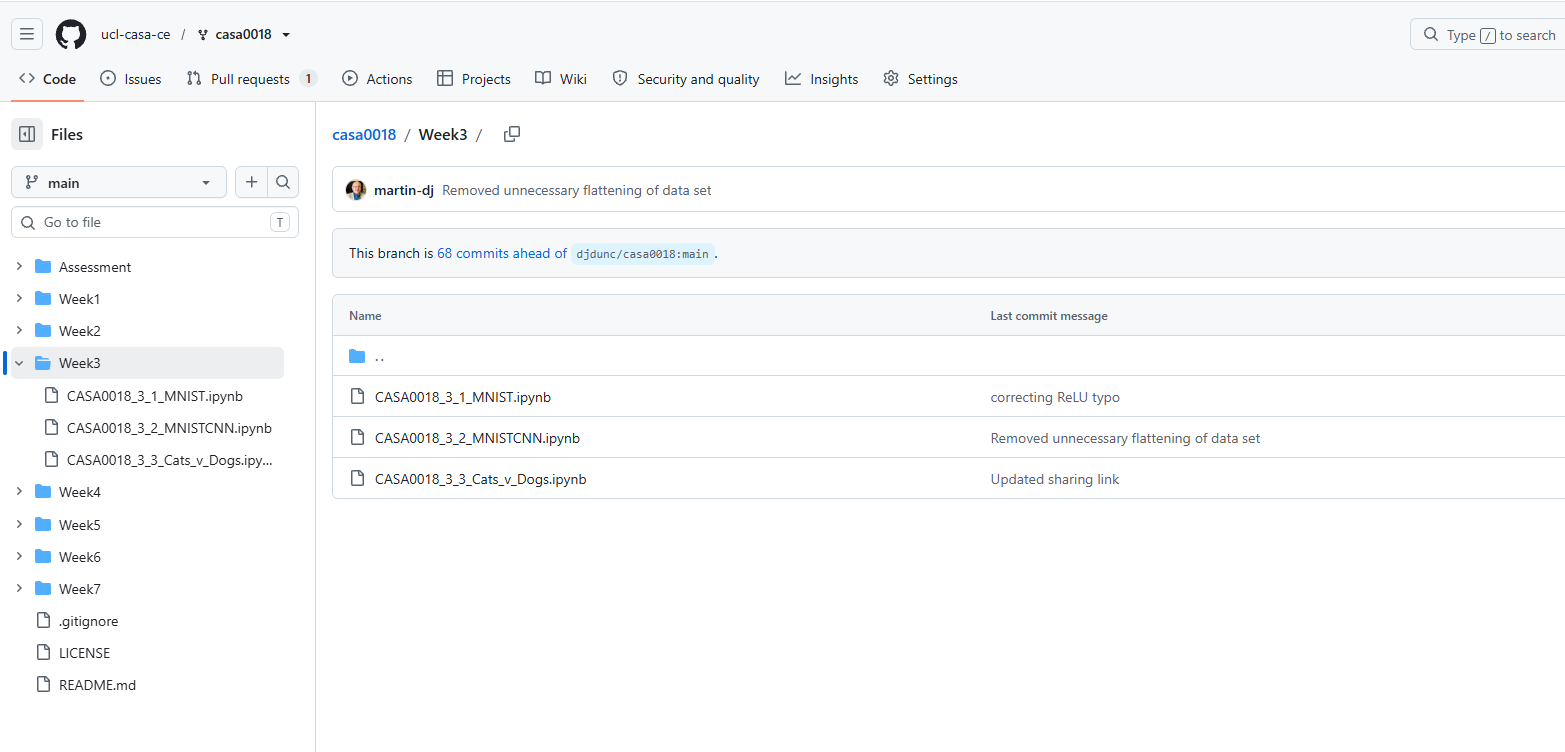
I will work through the notebook in the class to illustrate how a CNN can be used to class a vision problem, using a GPU runtime.
After the workshop you can explore the notebook in your own time, but training the final model can take some time (about half an hour) without a GPU runtime.
In the second part of this workshop we will introduce Edge Impulse (which is the platform required for your coursework) and use it to create a Cats & Dogs classifier.
First navigate to the Edge Impulse website at: https://www.edgeimpulse.com/
You will need to register an account.
I have created a skeleton CatsvDogs project and populated it with a modest labelled dataset to get you started.
Clone the project found at: https://studio.edgeimpulse.com/public/889047/live
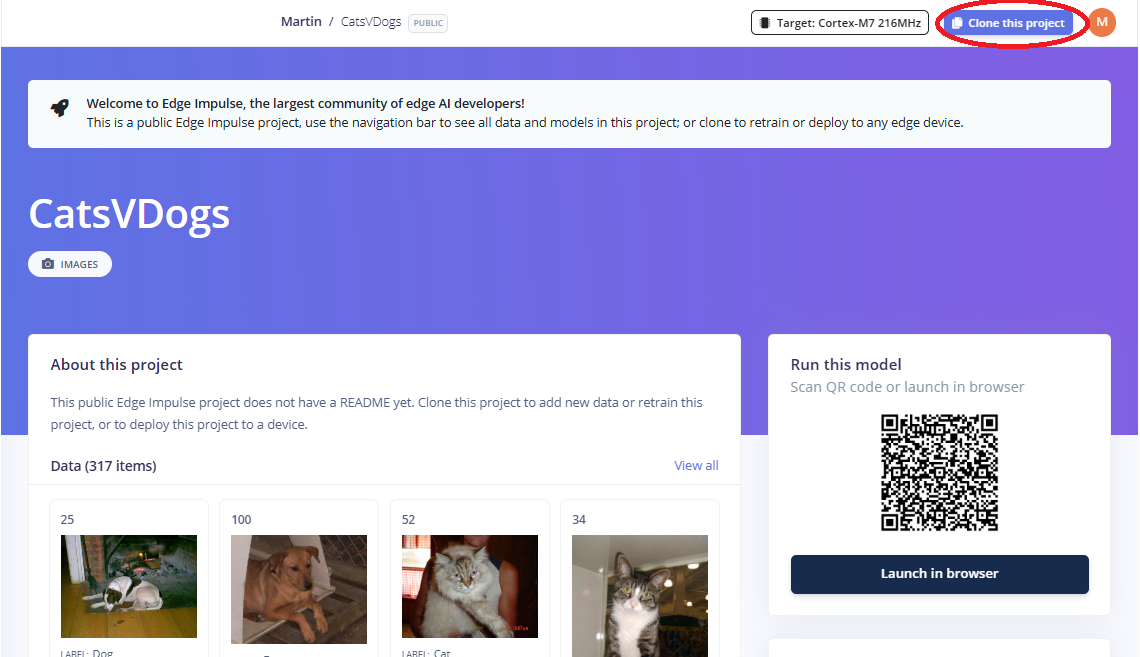
Now you have a cloned copy that you can edit to create and deploy a model. To do that there are various steps you need to complete.
We will document these in a bit more detail below.
Browse the dataset
In the left hand panel click on the Data acquisition option to browse the dataset. Not the train-test split. Edge Impulse will automatically create a validation dataset from you train data.
Create Impulse
In the left hand panel click on the Create impulse option that sits with Impulse Design.
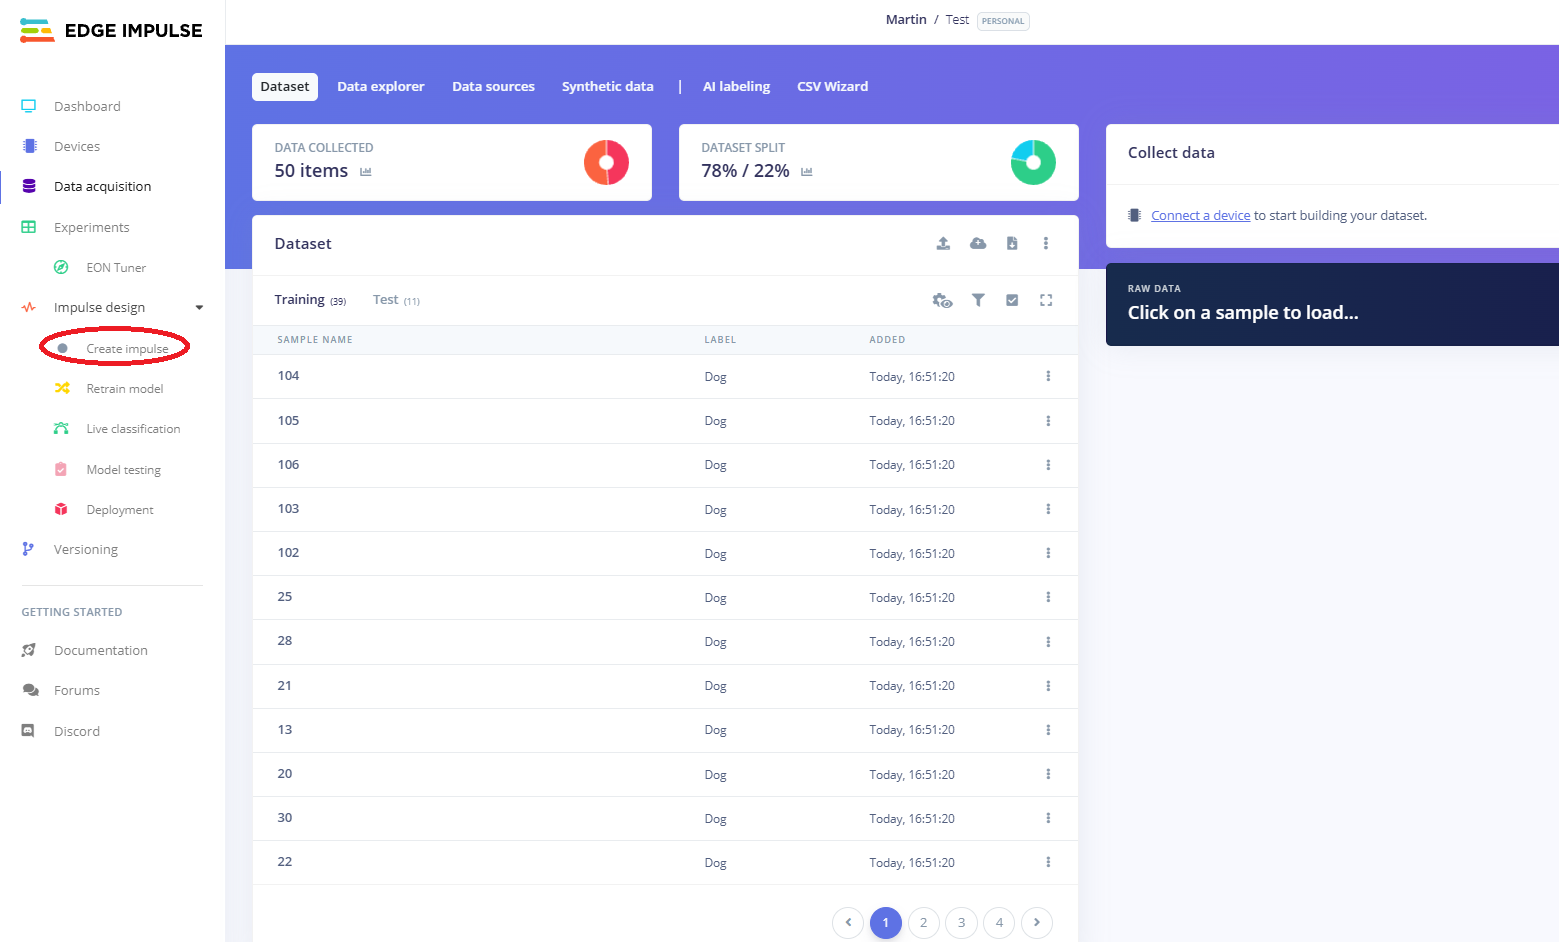
Add an Input block suitable for Images (Edge Impulse may have already added this based on your data). Now add a Processing block. Add a learning block for Classification. Finally click Save Impulse.
Generally the default blocks created by Edge Impulse are a good place to start.
Preprocessing
In the left hand panel click on the Image option that sits with Impulse Design. This is where you can fine tune the pre-processing of the image. In this example the only option is Grayscale or RGB. Grayscale will reduce the size of the feature space and result in a smaller model, but may loose important detail needed for accurate classification (pixel colour). You can experiment with the different options to see what works best. After you have made your choice, click Save parameters and then Generate features.
Classifier
In the left hand panel click on the Classifier option that sits with Impulse Design. Edge Impulse provides a default network architecture appropriate to the Input block and Learning block you chose when creating the impulse. The default architecture in this case is a CNN and is usually a good place to start. It is possible to edit the training hyperparameters, but again the defaults are usually good for a first training run. Click the Save & train button. This starts the training run.
Once the training has finished you should see metrics indicating the performance of the model based on the validation dataset (see below).
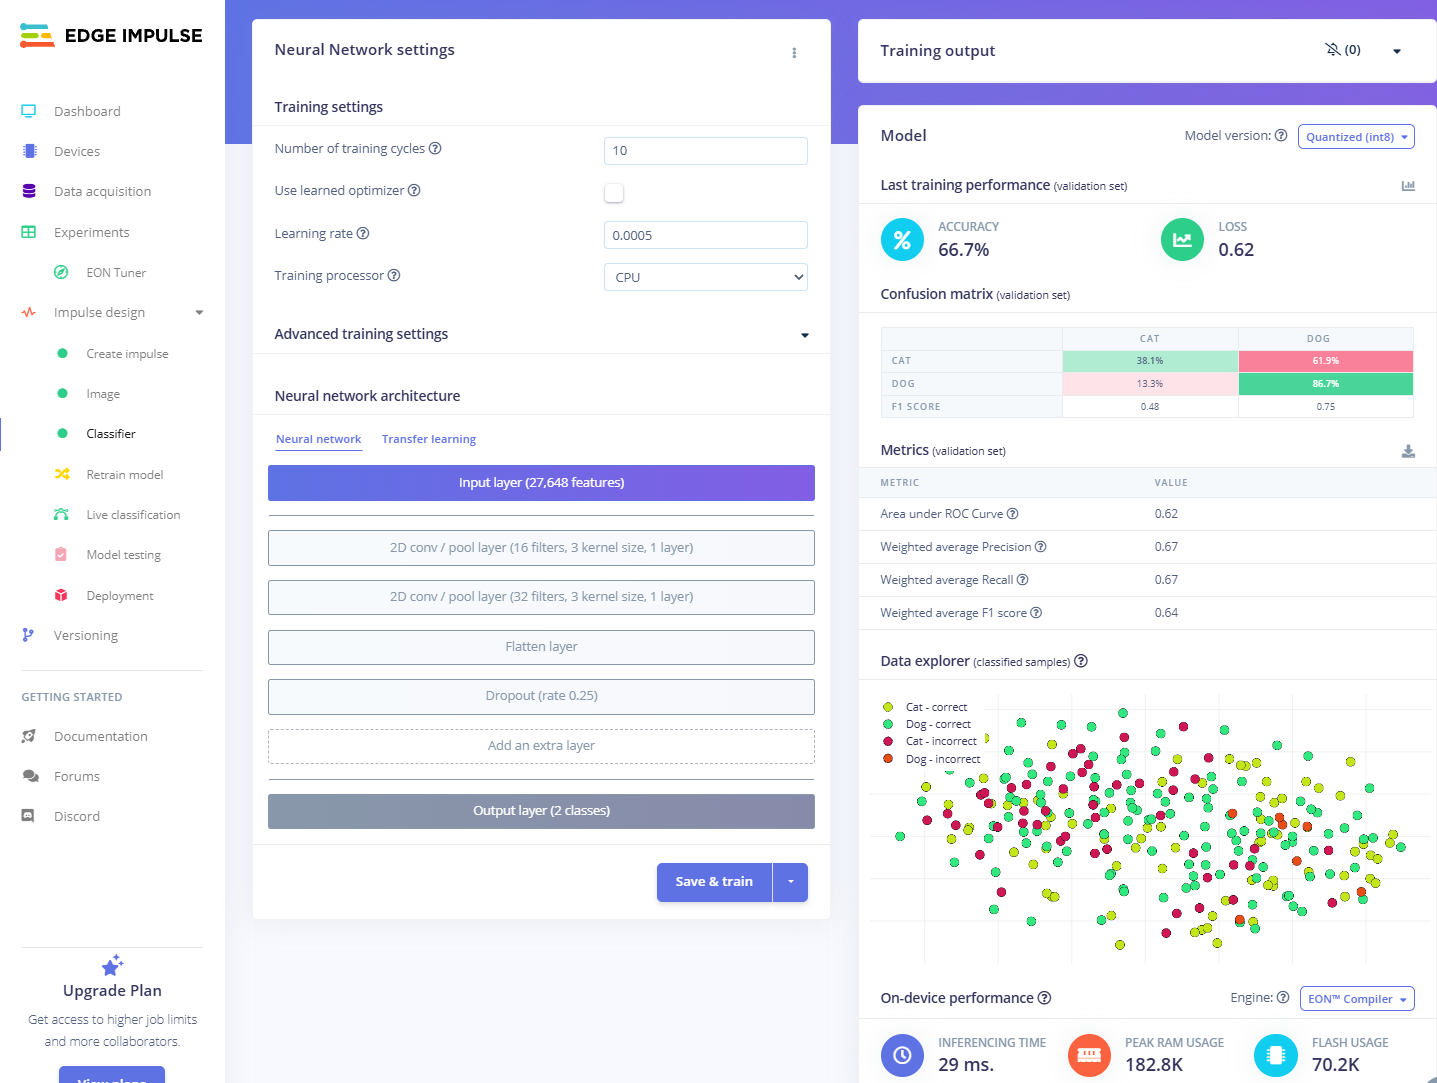
For your coursework you might want to explore how refining the pre-processing, model architecture or training hyperparameters impacts model performance in order to achieve improved accuracy. For this workshop you can move onto the next step.
Model testing
In the left hand panel click on the Model testing option that sits with Impulse Design. This evaluates the performance of your model against the unseen Test dataset. Generally, you would only do this once you have finished refining your model against the validation dataset as explained in the previous section.
Select the Classify all button. Once the job has finished you will see an evaluation of the model's performance against the held out test dataset.
Deployment
In the left hand panel click on the Deployment option that sits with Impulse Design. In this final step we will deploy the model to you mobile phone. Under Deployment targetselect WebAssembly (Browser, SIMD) and then select Buid. Once the build is complete scan the QR code in the right hand panel to deploy the model on your phone as a WebApp running in the browser. You can now use your phone to classify pictures of (or real) Cats and Dogs.
The performance of the model maybe quite poor. If you have time you may want to experiment with different parameters and architectures. Increasing the image size to 150 x 150 pixels could be a first step, then trying RGB instead of Grayscale might also help