Welcome
Welcome to Workshop 3 of Web Architecture. In this session, you'll build your very first JavaScript application from scratch using what you've learned in the lectures already. Starting with an empty file you'll piece together a small application, using the CSS Framework, Bootstrap https://getbootstrap.com/, to create an application which shows the data being sent from the MQTT server in the CE Lab.
As you go along on this journey, it's important that you type the code as you go along. I know it's tempting to copy and paste but believe me when I say that you'll learn faster in all of your modules if you type the code by yourself. That way, as you make errors you'll learn why the error happened and how to fix the error in the future. So please, don't just copy and paste the code.
Let's get started.
Create your HTML Scaffolding
We will create an application where the MQTT messages will appear when they are sent by the device to the server. We will view these messages in realtime and update the page without the user having to reload the page. For the first step we will create a Storyboard to show what we want to create.
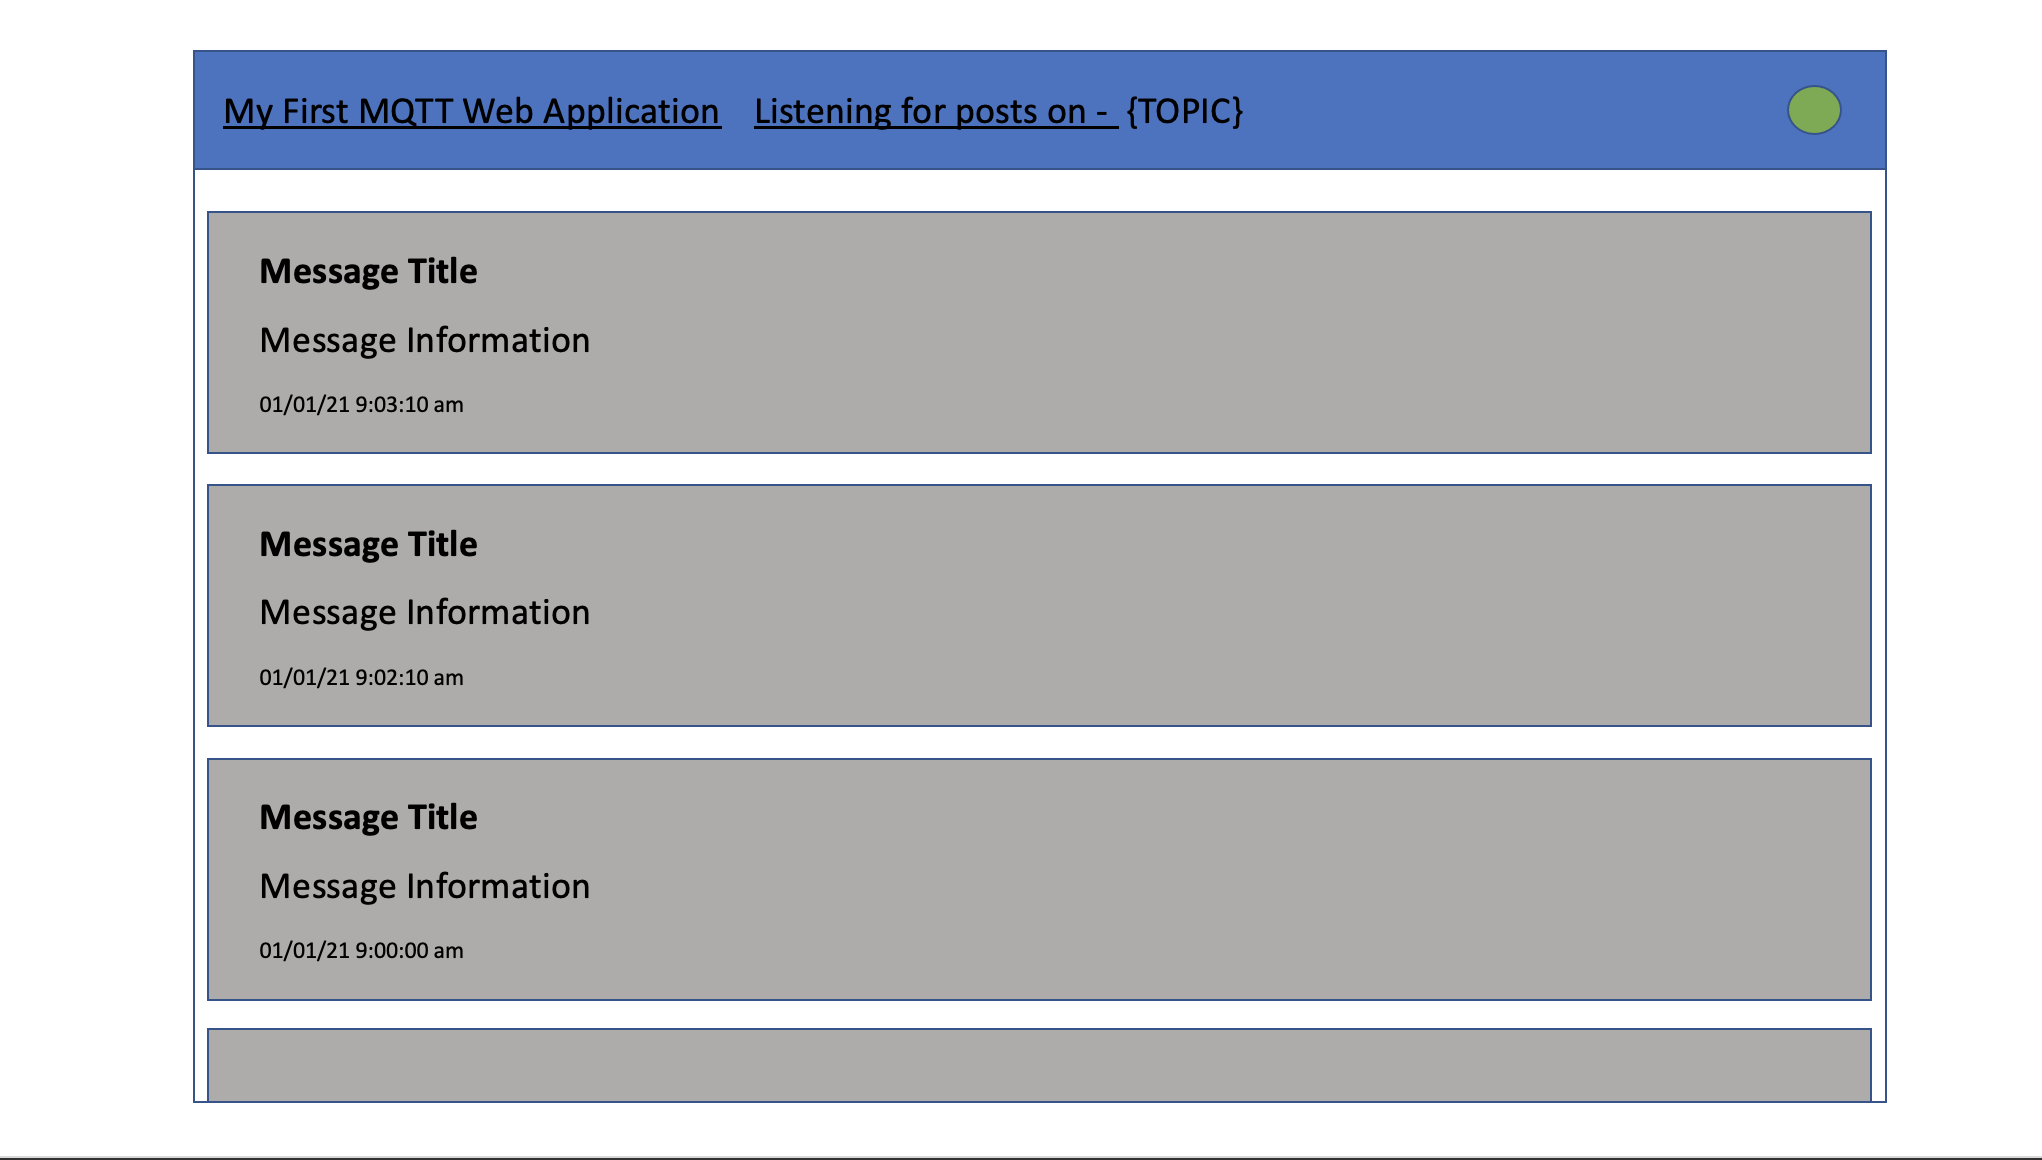
Our page will look like this, it has a heading on the top, an area to show if we have a connection to the sever and a section on the page where messages will appear when they are delivered to the application. In every application you're design should start as a Storyboard. Some good apps to use to create these storyboards are Sketch, Photoshop or even Powerpoint. If you don't have an application then pencil and paper will go a long way.
I've mocked up the design in Powerpoint to look like this:
Now we have to translate this to HTML code. Lucky for us we can use a scaffolding framework such as Bootstrap https://getbootstrap.com or Foundation https://get.foundation to help us create the CSS for our application. Frameworks save us time by abstracting the design and the functionality into standard components which we can reuse to build our application quickly.
Looking at the Bootstrap documentation and the various examples they have on the page we can mockup our design really quickly and save us writing a lot of code.
This NavBar Fixed Example works really well for what we want to create, so lets use that.
Our Base HTML
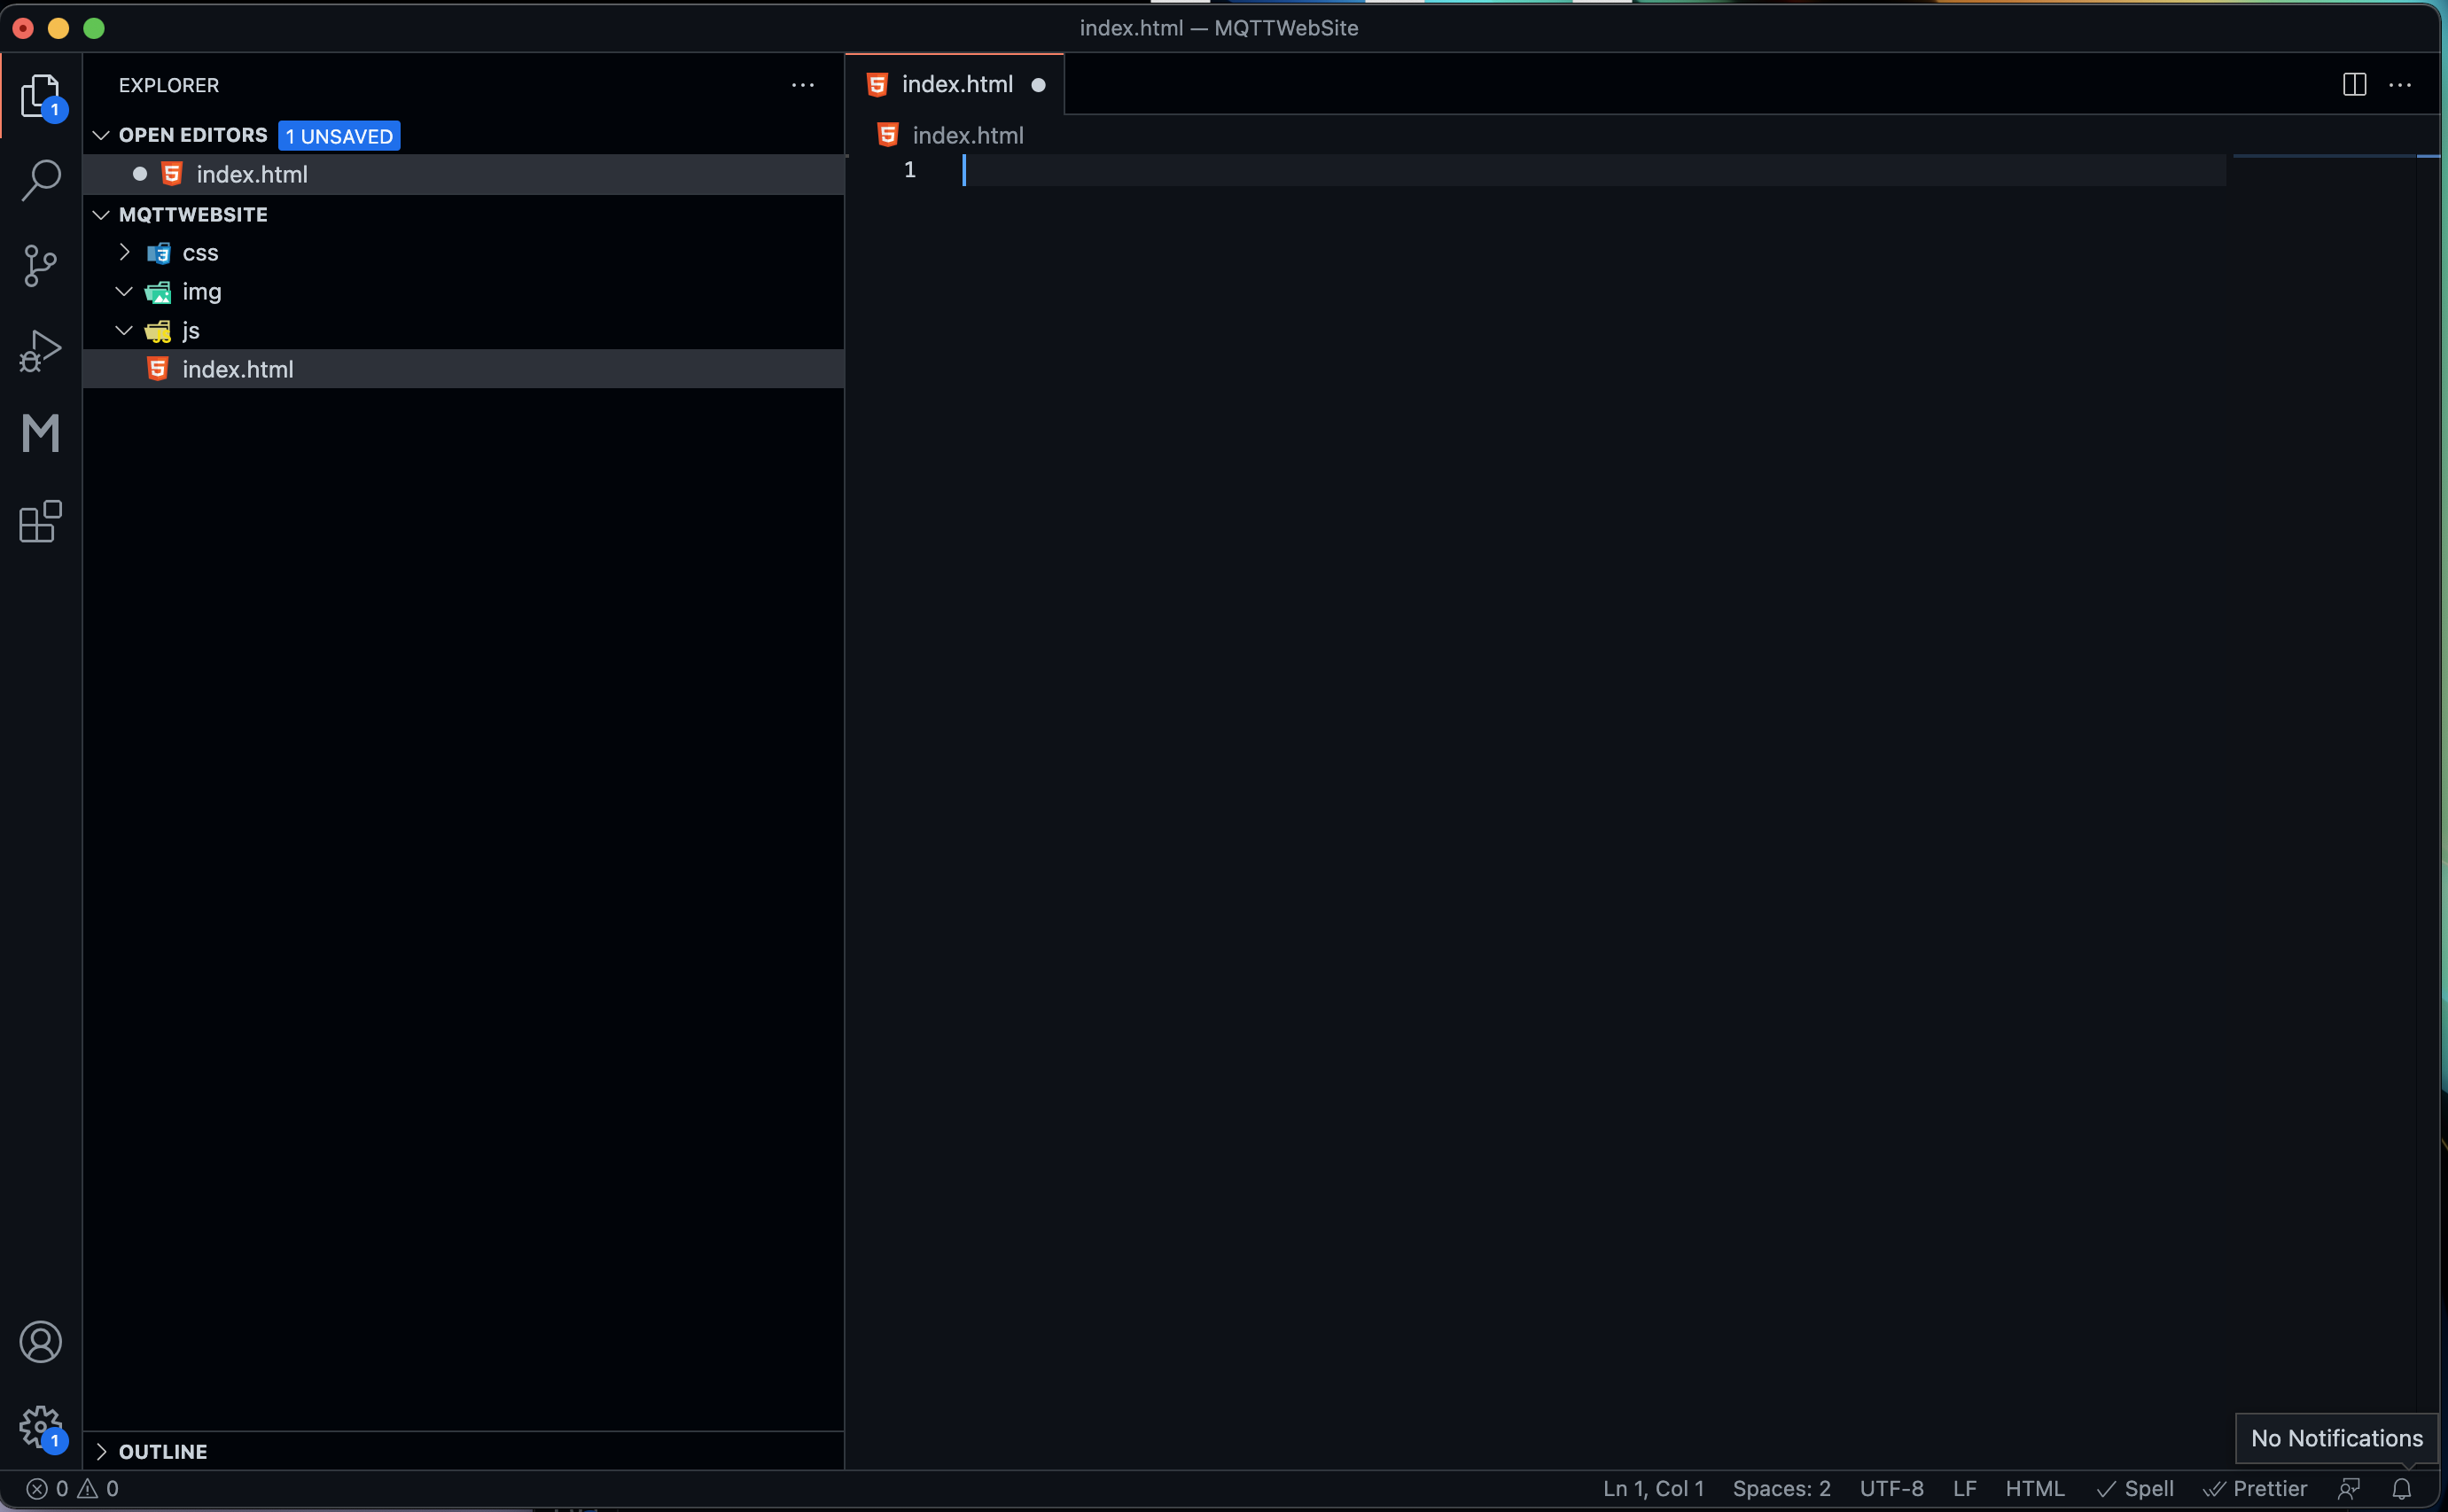
Let's now create an empty folder and add 3 folders into the newly created folder and open the containing folder into VSCode:
- css
- img
- js
Once you've opened the folder in VSCode then create a new file called index.html and save the empty file, your folder should look like this:
We now go back to our example code on Bootstrap and, right click on the page and press View Page Source
We will use this code to build up our page.
Load the page up in the browser just like in the last few sessions and we will start to build our webpage up in sections.
First you'll need the scaffolding for the head and the body
The Head
<!DOCTYPE html>
<head>
  <title>Our First MQTT Web App</title>
</head>
The Body
<body>

</body>
</html>
Make sure you save your file after every edit.
Add the NavBar
Within the Bootstap example find the navbar code and copy and paste all the code between the following tags into your project. This is the only time you are allowed to copy and paste in this exercise.
<nav class="navbar navbar-expand-md navbar-dark fixed-top bg-dark">
  .... ....
</nav>
Edit this code so that the title is the same as our storyboard, add a string of text into the list so that we can write the status and remove all the elements we don't need. You'll have to edit the code, refresh the browser regularly so that you can see the changes as you edit the code.
Add Bootsrap's JavaScript and CSS
Next we need to add the JavaScript for Bootstrap Framework into our app. Type the following line at the end of our html file in the body
<body>
    <script src="https://cdn.jsdelivr.net/npm/bootstrap@5.1.3/dist/js/bootstrap.bundle.min.js"></script>
</body>
</html>
and then we add the CSS into our header
<!DOCTYPE html>
<head>
  <title>Our First MQTT Web App</title>
  <link
    href="https://cdn.jsdelivr.net/npm/bootstrap@5.1.3/dist/css/bootstrap.min.css"
    rel="stylesheet"
  />
</head>
Refresh the page to see your progress so far.
Add jQuery into our application
Let's now add jQuery into the page. Figure out where you'll type this into the page to load jQuery.
<script
  type="text/javascript"
  src="https://cdnjs.cloudflare.com/ajax/libs/jquery/3.6.0/jquery.min.js"
></script>
Add some CSS into the file to fix the CSS Body
Let's put some CSS to make sure that the text entered on the body of the HTML page does not disappear behind the header bar. Put this code into a CSS file and add the css file to the page
body {
  min-height: 75rem;
  padding-top: 4.5rem;
}
Adding MQTT JavaScript Code to our App
We need a container to put our messages in so let create that next. This won't show anything when you refresh the page but we will use jQuery next to write messages into this container.
<body>
    <main class="container"></main>
    <script src="https://cdn.jsdelivr.net/npm/bootstrap@5.1.3/dist/js/bootstrap.bundle.min.js"></script>
</body>
</html>
Now let's add some JavaScript code to our app to write a message into the new container. Remember from our lectures that to write into our container we create a selector by using. and the class name, in this case, container
<script type="text/javascript">
  $(".container").html("Hello Everyone");
</script>
Refresh your page and you'll see that we should have the text writing into the container.
Great that's got us some code that dynamically writes text into our container.
MQTT Code
We now need to load the MQTT.JS JavaScript code from the MQTT.JS GitHub Project. We can do this in 2 ways. MQTT.js is a client library for the MQTT protocol, written in JavaScript for node.js and the browser. If we look at the documentation for the project we will see a section that shows us how to add to our browser project - Let's look at them. https://github.com/mqttjs/MQTT.js#browser We want to use 4.2.1 version of the code (not the latest version)
TASK - Add the MQTT JavaScript Library into your project int the same way we added the bootstrap JavaScript code.
Connecting to the MQTT Server
We now need to connect to the MQTT server so lets look at the example code to see how we do this - https://github.com/mqttjs/MQTT.js#Example
This is the basic example, connecting to our MQTT server.
TASK - Add the MQTT server for the class into the variable mqtt_server then add this script to your page.
var mqtt_server = "mqtt://[MQTT-SERVER]";
var client = mqtt.connect(mqtt_server + ":8080");

client.on("connect", function () {
  console.log("We are connected to the server");
});

client.on("message", function (topic, message) {
  console.log(message.toString());
});
When this code is inserted into the correct section of your page it will write some text into the JavaScript console
when the server connects.
TASK - Using the documentation subscribe to the UCL/90TCR topic and add the code to the page.
When this code is inserted you will see the messages appear in the console.
TASK - When the message appears in the console, add this message to the container in a box. Here is the code which will draw a message box in the container.
<div class="bg-light p-5 rounded messageContainer">
  <h1>Message Topic</h1>
  <p class="lead">Message Text</p>
  <p class="subTime">Time of Post</p>
</div>
Hint: - Have a look at the jQuery Manual for Append and Prepend to help you write the messages in the correct order. You'll have to use string concatenation to build the div above into the container.
TASK - Add the current time of the message to the messgae div. Look at this example for some help. https://stackoverflow.com/questions/10211145/getting-current-date-and-time-in-javascript
TASK - Edit the NavBar so that when the sever connects write a string into the header to tell the user they've connected and subscribed to a Topic.
TASK - Try and create a red circle (for disconnected) in the NavBar and turn it green when you've connected to the server. W3Schools will help you here - https://www.w3schools.com/howto/howto_css_circles.asp
TASK - Finally, add some more CSS to your page to separate the message boxes by 15 pixels on the bottom margin.
The End
Well thats us finished our web app. Before you shut down and log off for todays session why not try to packaged up all your JavaScript code and CSS code into separately files inside the JS and CSS folders and load these as libraries inside your code.
Well I hope you've learned some new skills and well done on creating your first web app using JavaScript.
See you all next session!