Welcome
Welcome to Workshop 4 of Web Architecture. Today you're going to learn how to construct a server side API using Node.JS to connect to a MySQL database and develop your JavaScript skills further. We will be using the Flickr Photo Explorer we completed last week to view the new metadata API endpoints that you will create in today's workshop, which will make our app more interactive and more informative for the user.
Connecting to the Server using SSH
We are going to develop our Node.JS application on the server, as that's where our database and web application is installed. Users will visit the website and their browser will then connect to our Node.JS API to get the data for the visualisation. To connect to the server we will run a program called Putty (on Windows) that allows developers to connect to the server via the command line which will allow us developers to run the Node.JS program on the server. Use the following instructions to connect to the server depending on the system your using:
Windows Users: Open Putty https://www.chiark.greenend.org.uk/~sgtatham/putty/download.html which is installed on the lab machines and type in the following into Hostname:
username@casa0017.cetools.org
Make sure ssh is selected and that the port number is 22. Then press Open. To disconnect from the server just close the putty window that appears.
Mac Users: Use the Terminal App (Macintosh HD ▸ Applications ▸ Utilities ▸ Terminal.app) which is pre installed on all Macs. To connect to the course server use your UCL username and type removing the square brackets:
ssh username@casa0017.cetools.org
The server will ask for your password (which is your standard UCL password). Note that as you type, your password will not be displayed but the text is being sent to the server. Press Enter to submit your password and if correct you'll be connected to the server. To disconnect from the server just close the window.
Interact with the Unix Shell
You may or may not be used to using a command line driven interface to edit and interact with files so I have included a basic guide on how to navigate around the server using the command line. It is important to note that in the UNIX command line everything is either a file or a folder and everything you can do with a GUI driven interface (such as Windows or Mac Finder) can be done with the command line.
Here is a list of common commands you'll need to interact with the server:
touch foo  # Creates a file called foo
rm foo     # Deletes a file called foo
mkdir bar  # Creates a folder called bar
rmdir foo  # Removes a folder called foo
cd bar     # Change to directory bar
cd ..      # Go back 1 directory
ls .       # Prints all files in current directory

nano bar.js    # Opens (or creates if it doesn't exist) a file called bar.txt in a text editor

ctrl-x         # Inside nano will save and exit nano
Node Specific
node bar.js           # Runs a NodeJS script called bar.js
forever start bar.js  # Runs a NodeJS script called bar.js forever
                      # (if script crashes forever will restart the app automatically.)
forever stop bar.js   # Stops bar.js if running through forever command
forever list          # List all forever jobs

ctrl-c                # Stops a running script
We expect you to use the command line to run your node programs rather than running them locally due to configuration issues. Also this will allow you learn more about the process of remotely debugging applications. To edit files on a remote server use either WinSCP or CyberDuck (Mac) using the instructions from Workshop 3, Section 6. We recommend you use nano to edit the files on the web server, as this will avoid confusing local files with remote files.
Introduction
Download Node.JS
Download the installer for your system for the following page: https://nodejs.org/en/download/.
Follow the prompts on your system to install NodeJS and NPM on your system.
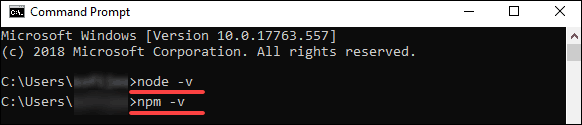
Verify Installation (Windows)
Open a command prompt (or PowerShell), and enter the following:
node –-version
The system should display the Node.js version installed on your system. You can do the same for NPM:
npm –-version
Your now ready to go to the next step.
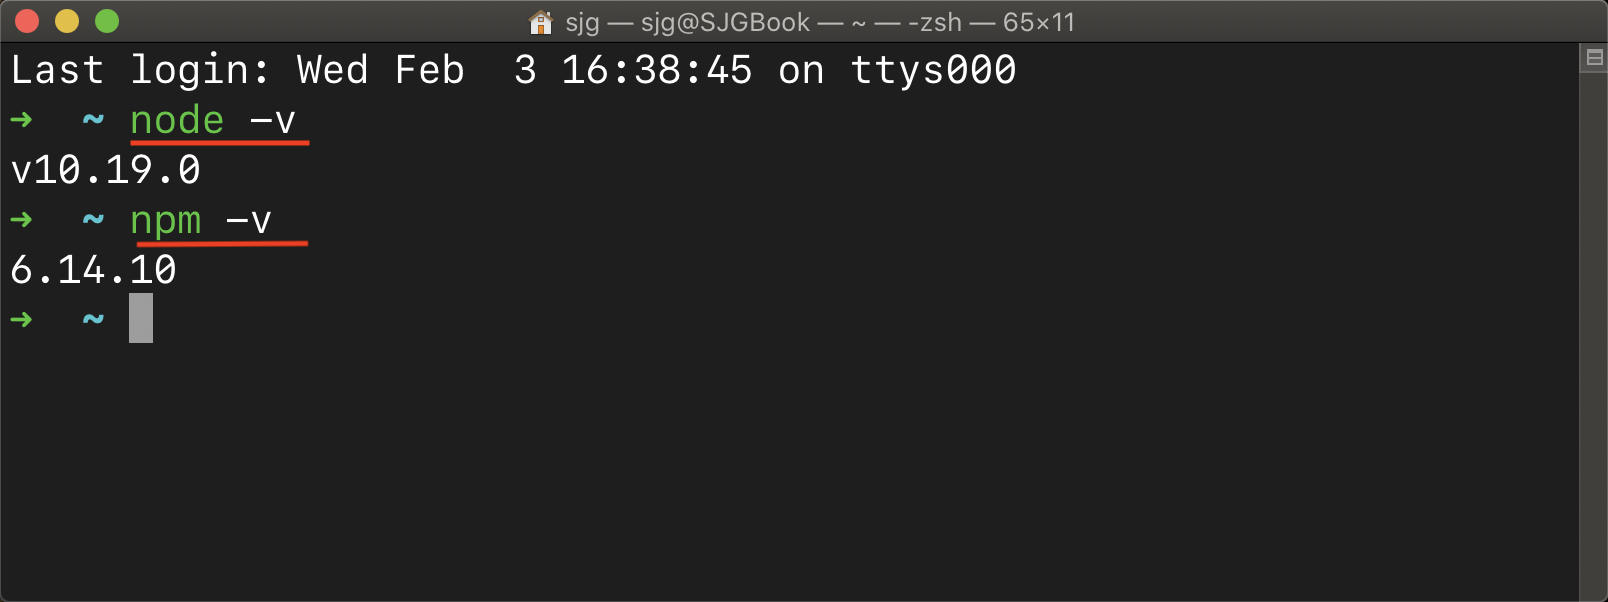
Verify Installation (Mac)
Open the Terminal App ((Macintosh HD ▸ Applications ▸ Utilities ▸ Terminal.app)), and enter the following:
node –v
The system should display the Node.js version installed on your system. You can do the same for NPM:
npm –v
Your now ready to go to the next step.
Extras (for Mac and Unix users)
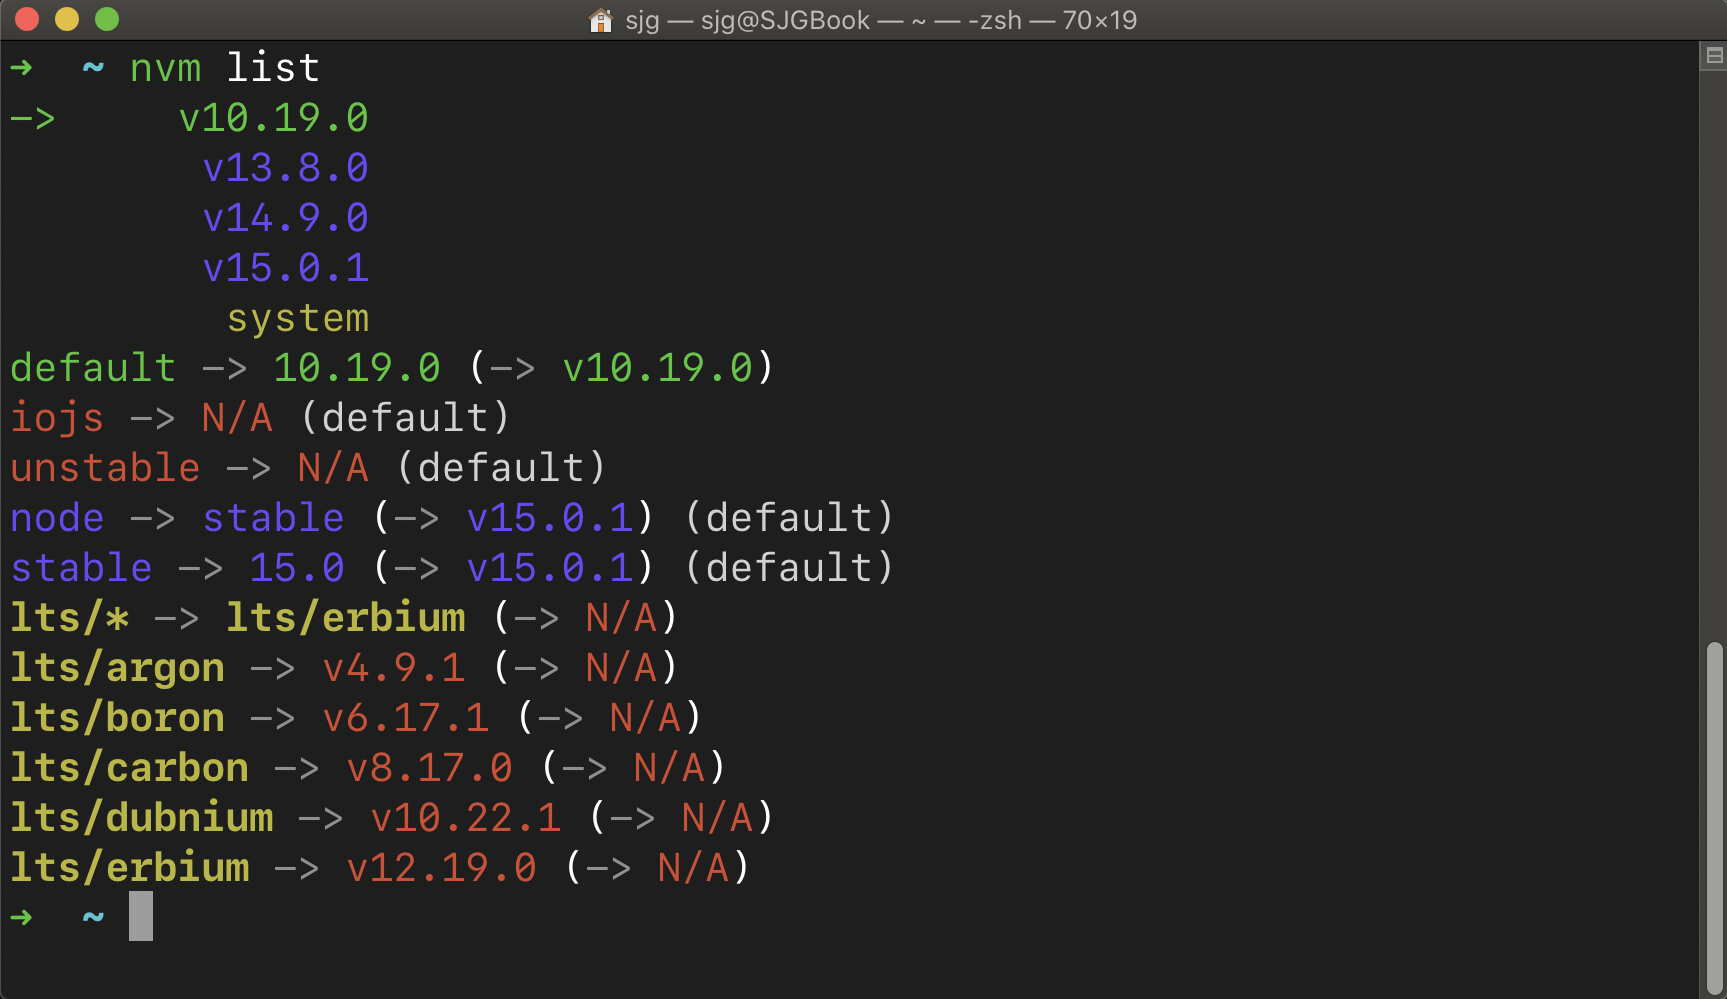
I sometimes use NVM (Node Version Manager) on my systems and servers so that I can dynamically change the version of NodeJS as required. Some modules will only work with older versions of NodeJS. If you want to use this is in the future or just want to play then instructions are available here:
Running your first script
As you have learned in the lecture, Node.JS allows developers to write fast and scalable network applications using JavaScript. Unlike JavaScript code running inside the browser, Node.JS is not sandboxed which means that your JavaScript program, which is running with Node, can access all parts of your system. Care should be taken when running code that you've copied from the web. Understand what the code does before running, as any malicious code will have full access to your system. We are not going to cover the installation of Node on your local system but if you want to install node you can download and setup by following the instructions at https://nodejs.org.
When you have connected to the server, create a folder in your groups account for you to put all your files in. My username is ucfnsjg (please change the following command for your username)
mkdir ~/my_username
cd ~/my_username
Now create a folder, create another folder called firstProgram and open that folder using the following commands
mkdir firstProgram
cd firstProgram
Type in the following code into a file called first.js and save the file:
// First Node.JS Program // Author: Your Name
var colors = require("colors");
var title = "My First Node.JS Program";

console.log(("*********** " + title + " ***********").red);
console.log("Welcome to your first node program".green);
(Note: All Node.JS programs must have the extension .js)
Run this program by navigating to the folder using the command list in Section 2 and type:
node first.js
You'll notice that the code will not run, as we need install an external library called colors.
packages are stored in a single repository called npm (https://www.npmjs.com) and you can install any of these packages by typing:
npm install [package]
When you install a package with npm it will create a folder in your current directory called node_modules. This makes node applications very portable as all the libraries or packages you want to use can be installed in the users local folder rather than system wide. Also it allows developers to distribute their code to other developers or different machines extremely easily.
Install colors by typing:
npm install colors