What you will learn
- Importing external packages
- Working with dynamic Lists
- Subscribing to MQTT topics
Using your preferred IDE (or via the command line) create a new Flutter project named mqtt_flutter.
Go to the main.dart file and delete the default code and enter the following code to create a dynamic list.
import 'package:flutter/material.dart';

void main() {
  runApp(MyApp());
}

class MyApp extends StatelessWidget {
  @override
  Widget build(BuildContext context) {
    return MaterialApp(
        home: Scaffold(
            appBar: AppBar(title: Text('MQTT Feeds')),
            body: MyListView()
        )
    );
  }
}

class MyListView extends StatefulWidget {
  @override
  ListViewState createState() {return ListViewState();}
}

class ListViewState extends State<MyListView>{
  late List<String> feeds;

  @override
  void initState() {
    super.initState();
    feeds = [];
  }

  @override
  Widget build(BuildContext context) {
    return ListView.builder(
      itemCount: feeds.length,
      itemBuilder: (context, index) {
        return ListTile(
          title: Text(feeds[index]),
        );
      },
    );
  }

}
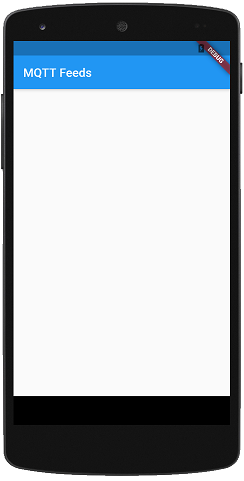
Build and run the project and check it works. It should look like this:

Now you need to import the mqtt_client package. Remember there are 3 steps:
- Depend on it
- Install it
- import it
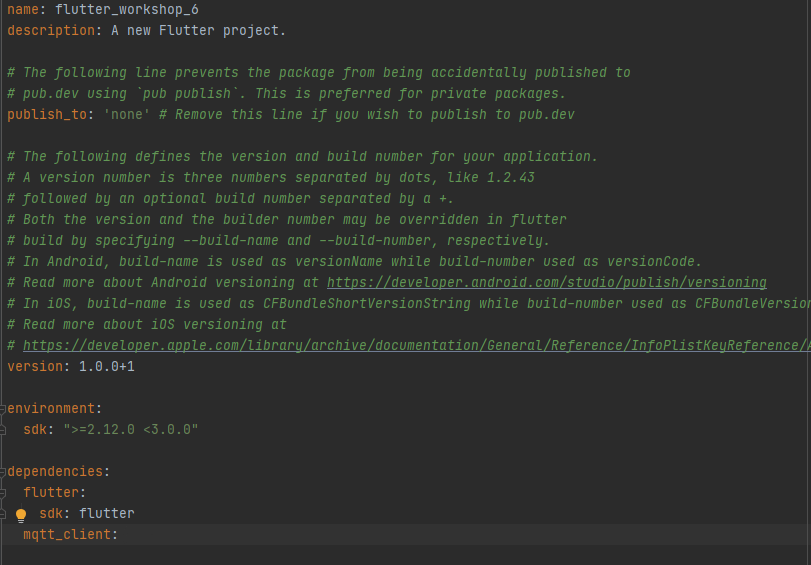
First, find the pubspec.yaml file for your project and add mqtt_client to the flutter dependencies as shown below:

Now you need to install the package by running pub get. In Android Studio clicking on the light bulb will facilitate this (other IDEs have a similar option). Alternately you can run flutter pub get from the command line running from your project directory.
Finally add the relevant imports to the top of your main.dart source file below the import 'package:flutter/material.dart'; as shown below:
import 'package:flutter/material.dart';
import 'package:mqtt_client/mqtt_client.dart';
import 'package:mqtt_client/mqtt_server_client.dart';
To the ListViewState class add an updateList method with the following definition
updateList(String s){
   ...
}
This method should call setState() to update the feeds list by adding a new String to the list. Check the lecture notes if you are unsure how to do this.
Invoking setState() causes the ListView widget to be rebuilt to reflect the updated state.
To the ListViewState class add a startMQTT method with the following definition
startMQTT() async{
  ...
}
This method should:
- create an MQTT client which connects to
test.mosquitto.orgon port 1883 (no username or password are needed) - subscribe to the
SCD41-CO2-1topic - and update the list to display each new message
If you are unsure how to do this check the lecture notes.
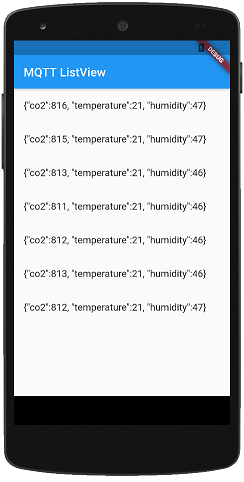
Build and run the app to check it works OK. It should look like this:

For a stretch goal (after you have completed the final section) you might consider parsing the json payload and creating a more elegant display (the http example in the lecture will give you some idea how to do this).
Finally, change the code in your app so it subscribes to one of your own (or one of your colleagues) MQTT topics. You will need to be connected to the CE Hub WiFi to do this.