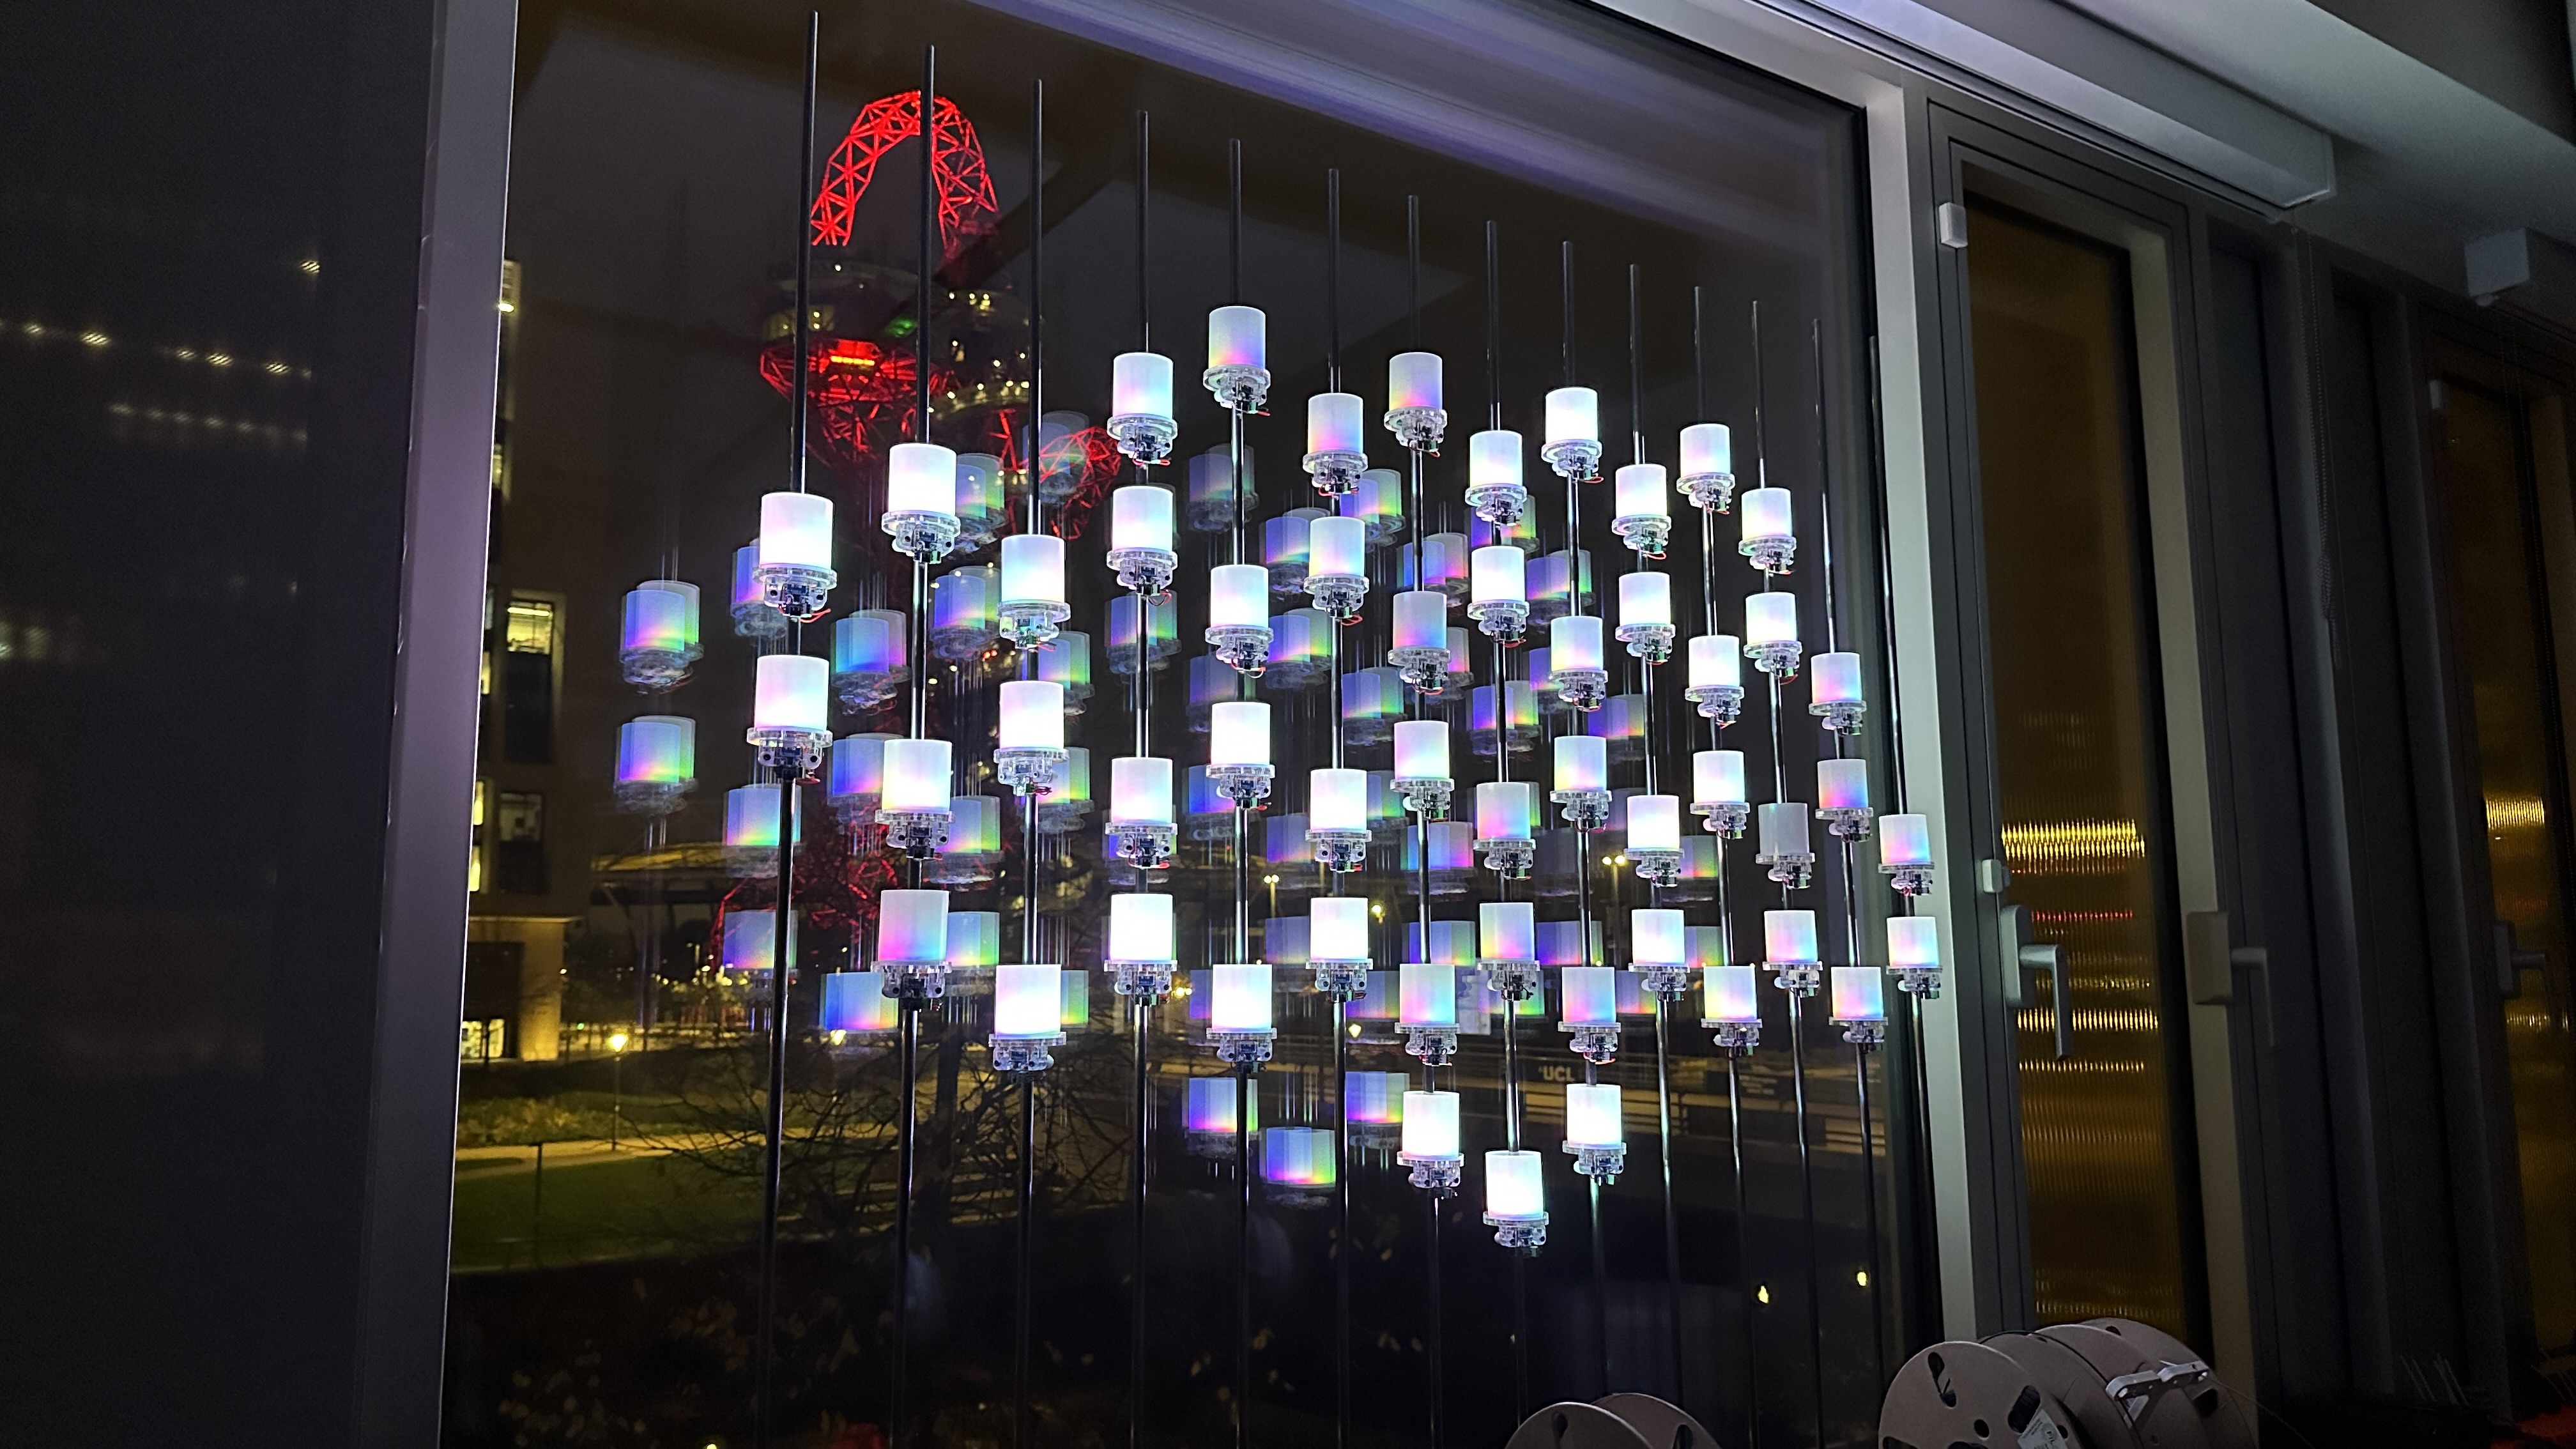
In this workshop you will learn how to:
- Write RGB colour values to a Chrono Lumina neopixel ring using an Arduino MKR1010
This example provides the scaffold to send colour values to the Chrono Lumina display.

This basic sketch provides an example of how to send individual RGB (red, green, blue) values to each of the LEDs on the ring. The source is in CASA0014 Github.
Start by loading in libraries and setting up variables - remember to .gitignore your arduino_secrets file in GitHub. Notice that we are not including the NeoPixel library in this sketch since this code requires no knowledge of how to write to NeoPixels, it only understands how to send code via MQTT.
#include <WiFiNINA.h>
#include <PubSubClient.h>
#include "arduino_secrets.h"

/*
**** please enter your sensitive data in the Secret tab/arduino_secrets.h
**** using format below

#define SECRET_SSID "ssid name"
#define SECRET_PASS "ssid password"
#define SECRET_MQTTUSER "user name - eg student"
#define SECRET_MQTTPASS "password";
 */

const char* ssid          = SECRET_SSID;
const char* password      = SECRET_PASS;
const char* mqtt_username = SECRET_MQTTUSER;
const char* mqtt_password = SECRET_MQTTPASS;
const char* mqtt_server = "mqtt.cetools.org";
const int mqtt_port = 1884;
int status = WL_IDLE_STATUS;     // the Wifi radio's status

WiFiServer server(80);
WiFiClient wificlient;

WiFiClient mkrClient;
PubSubClient client(mkrClient);
At the bottom of the set-up is a variable that is personal to your light. You will need to change this to the light you have been allocated.
// edit this for the light you are connecting to
char mqtt_topic_demo[] = "student/CASA0014/light/530/pixel/";
In the set-up we create a serial terminal so that we can debug, start wifi and connect to the MQTT broker.
Make sure to update the wifi hostname to a unique name for your device.
void setup() {
  // Start the serial monitor to show output
  Serial.begin(115200);
  delay(1000);

  WiFi.setHostname("Lumina ucjtdjw");
  startWifi();
  client.setServer(mqtt_server, mqtt_port);
  Serial.println("setup complete");
}
In the loop we check to see if we are connected and if not we reconnect! We then send an MQTT message and the wait for 10 seconds.
void loop() {

  // we need to make sure the arduino is still connected to the MQTT broker
  // otherwise we will not receive any messages
  if (!client.connected()) {
    reconnectMQTT();
  }

  // we also need to make sure we are connected to the wifi
  // otherwise it will be impossible to connect to MQTT!
  if (WiFi.status() != WL_CONNECTED){
    startWifi();
  }

  // check for messages from the broker and ensuring that any outgoing messages are sent.
  client.loop();

  sendmqtt();

  Serial.println("sent a message");
  delay(10000);

}
The sendmqtt() function is the key code in this demo. We are simply sending an MQTT message in the format specified in the Chrono Lumina API to the topic for our device. We initially create a char array to hold the message. It is defined as having spaces for 100 character in memory. We then use the sprintf function to write values into the char array. Some good examples of how to use sprintf are in this link. In this case we are writing a value of 2 just after the string "pixelid" to create the message:
{"pixelid": 2, "R": 0, "G": 255, "B": 128, "W": 200}
We then print the topic name and the char array of the message to the terminal and publish the message.
void sendmqtt(){

  // send a message to update the light
  char mqtt_message[100];
  sprintf(mqtt_message, "{\"pixelid\": %d, \"R\": 0, \"G\": 255, \"B\": 128, \"W\": 200}", 2);
  Serial.println(mqtt_topic_demo);
  Serial.println(mqtt_message);

  if (client.publish(mqtt_topic_demo, mqtt_message)) {
    Serial.println("Message published");
  } else {
    Serial.println("Failed to publish message");
  }

}
The other code functions are for connecting to wifi / mqtt.
The goal of your assessment is to use a local sensor on a MKR1010 to update some lights on a remote NeoPixel ring. Play with the code on the previous page to explore different ways to send colours to the Chrono Lumina neopixel ring. How can you change the RGB values in patterns that look useful? Will you try and display some information or a status on them? Or will you show a warning or alarm? Or maybe a colour change that is reacting to the environment?
Explore the latency of sending messages. Remember that messages are being sent via the broker so things might night happen as quickly as you imagine.